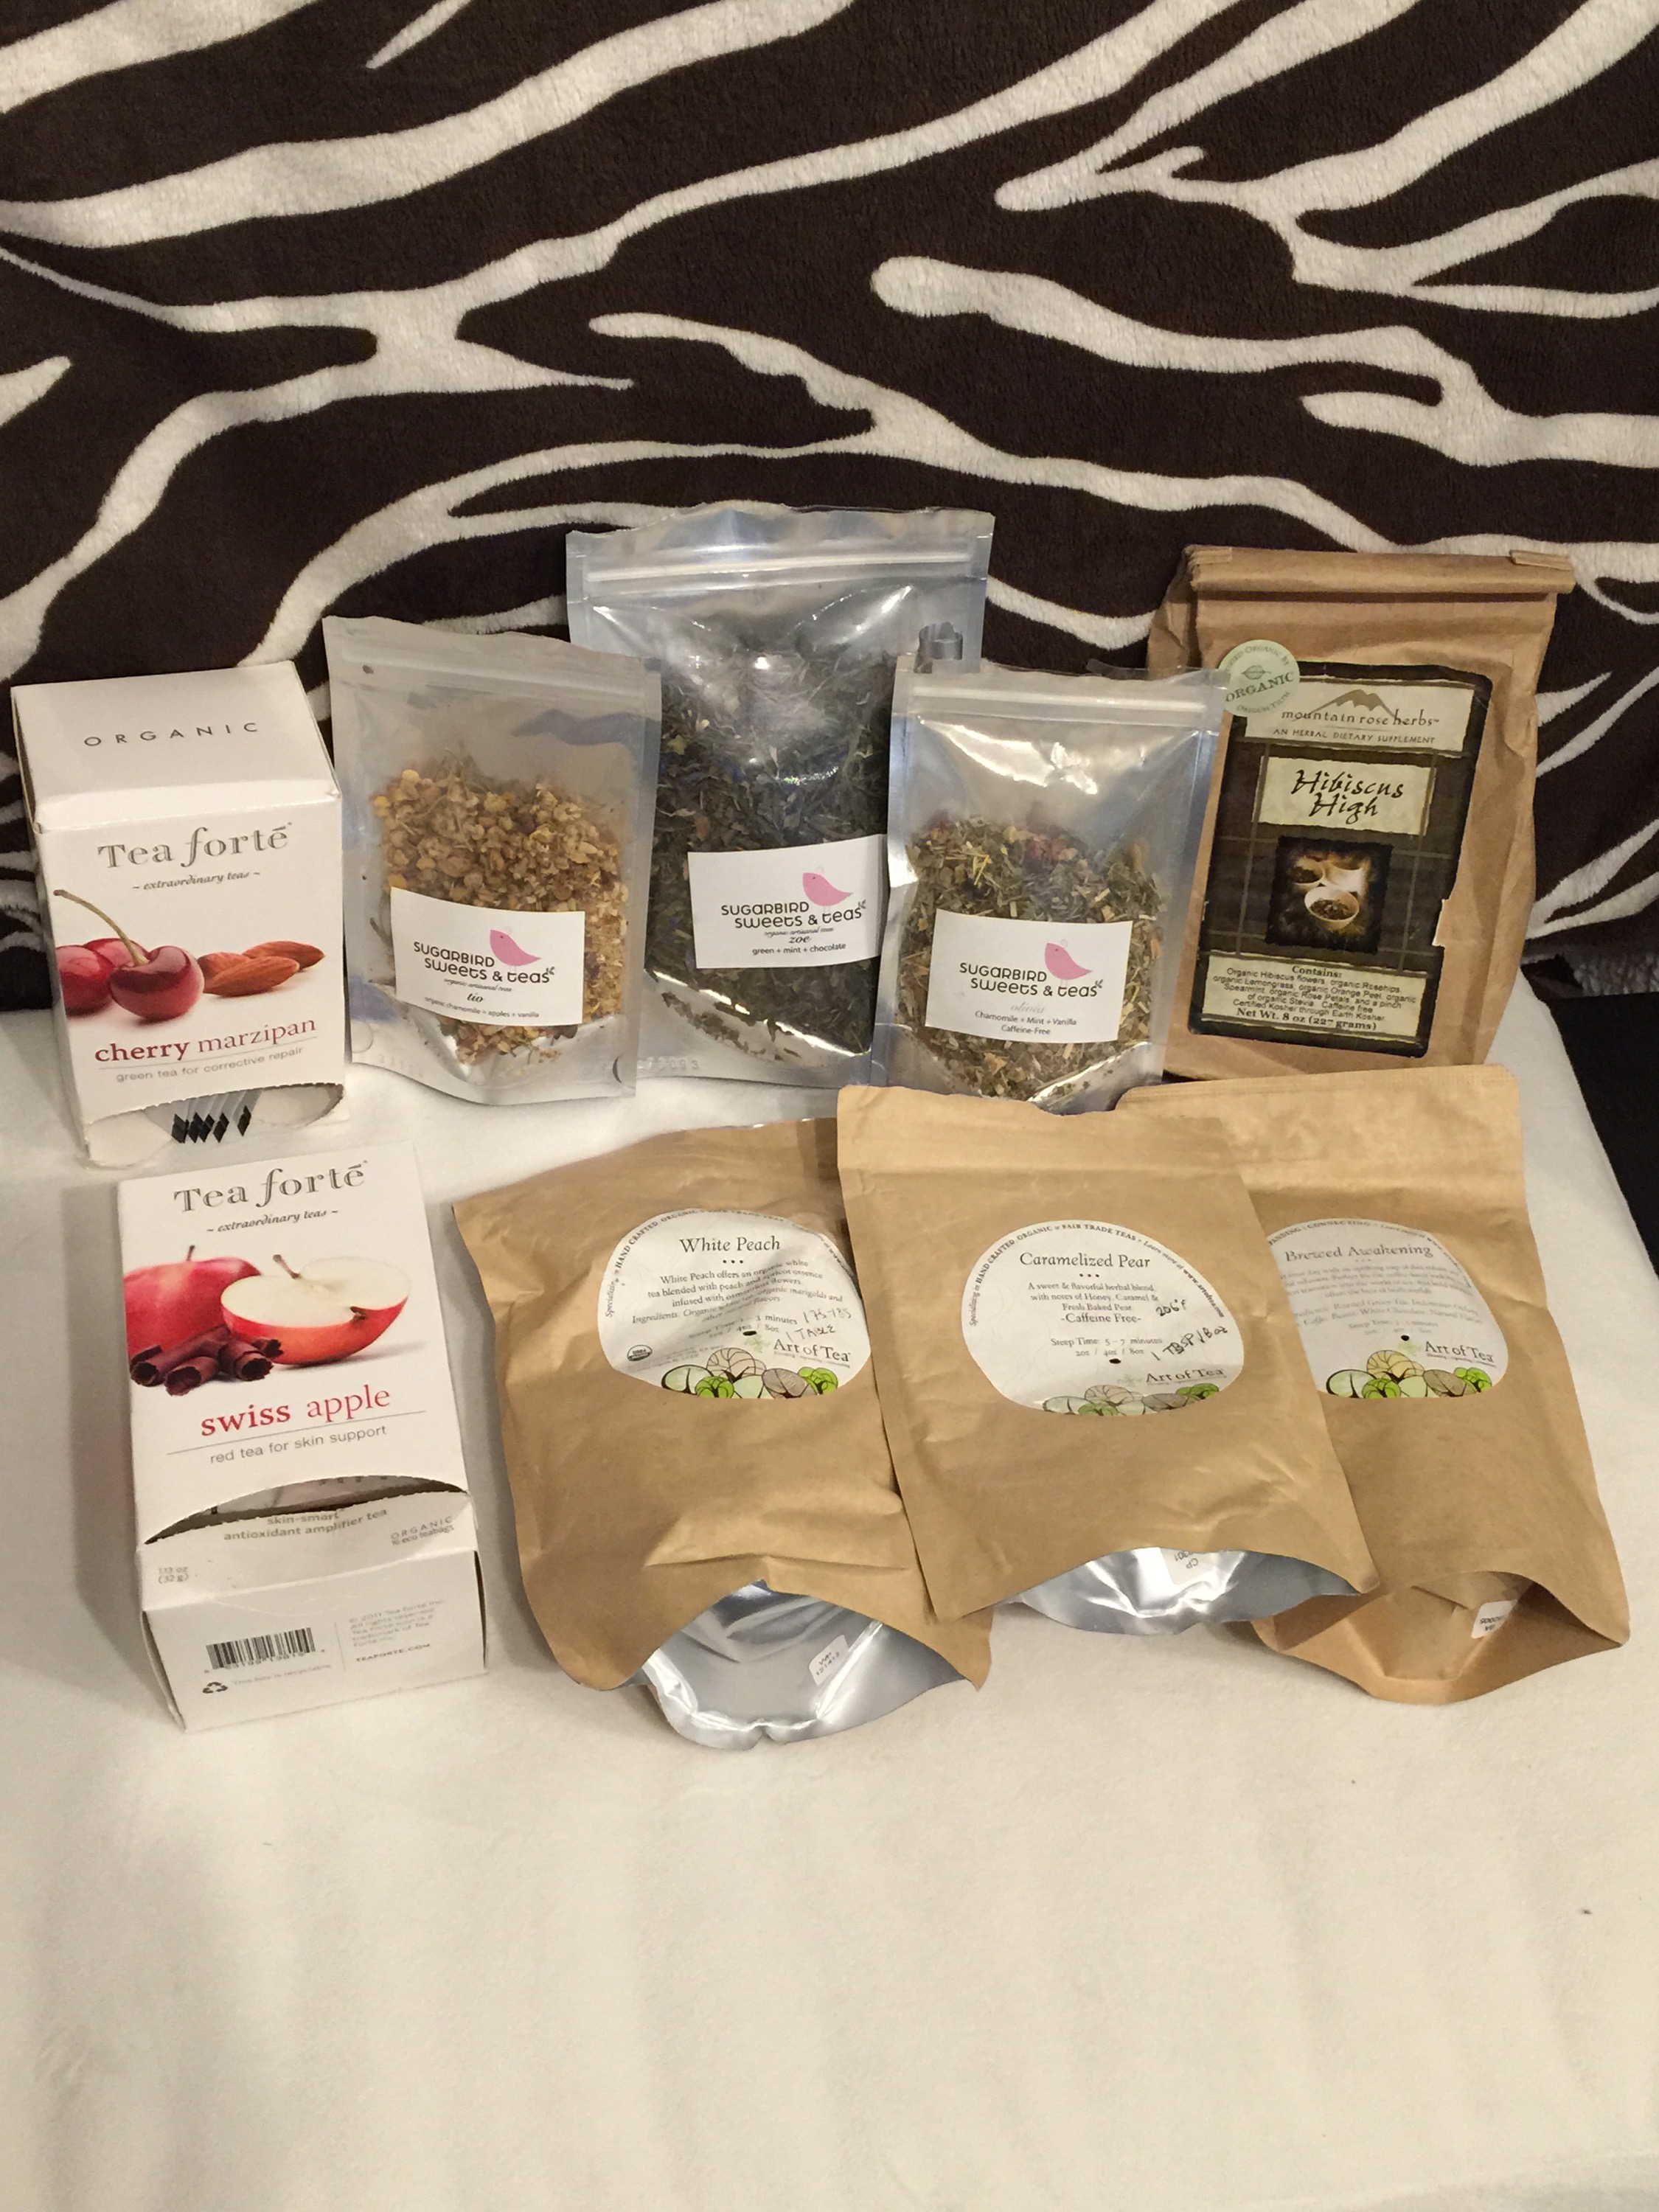
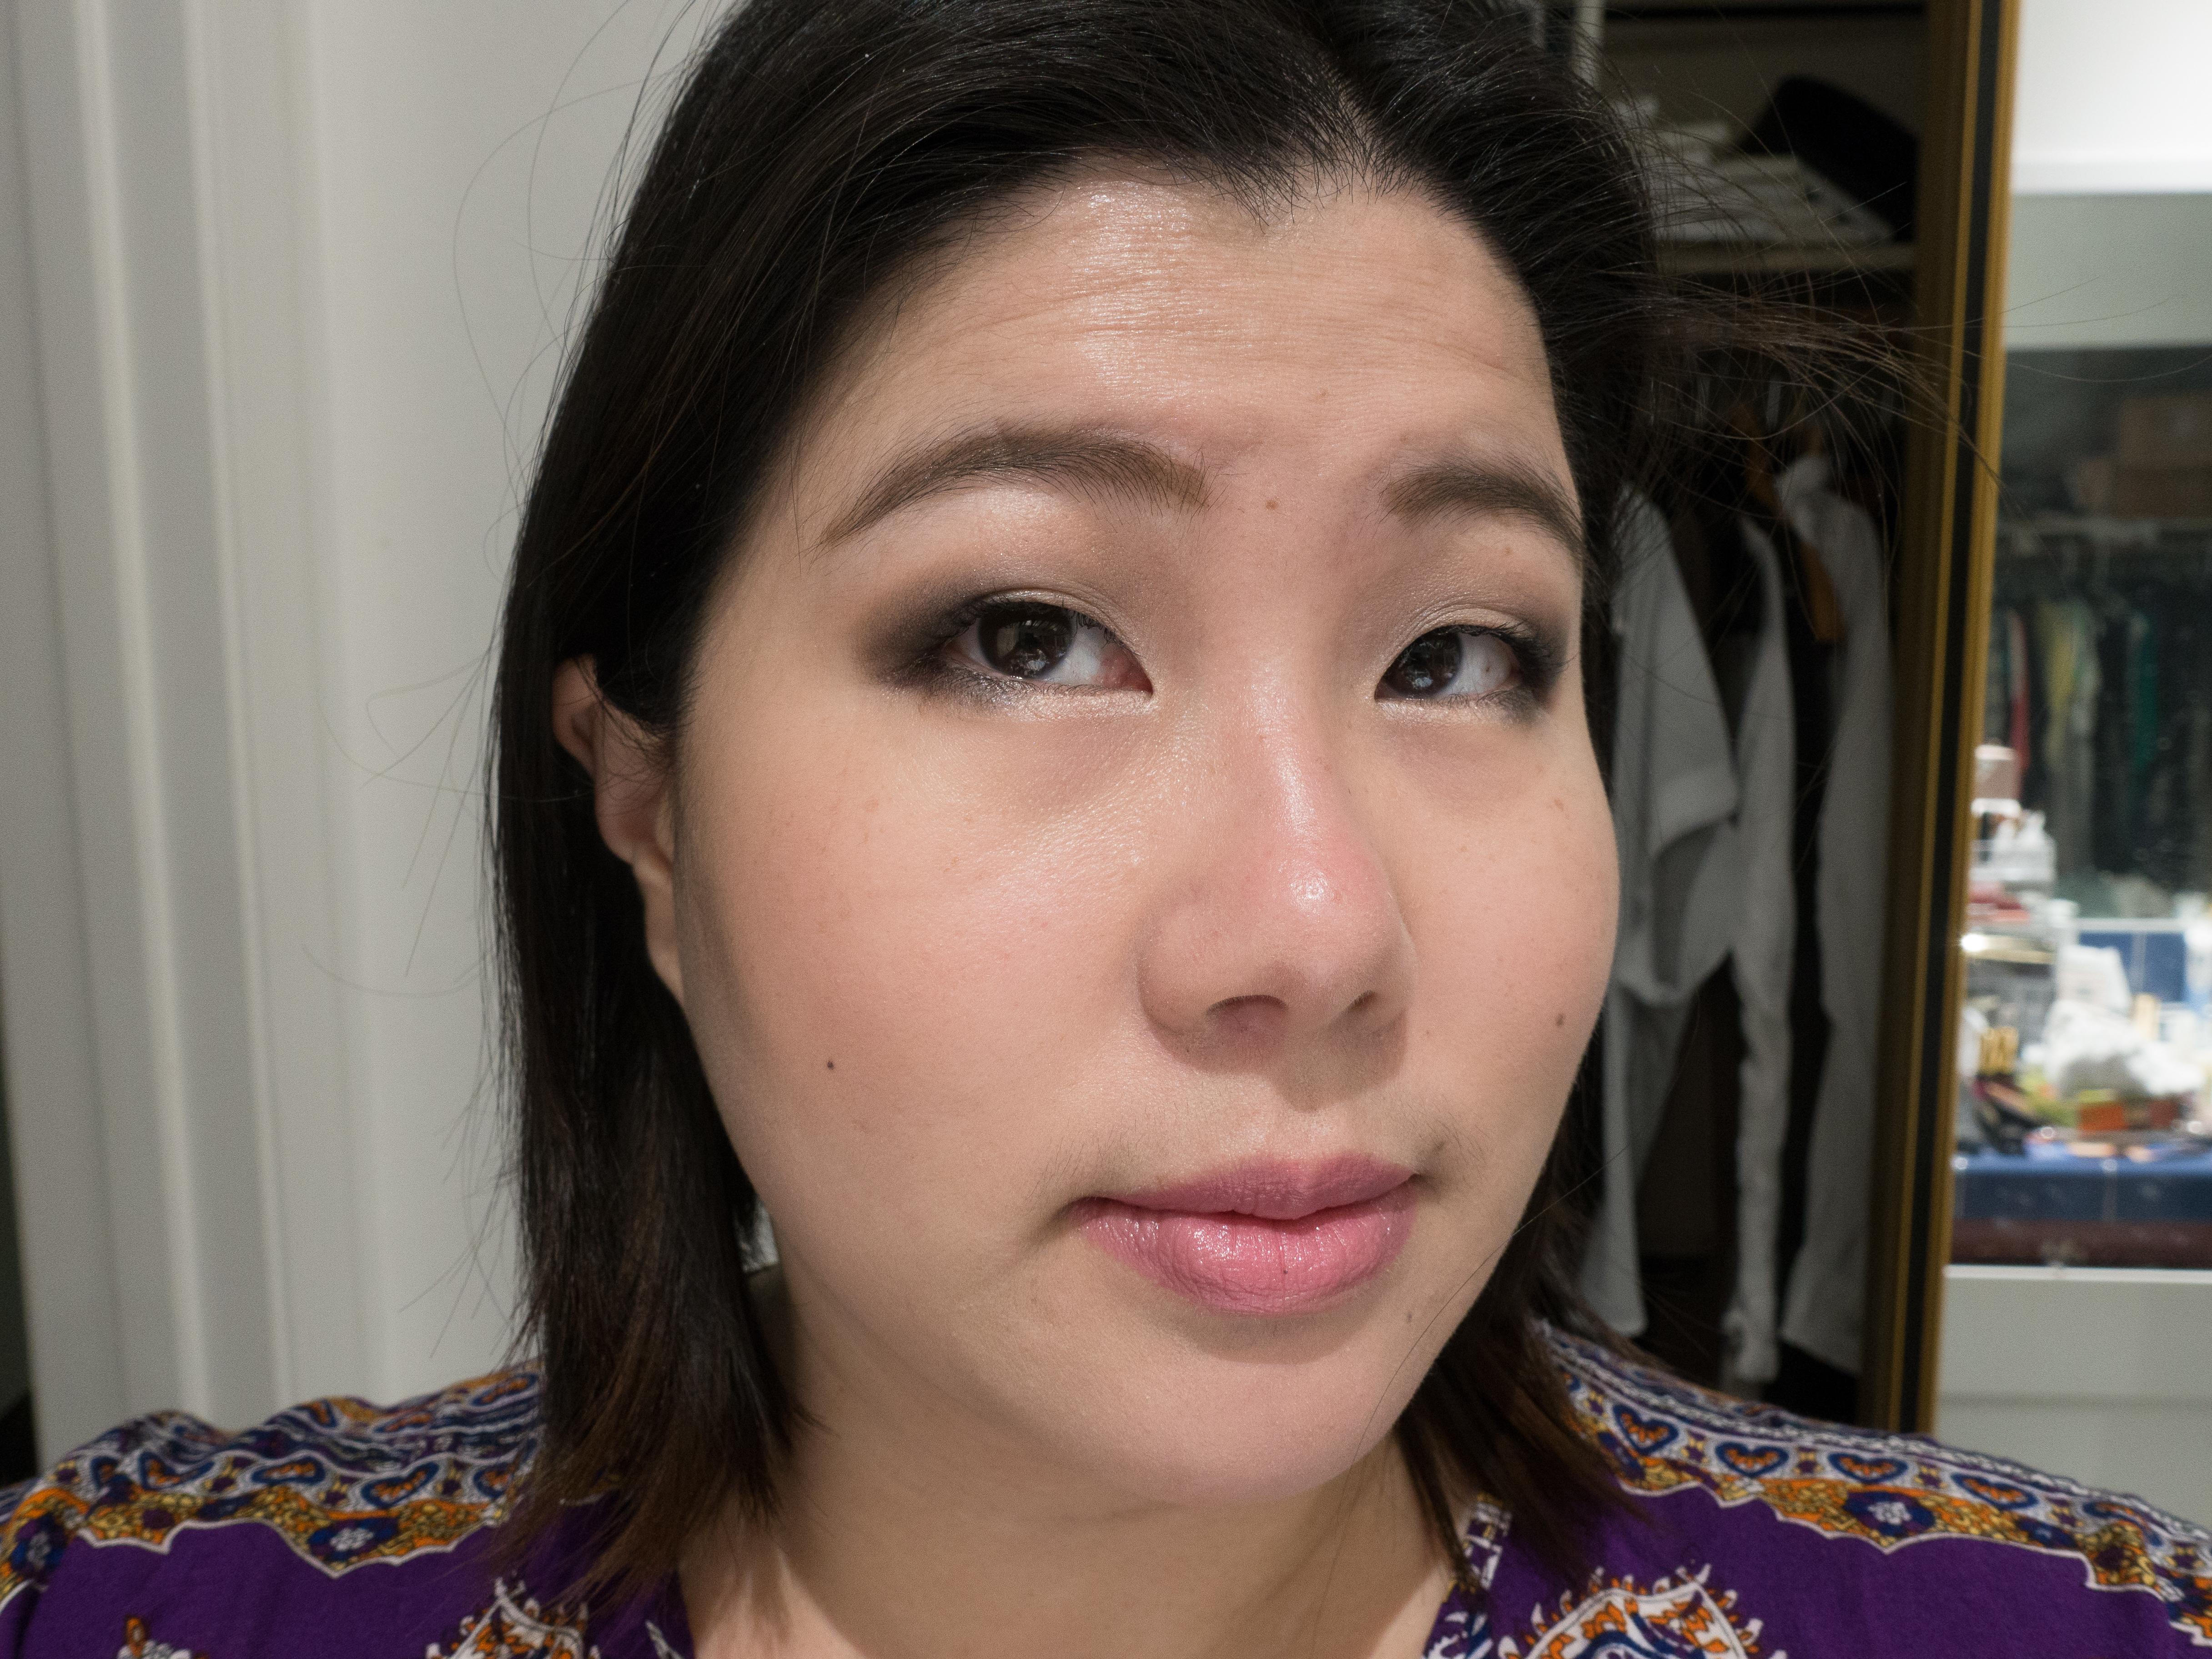
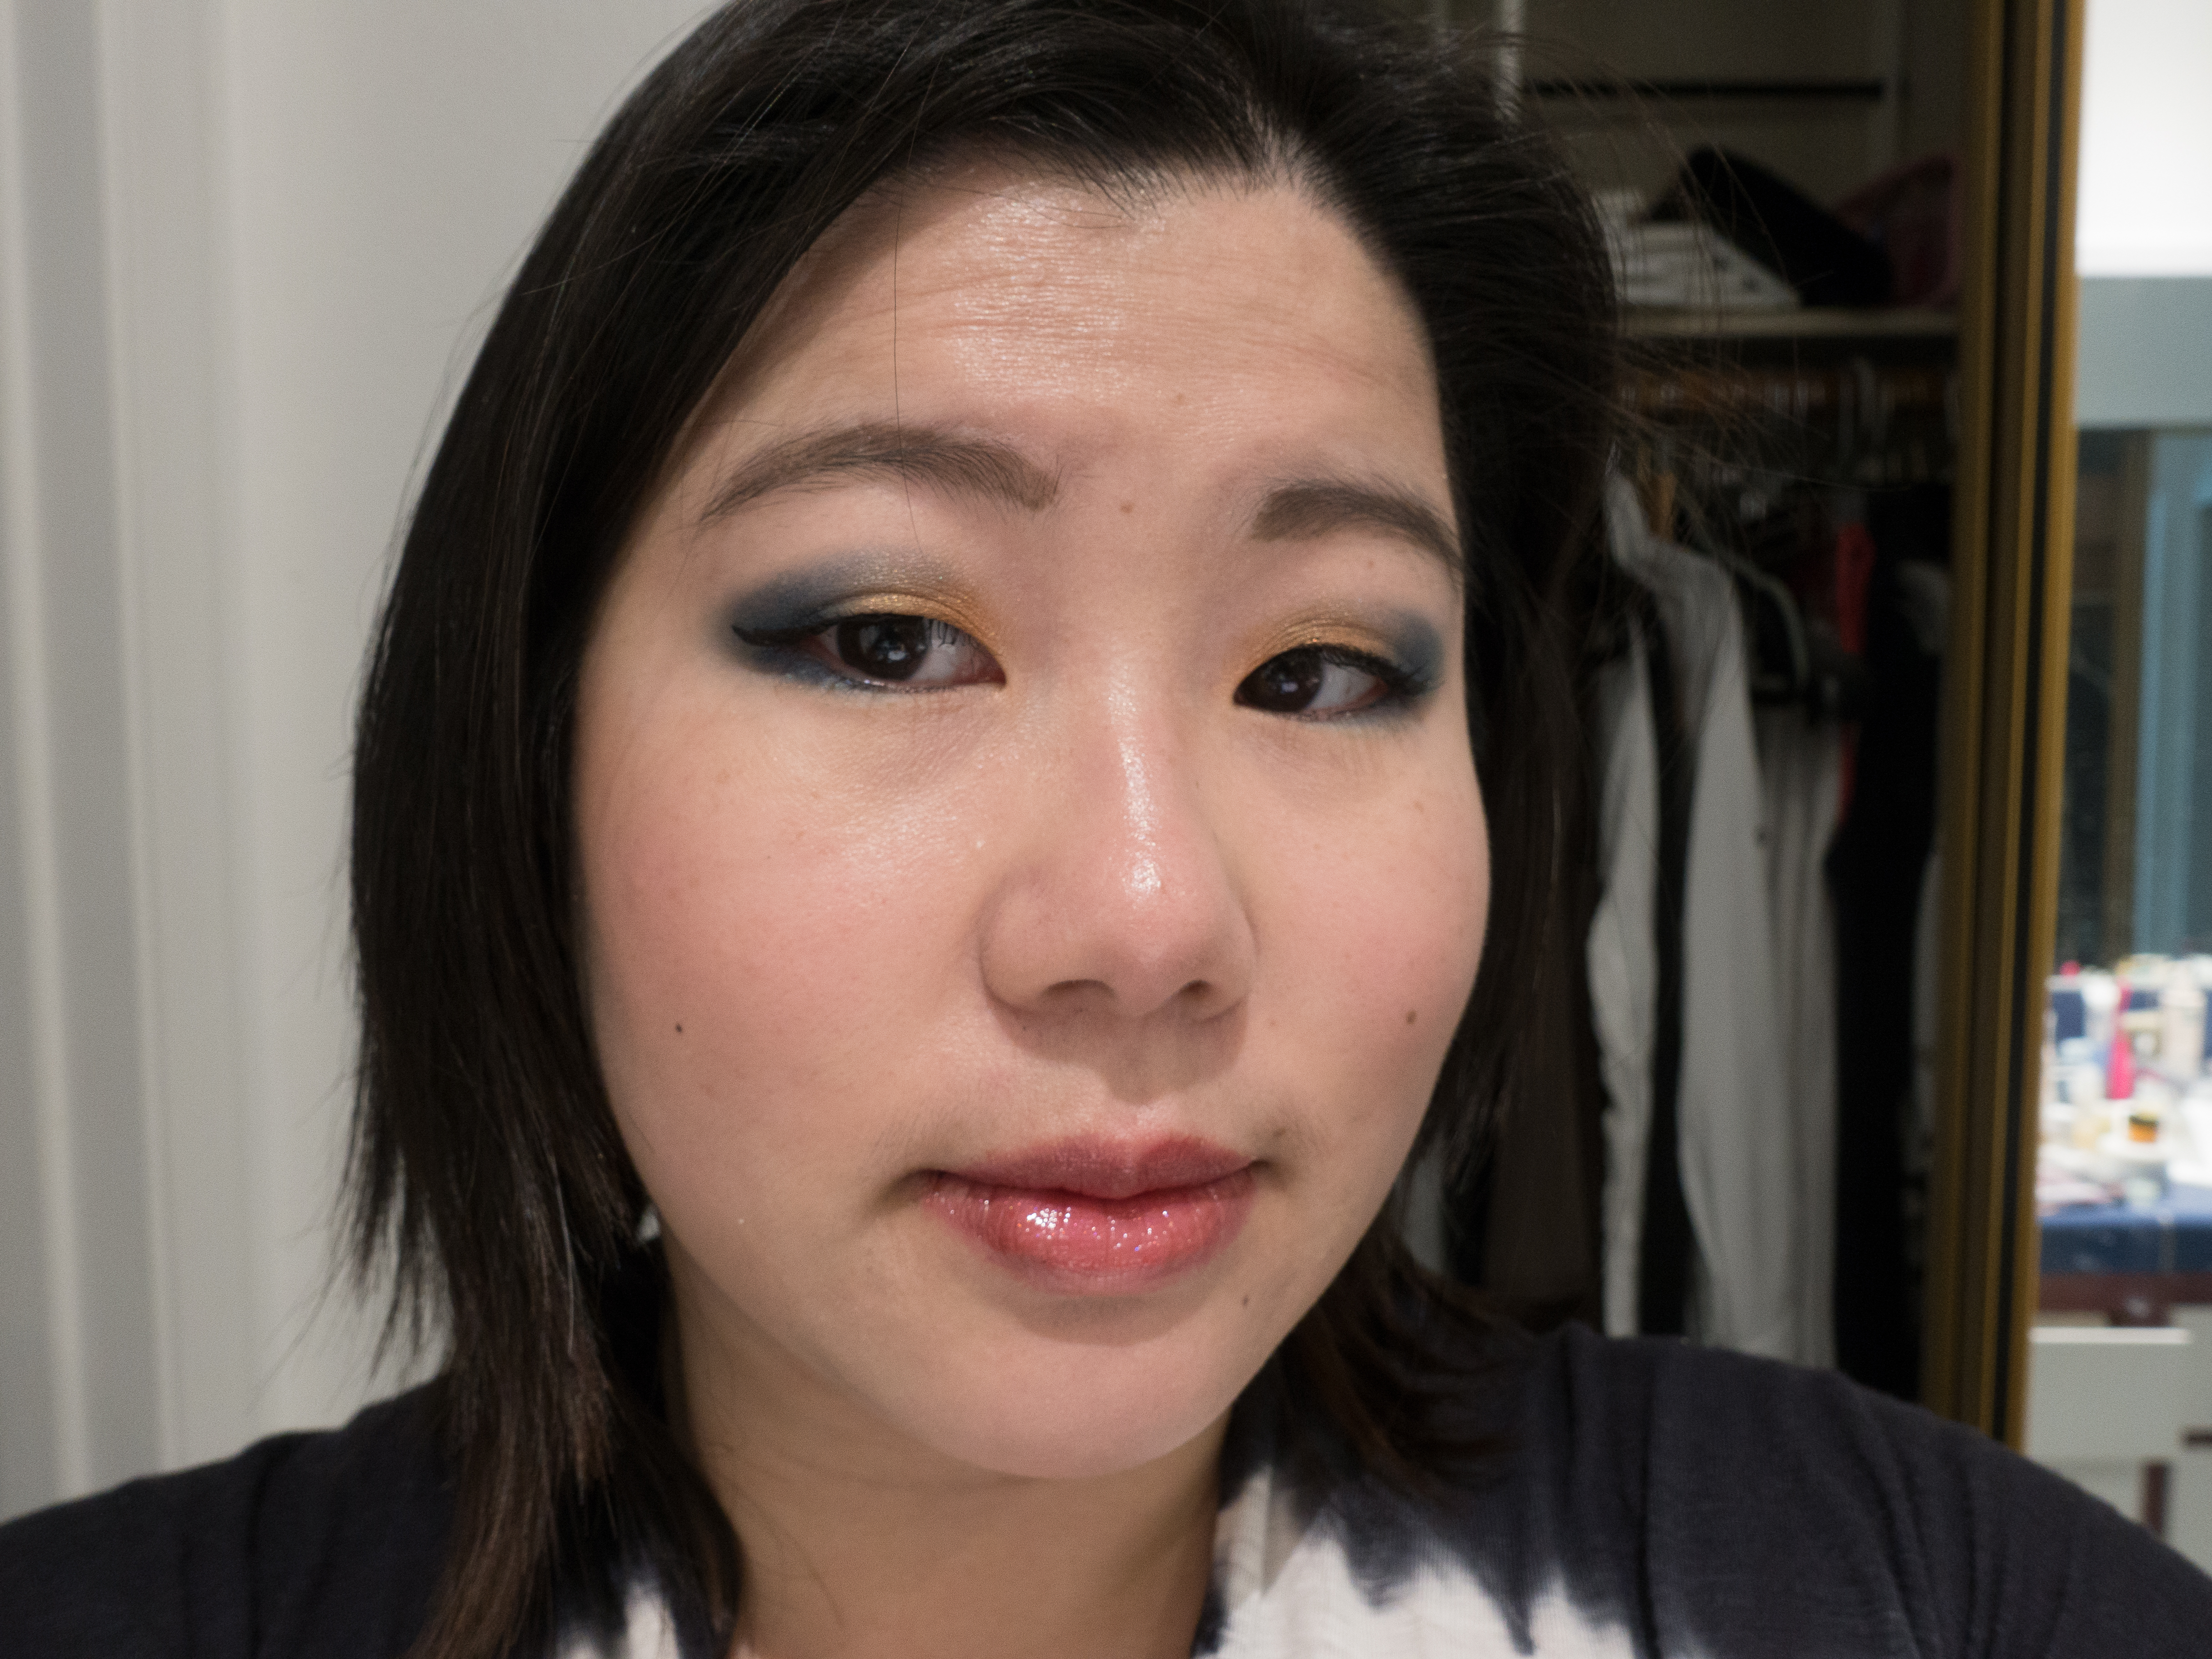
it’s been more than a month since i’ve owned these brushes, and i was hoping to be able to review a good number by now. sadly, my asia trip was more taxing than expected, and i ended up not using makeup all that much. i’ve played with a majority of them at least a few times though, so here’s a first impressions look into the set, to tide you over.
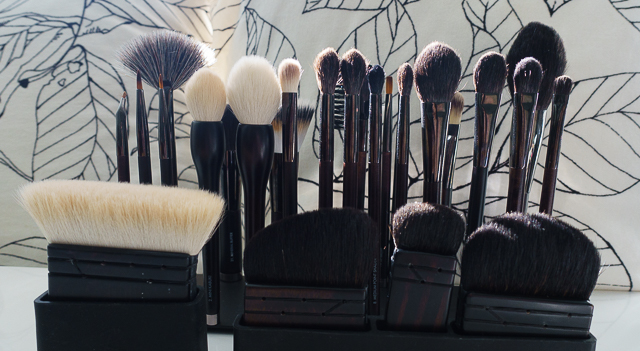
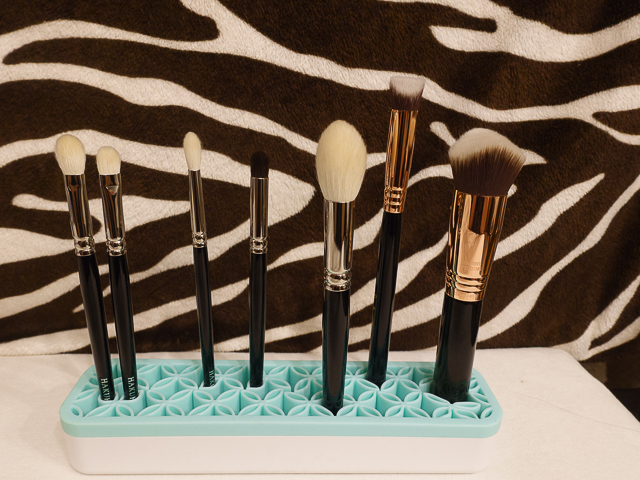
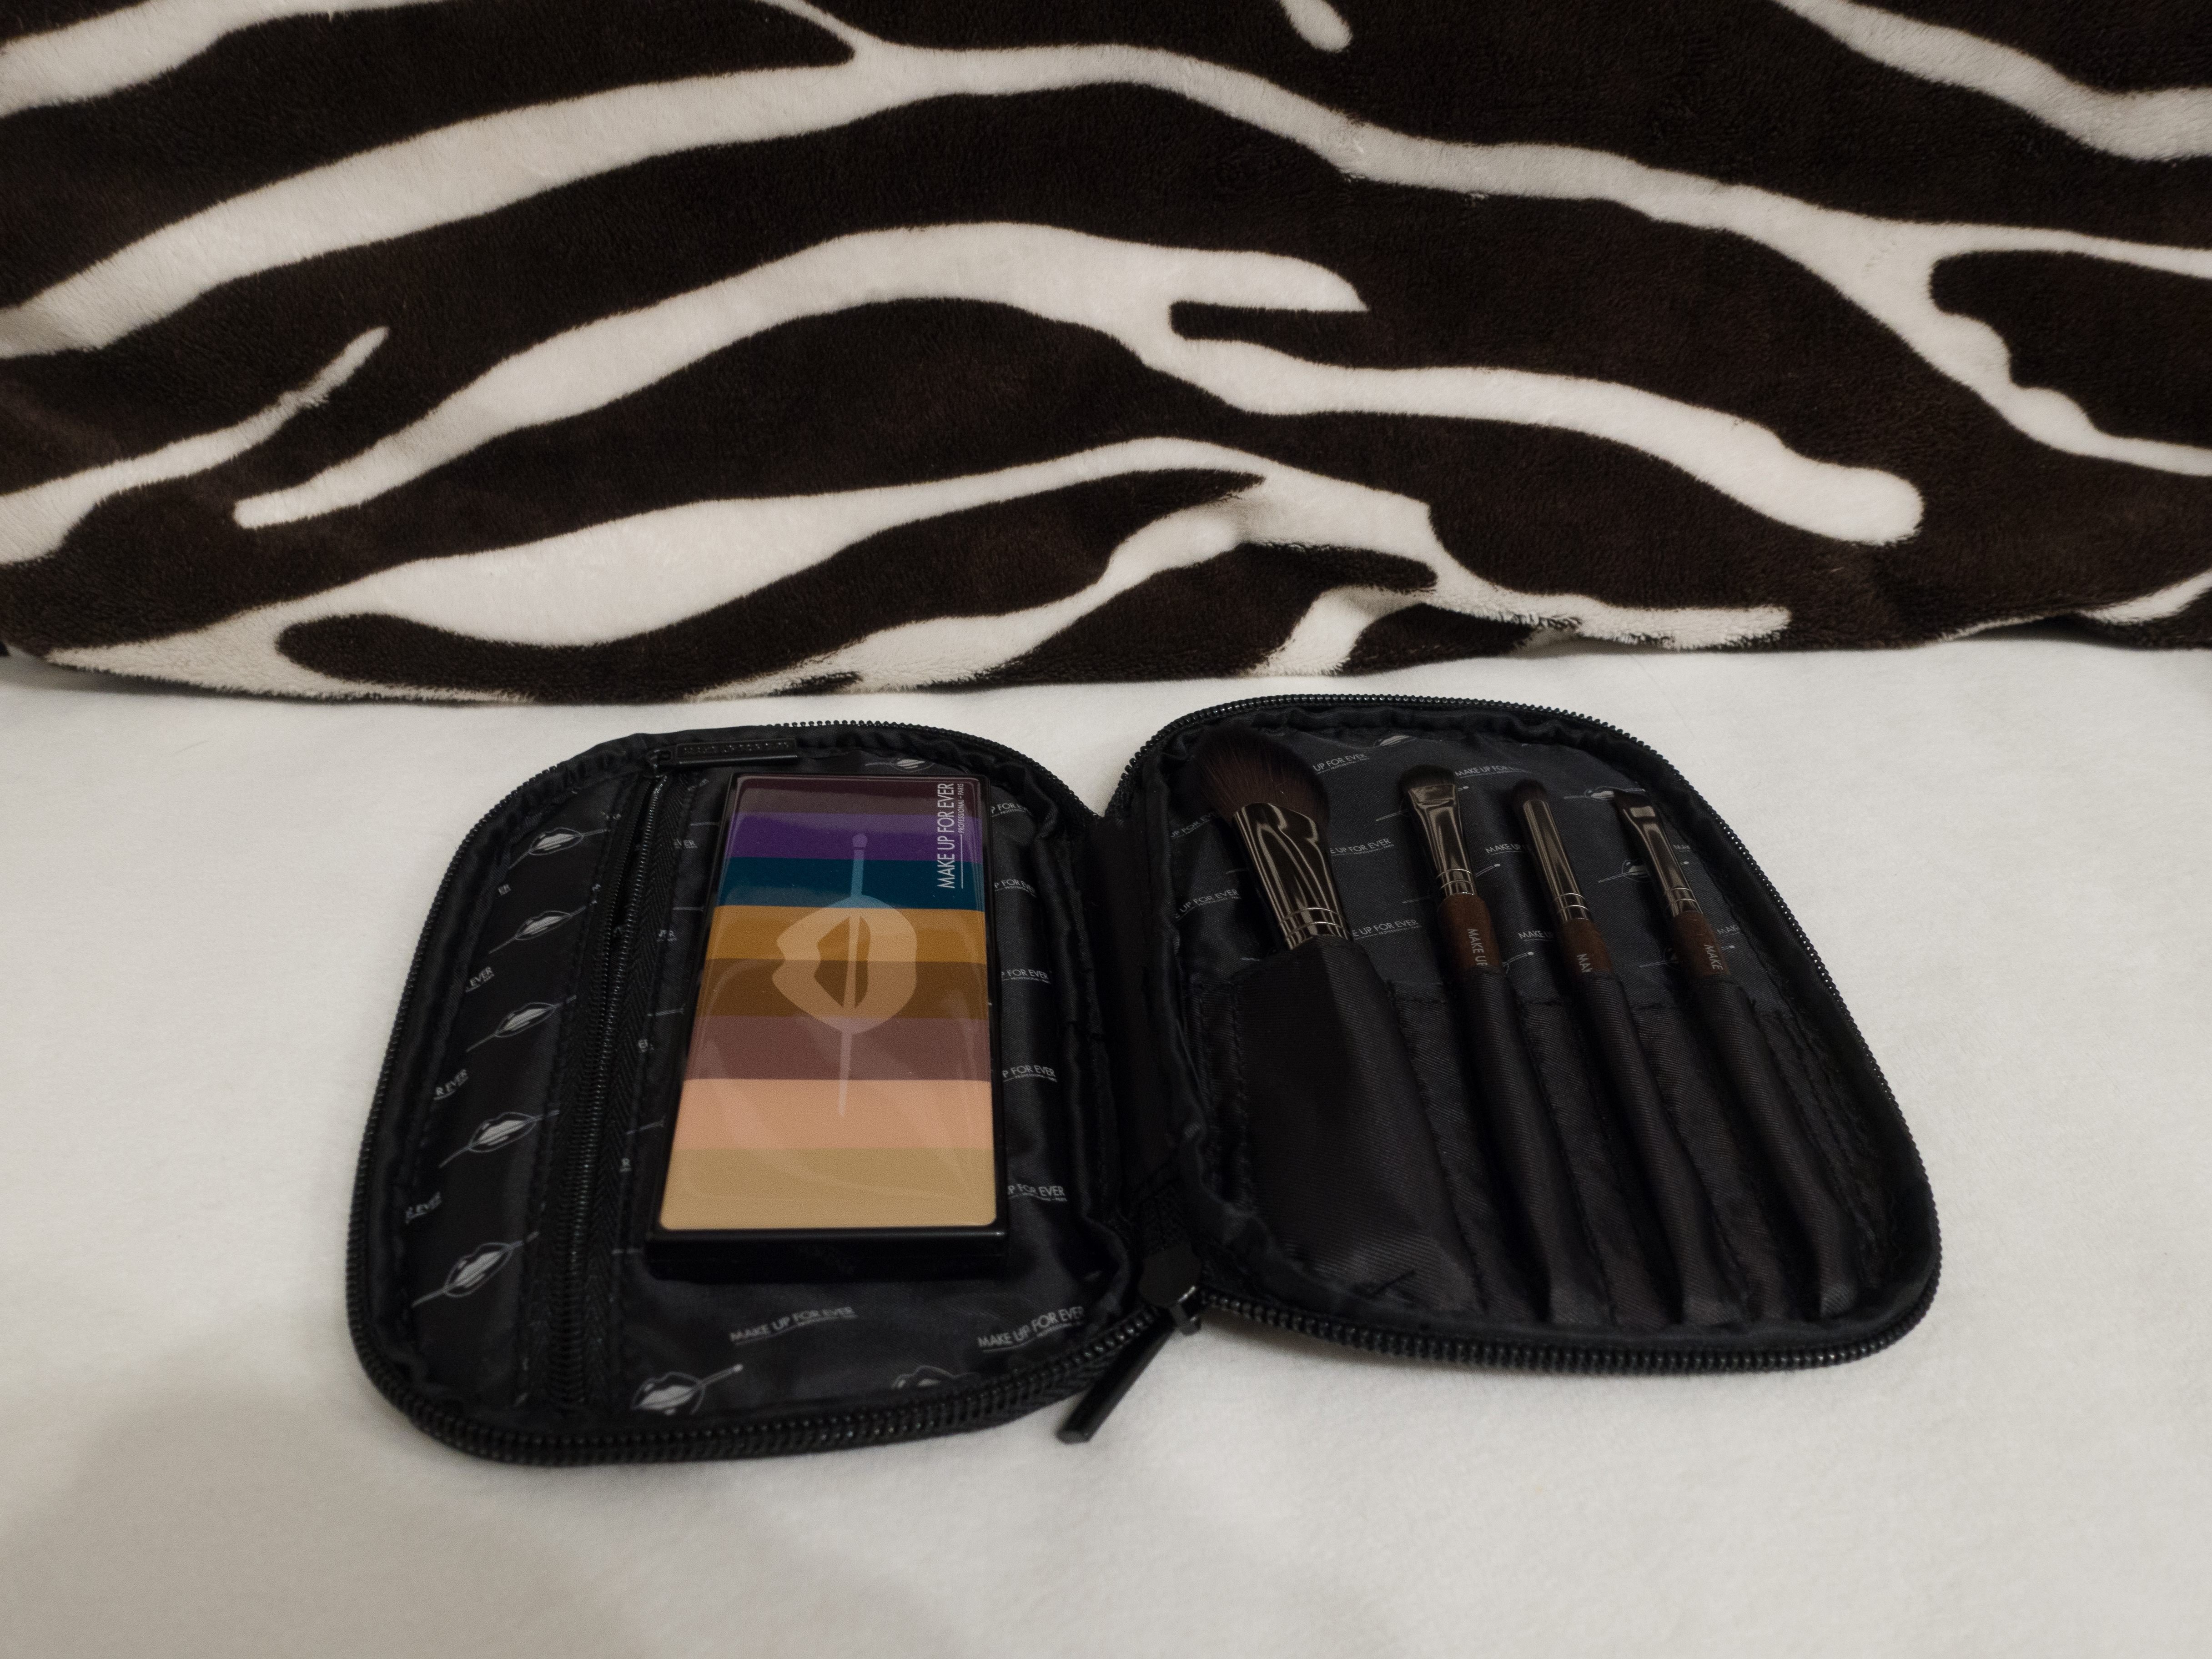
Rae Morris Collection Set (two brush holders in front not included in set)
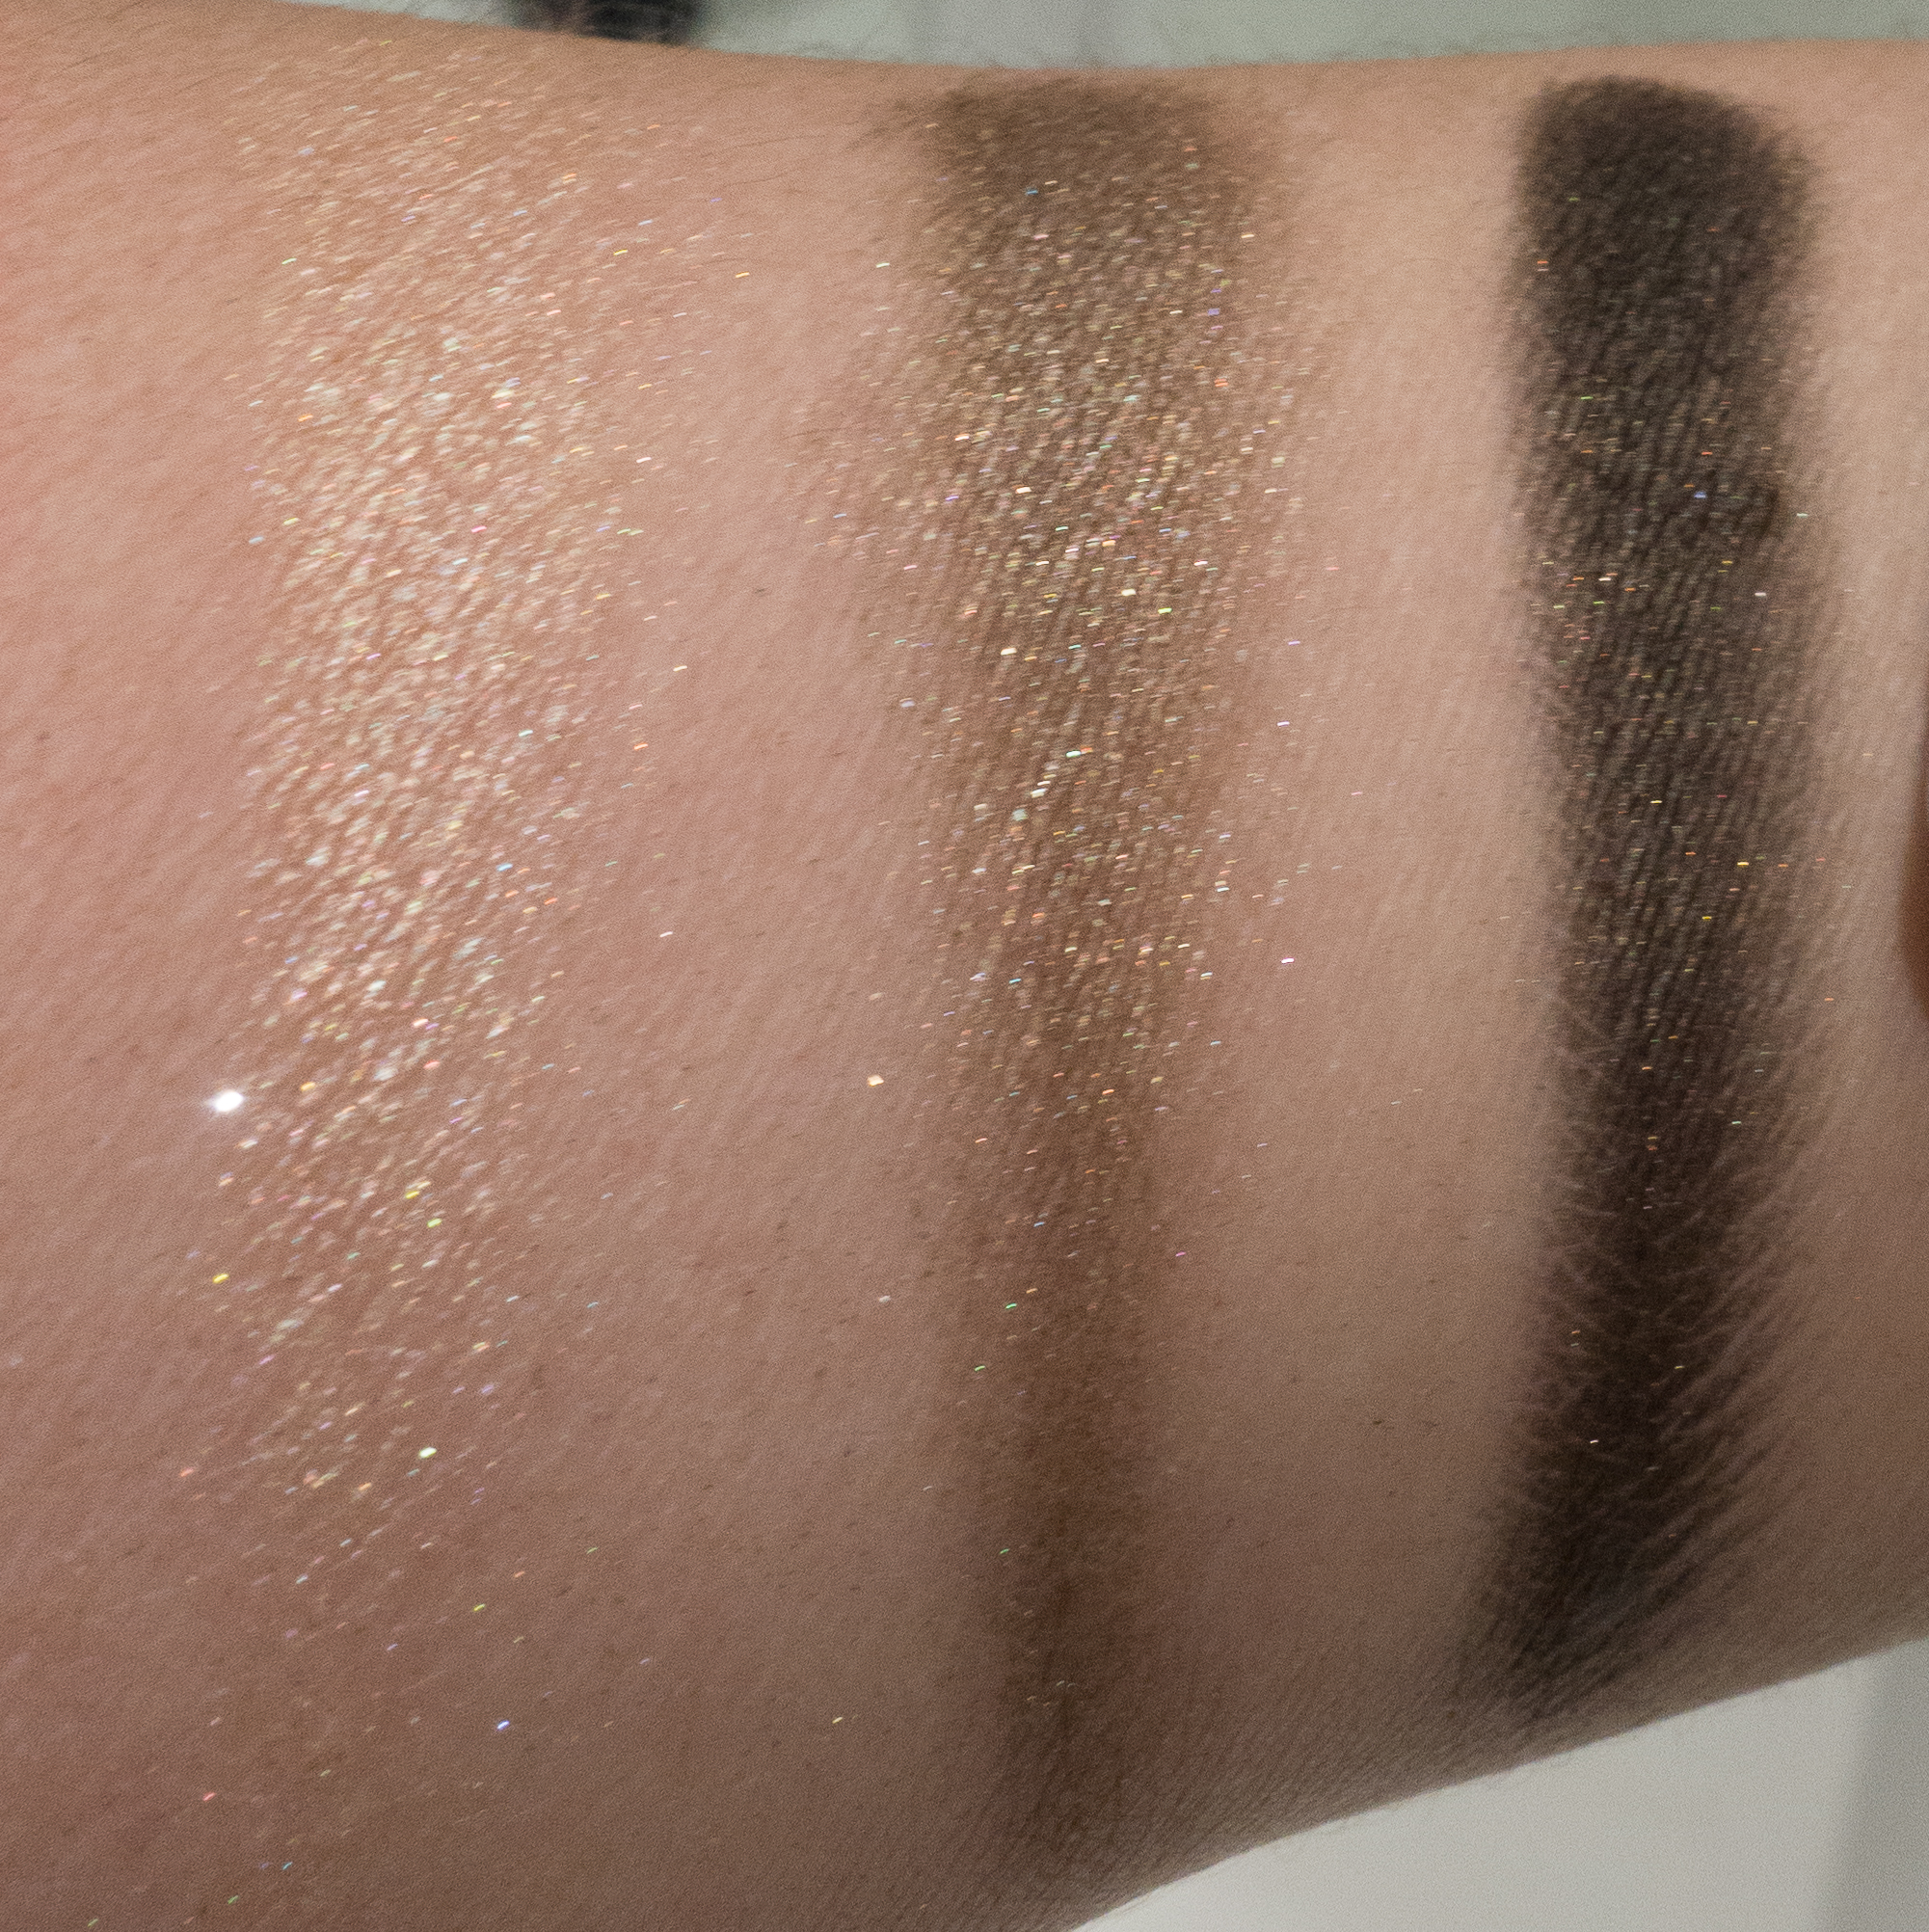
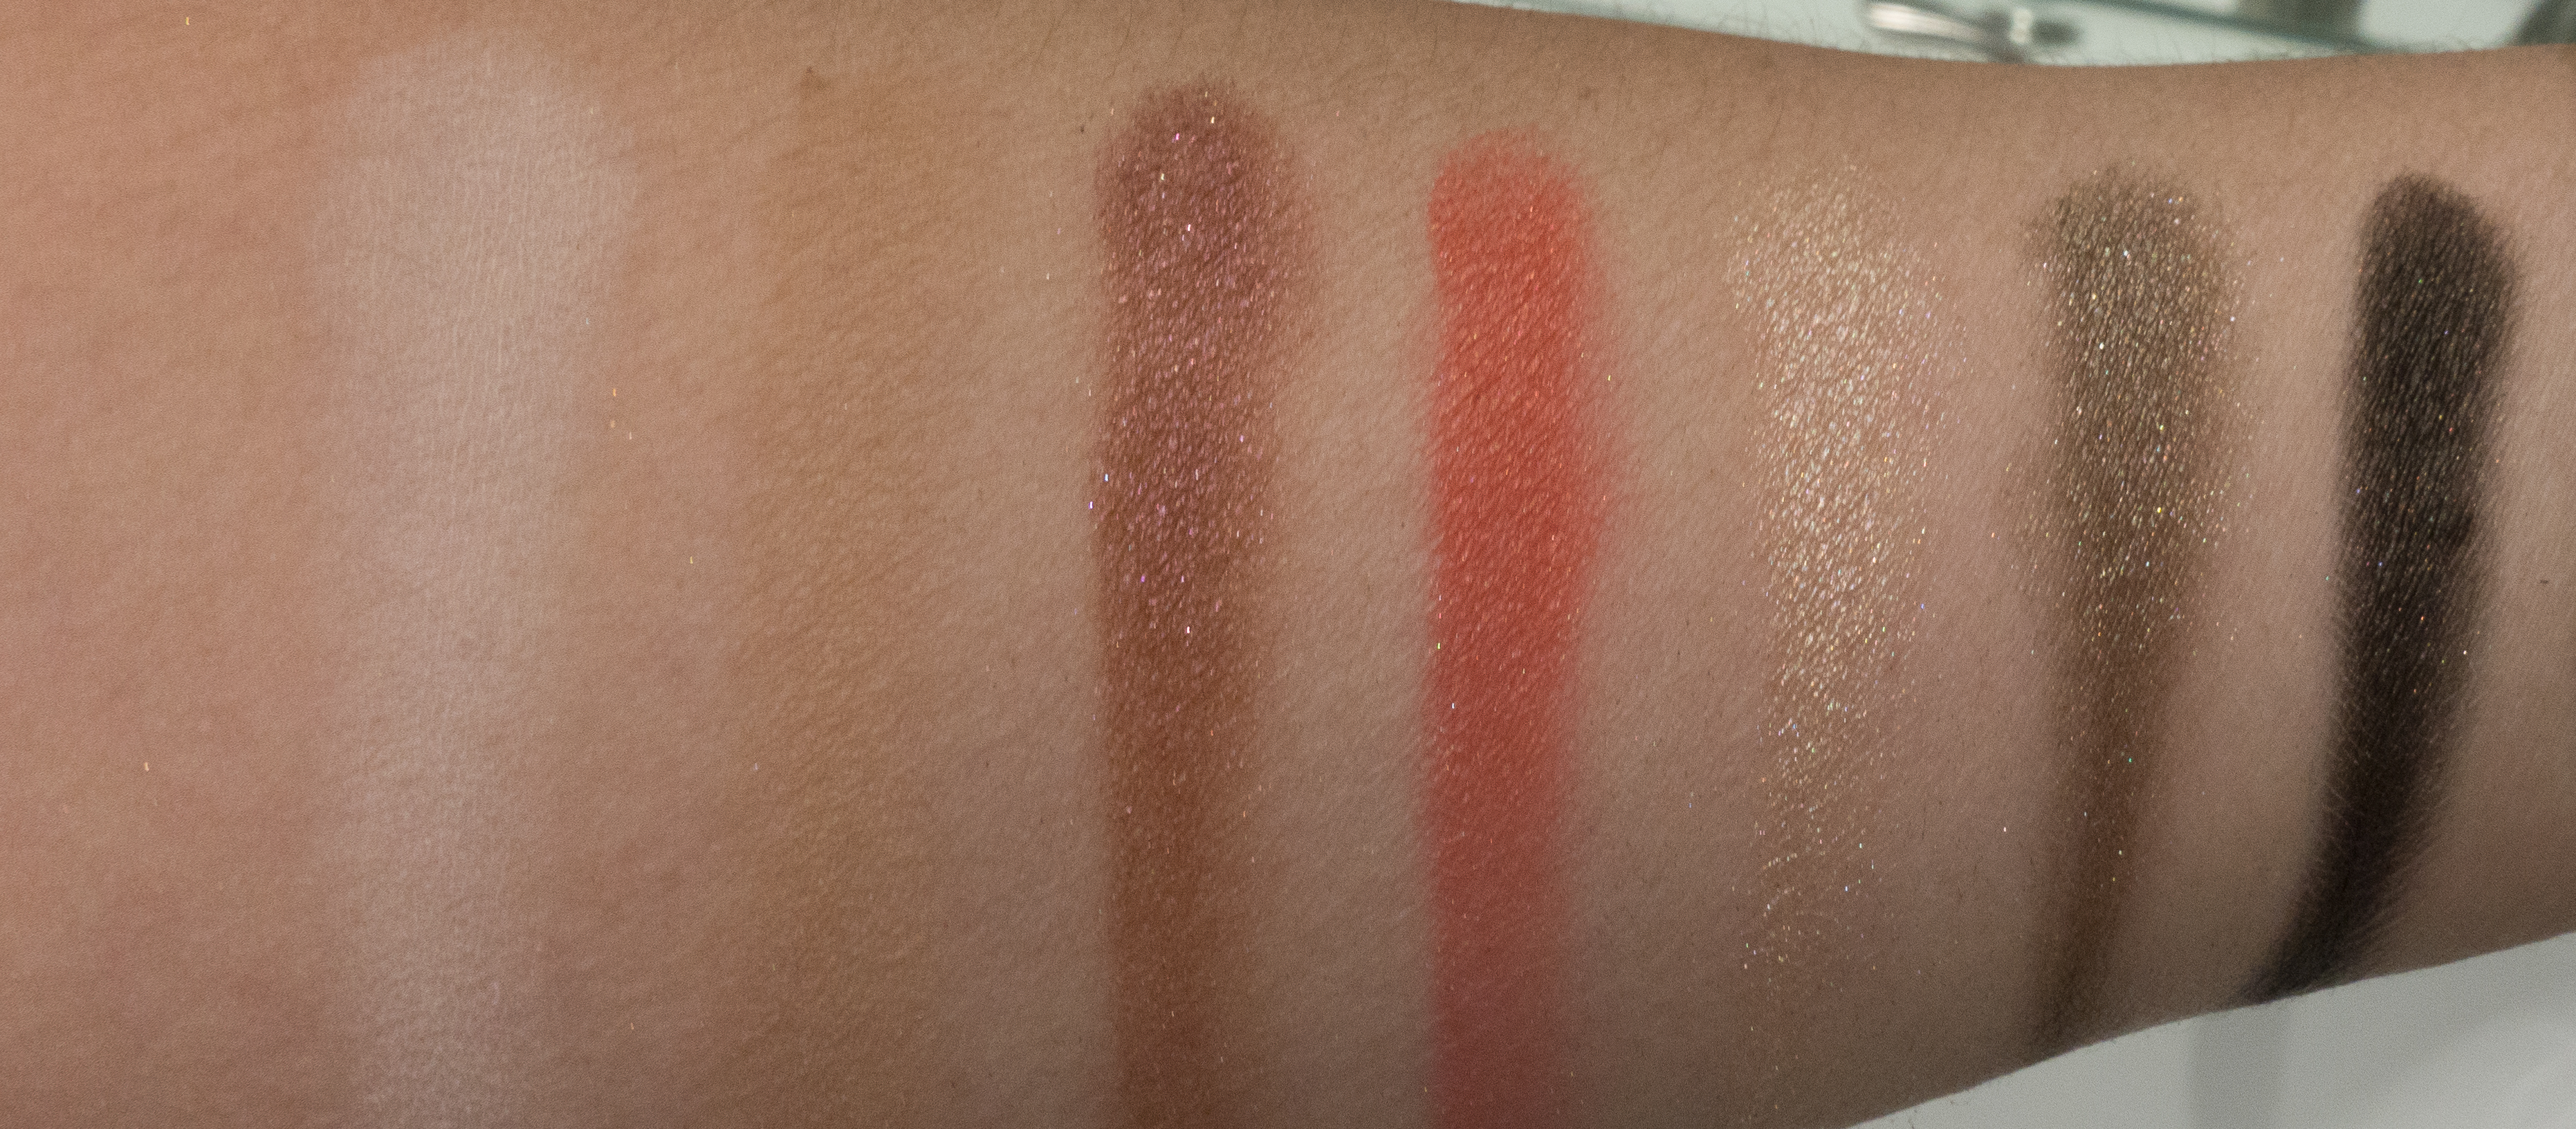
first, let’s talk bristles. most of the brushes in the set are made of blue squirrel (all the dark brown ones), with a few others being made of goat, synthetic, or a mix of goat/synthetic. it is advertised as cruelty free. if you own any Hakuhodo or Wayne Goss brushes, the first thing you’re going to notice is that the Rae Morris brushes are not as soft! in fact, the blue squirrel brushes in the Rae Morris line are not as soft as the Hakuhodo goat brushes. when i pointed this out to the Beautylish customer service rep, she told me that they’re not as soft because they’re not the same type of squirrel hair. i’m not exactly sure what that means. different breed? hair from different part of the blue squirrel? they are, however, softer than the Tom Ford brushes! also, be prepared for a little shedding. new and unwashed brushes will shed a few hairs during usage. supposedly these are floater hairs stuck into the brush, after it’s been tempted into the ferrule, so that the brush can be even more densely packed. some of these floater hairs don’t actually make it into the ferrule, so they fall out during application. i apologize for the packed/crowded picture, but i wanted you to get an idea of what it might be like if you just went with one plate. it’s crowded but doable.
why magnets at the bottom of the brushes? Rae Morris sells frames and plates made of steel so that the brushes can stand on a flat surface, allowing you to see your brushes easier than you would be able to in a canister. if you’re ocd, you’ll be happy to know that another virtue of this set up is that brushes do not touch each other and cross contaminate. it also saves the hairs from getting kinked and bent out of shape accidentally in storage. for example, you accidentally packed them too tightly and the bristles of two brushes are pushed into each other. it can be more space saving than a bunch of brushes in a brush roll or lying spread out across your desk. i purchased the Rae Frame separately, and it’s been really easy to cart the brushes into the bathroom for cleaning. afterwards, i hang them upside-down from the frame to dry. now i don’t have to waste paper towels or disinfect my countertop before washing my brushes!
the set costs $785; if you were to buy them individually, the total cost would be $1072, netting you $287 in savings. i love the aesthetics of the brushes. it’s hard to resist the gleaming wood with the dark grain striations, gun metal ferrules, and chrome magnet bottom. it looks very sleek with all the magnetized brushes free standing on the plate. you’ll either have to spring extra for 2 holders for the other 4 brushes (#26 Radiance, #5 Flawless Shader, #4 Square Kabuki and #3 Ultimate Cheekbone), store them in their boxes, or find some other way to display them. the brushes feel well balanced in your hand during use.
now onto the brushes! usually, i’d order them according to the brush number so it is easier to reference, but i thought i’d order them by how much i like them at this time. after all, it’s an impressions post, so you want to hear about the good stuff first, right?

#5 Flawless Shader, #4 Square Kabuki, #3 Ultimate Cheekbone
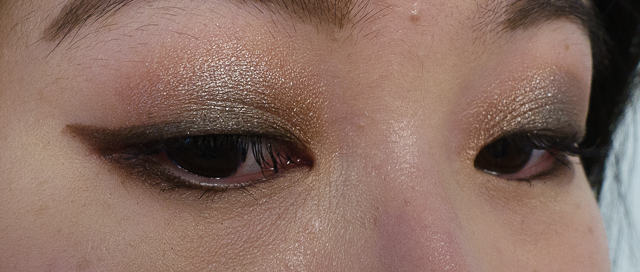
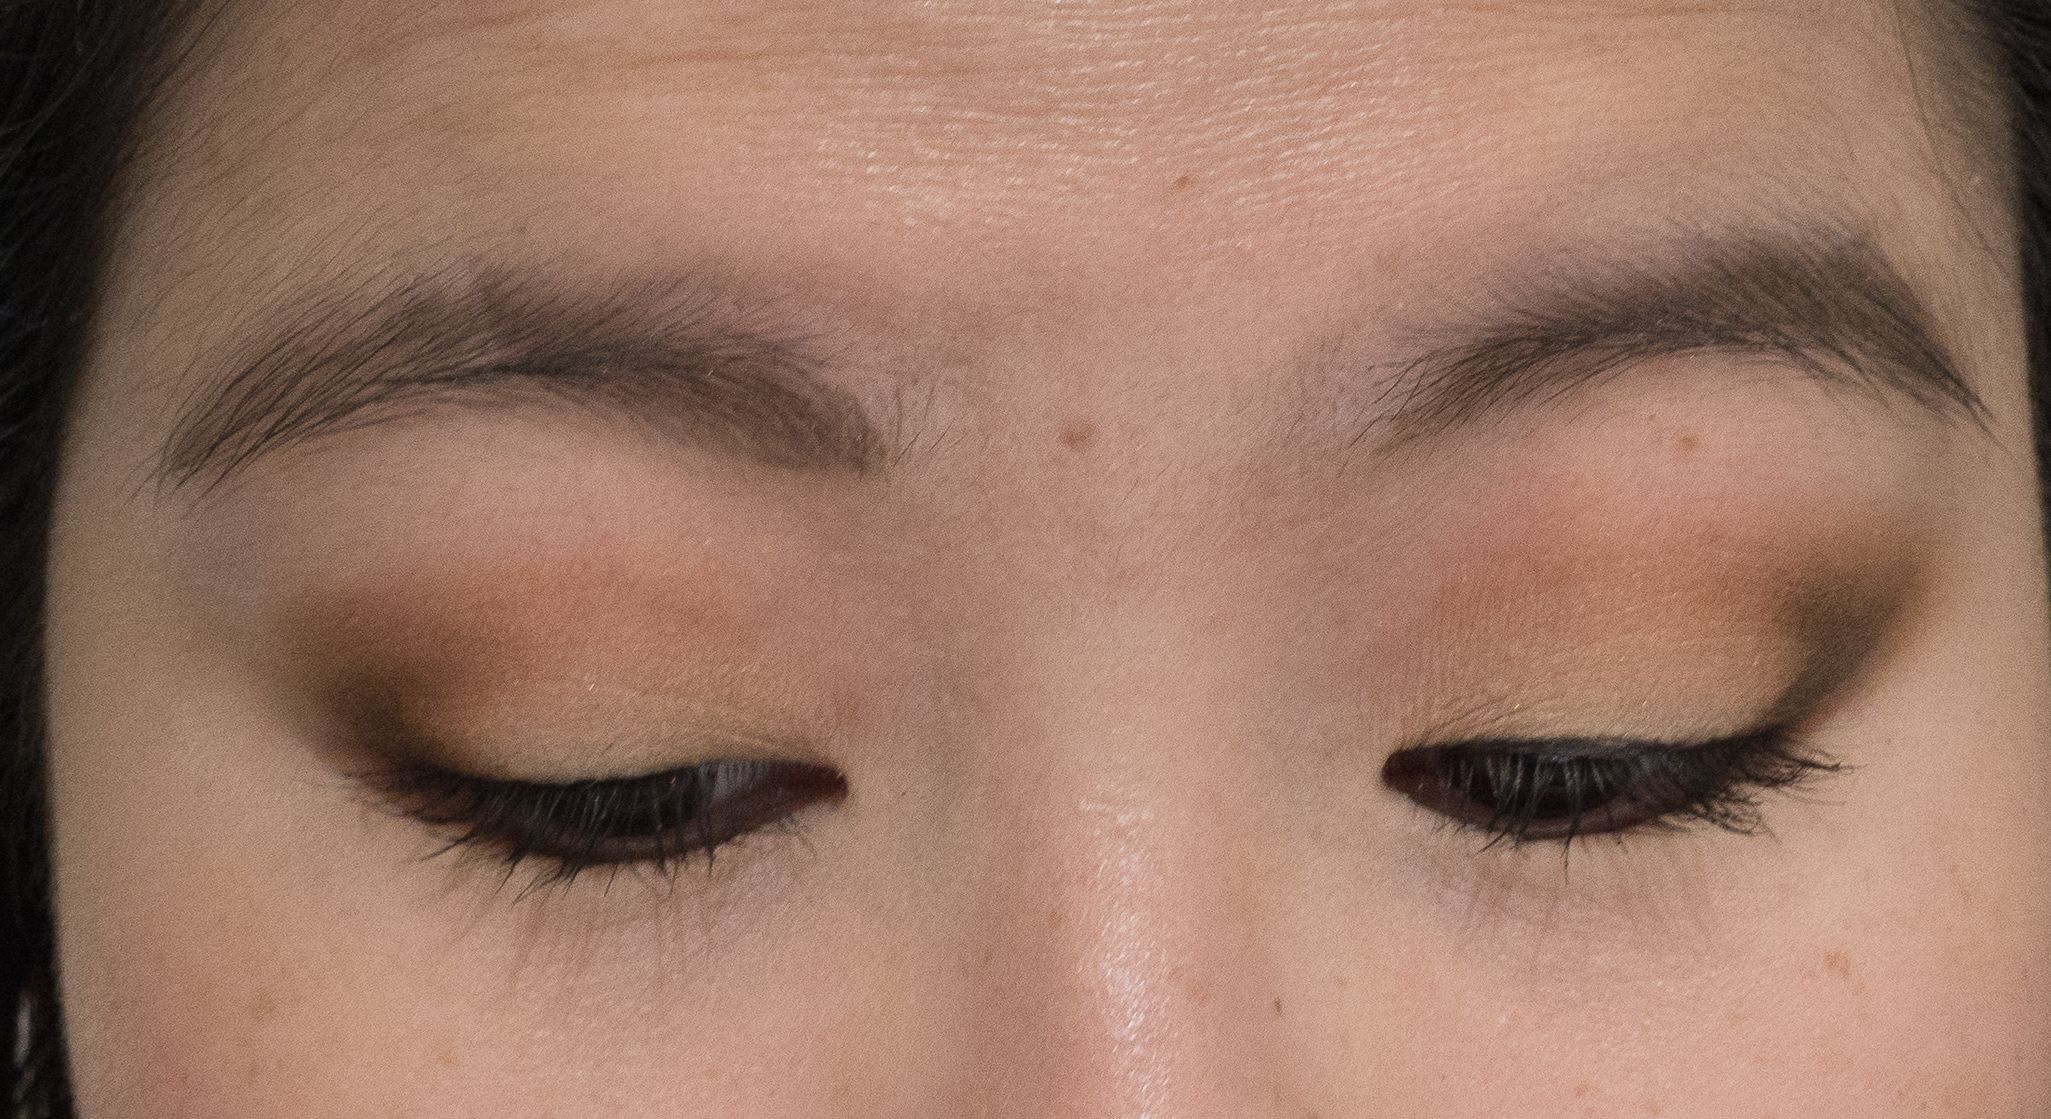
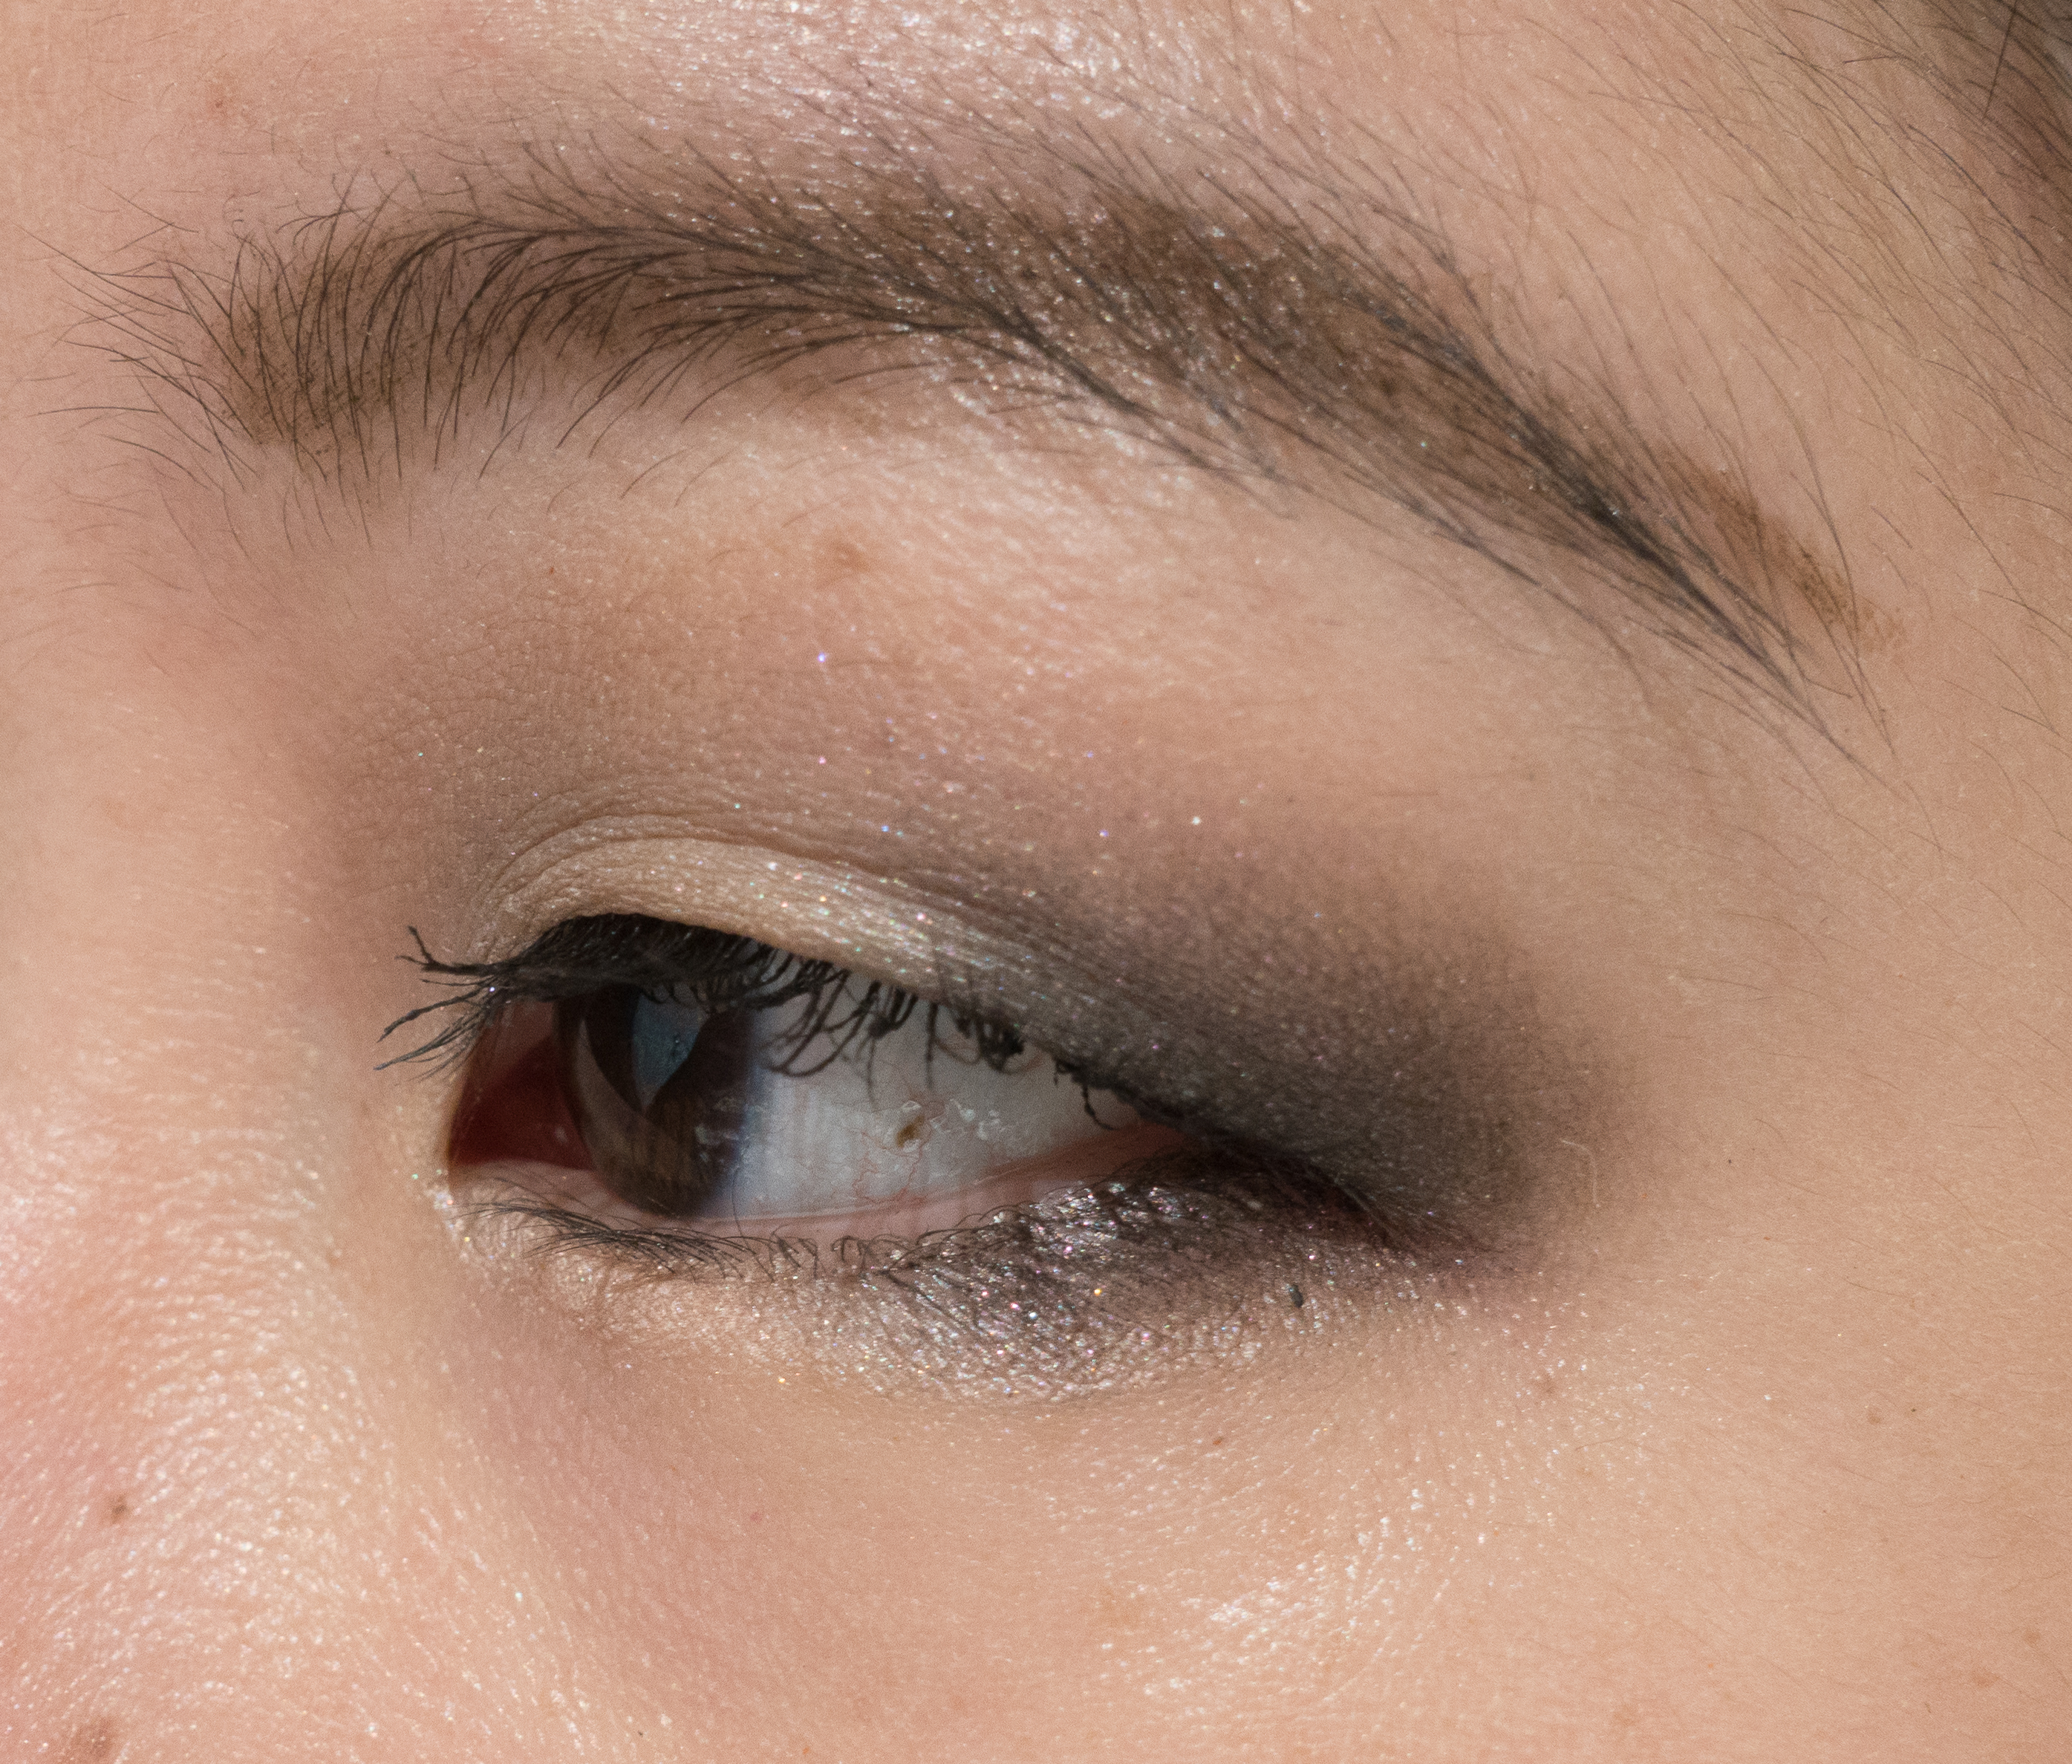
#5: Flawless Shader. without a doubt, this is my favorite brush in the collection. it is a versatile brush that gives you fast application and well blended results every time! this is now my go-to contouring brush. one pass will give you a natural contour. 2-3 passes and you have nicely chiseled bone structure. (an essential, to diminish the effects of my gluttony in asia!) it even doubles well as a blush and highlighting brush. in a pinch, i’ve also used it for finishing powders. its small footprint makes it perfect for travel.
# 4: Square Kabuki. another versatile brush! it cleans up fall out well. i’ve also used this for precise placement of blush and in conjunction with the Flawless Shader to deepen my contour. after my face contour, i drag the brush from the outer corner of my eye towards my temples. this is a tip from Rae Morris to give the eyes an extra lift. she uses Brush 3: Ultimate Cheekbone for this purpose, but i prefer to use this smaller brush or the #5 Flawless Shader. i also like this brush for contouring my nose area when i bother to do that.
#3: Ultimate Cheekbone. this brush is not high on my list, but since it serves a similar purpose to the other two brushes above, there’s no point in making you scroll all the way to the bottom for the comparison. the brush is well constructed and fool proof to use. however, the bristles are less dense than #5 Flawless Shader, so the effect is much more subtle. this brush is for you if you want a very subtle contour or if you’re a new/intimidated by contouring. it’s also good at applying intensely pigmented blush lightly, so now i reach for this brush instead of a dual fiber blush brush.

#26 Radiance
#26: Radiance: this brush is unique in my collection. a while ago i was hoping to pick up Becca’s The One Perfecting Brush but decided against it after running my hand through the bristles. Radiance, i’m happy to report, feels much softer to the touch. it’s not marketed to be the one-brush-does-all brush the way Becca’s One is, but the shape is similar. Radiance is about 3 inches wide to One Perfecting’s 3.5 inches. so far i’ve been very pleased with the way it buffs my liquid foundation into the skin. the application is fast, and the foundation melds into my skin much better than anything, other than my Beauty Blender. if pressed for time, i’ll use it for my whole face, even the under eye area, but i generally prefer to pull out something a little softer for the delicate undereye area. it’s also great for diffusing an overly pigmented blush in a hurry!

#23 Liquid Foundation, #21 Mineral Buffer, #24 Foundation Contour, #1 Deluxe Kabuki, #2 Mini Kabuki
#1 Deluxe Kabuki. not to sound like a broken record, but another versatile brush. (but that’s the mark of a great brush right?) mostly, i use this brush for blush, but i’ve also used it for highlighting and finishing powders. i particularly like it for blending out cream blushes. it gives a really nice melded into the skin look that i haven’t been able to achieve with my other brushes or fingers. it does a really good job of picking up just the right of pigment no matter how intense or natural the blush (of course i help it a little by varying the pressure when i run it through the blush). it’s also supposed to be able to contour, but i haven’t been able bring myself to use something other than the #5 Flawless Shader for that.
#2: Mini Kabuki. a more precise version of the above. it can be used for everything the above is used for, but i tend to use it for setting my under eye concealer. if i were to use one of these taper point kabukis to contour, it’d probably be this one, since the smaller head will give me a thinner line for my smaller face.
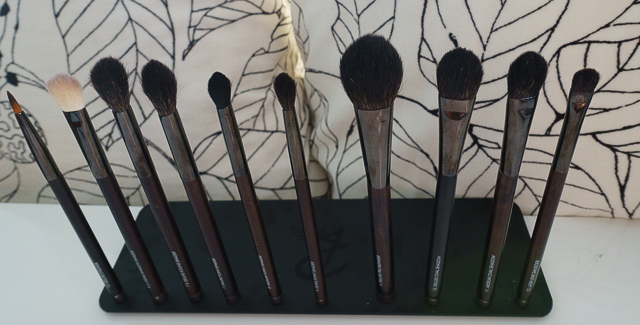
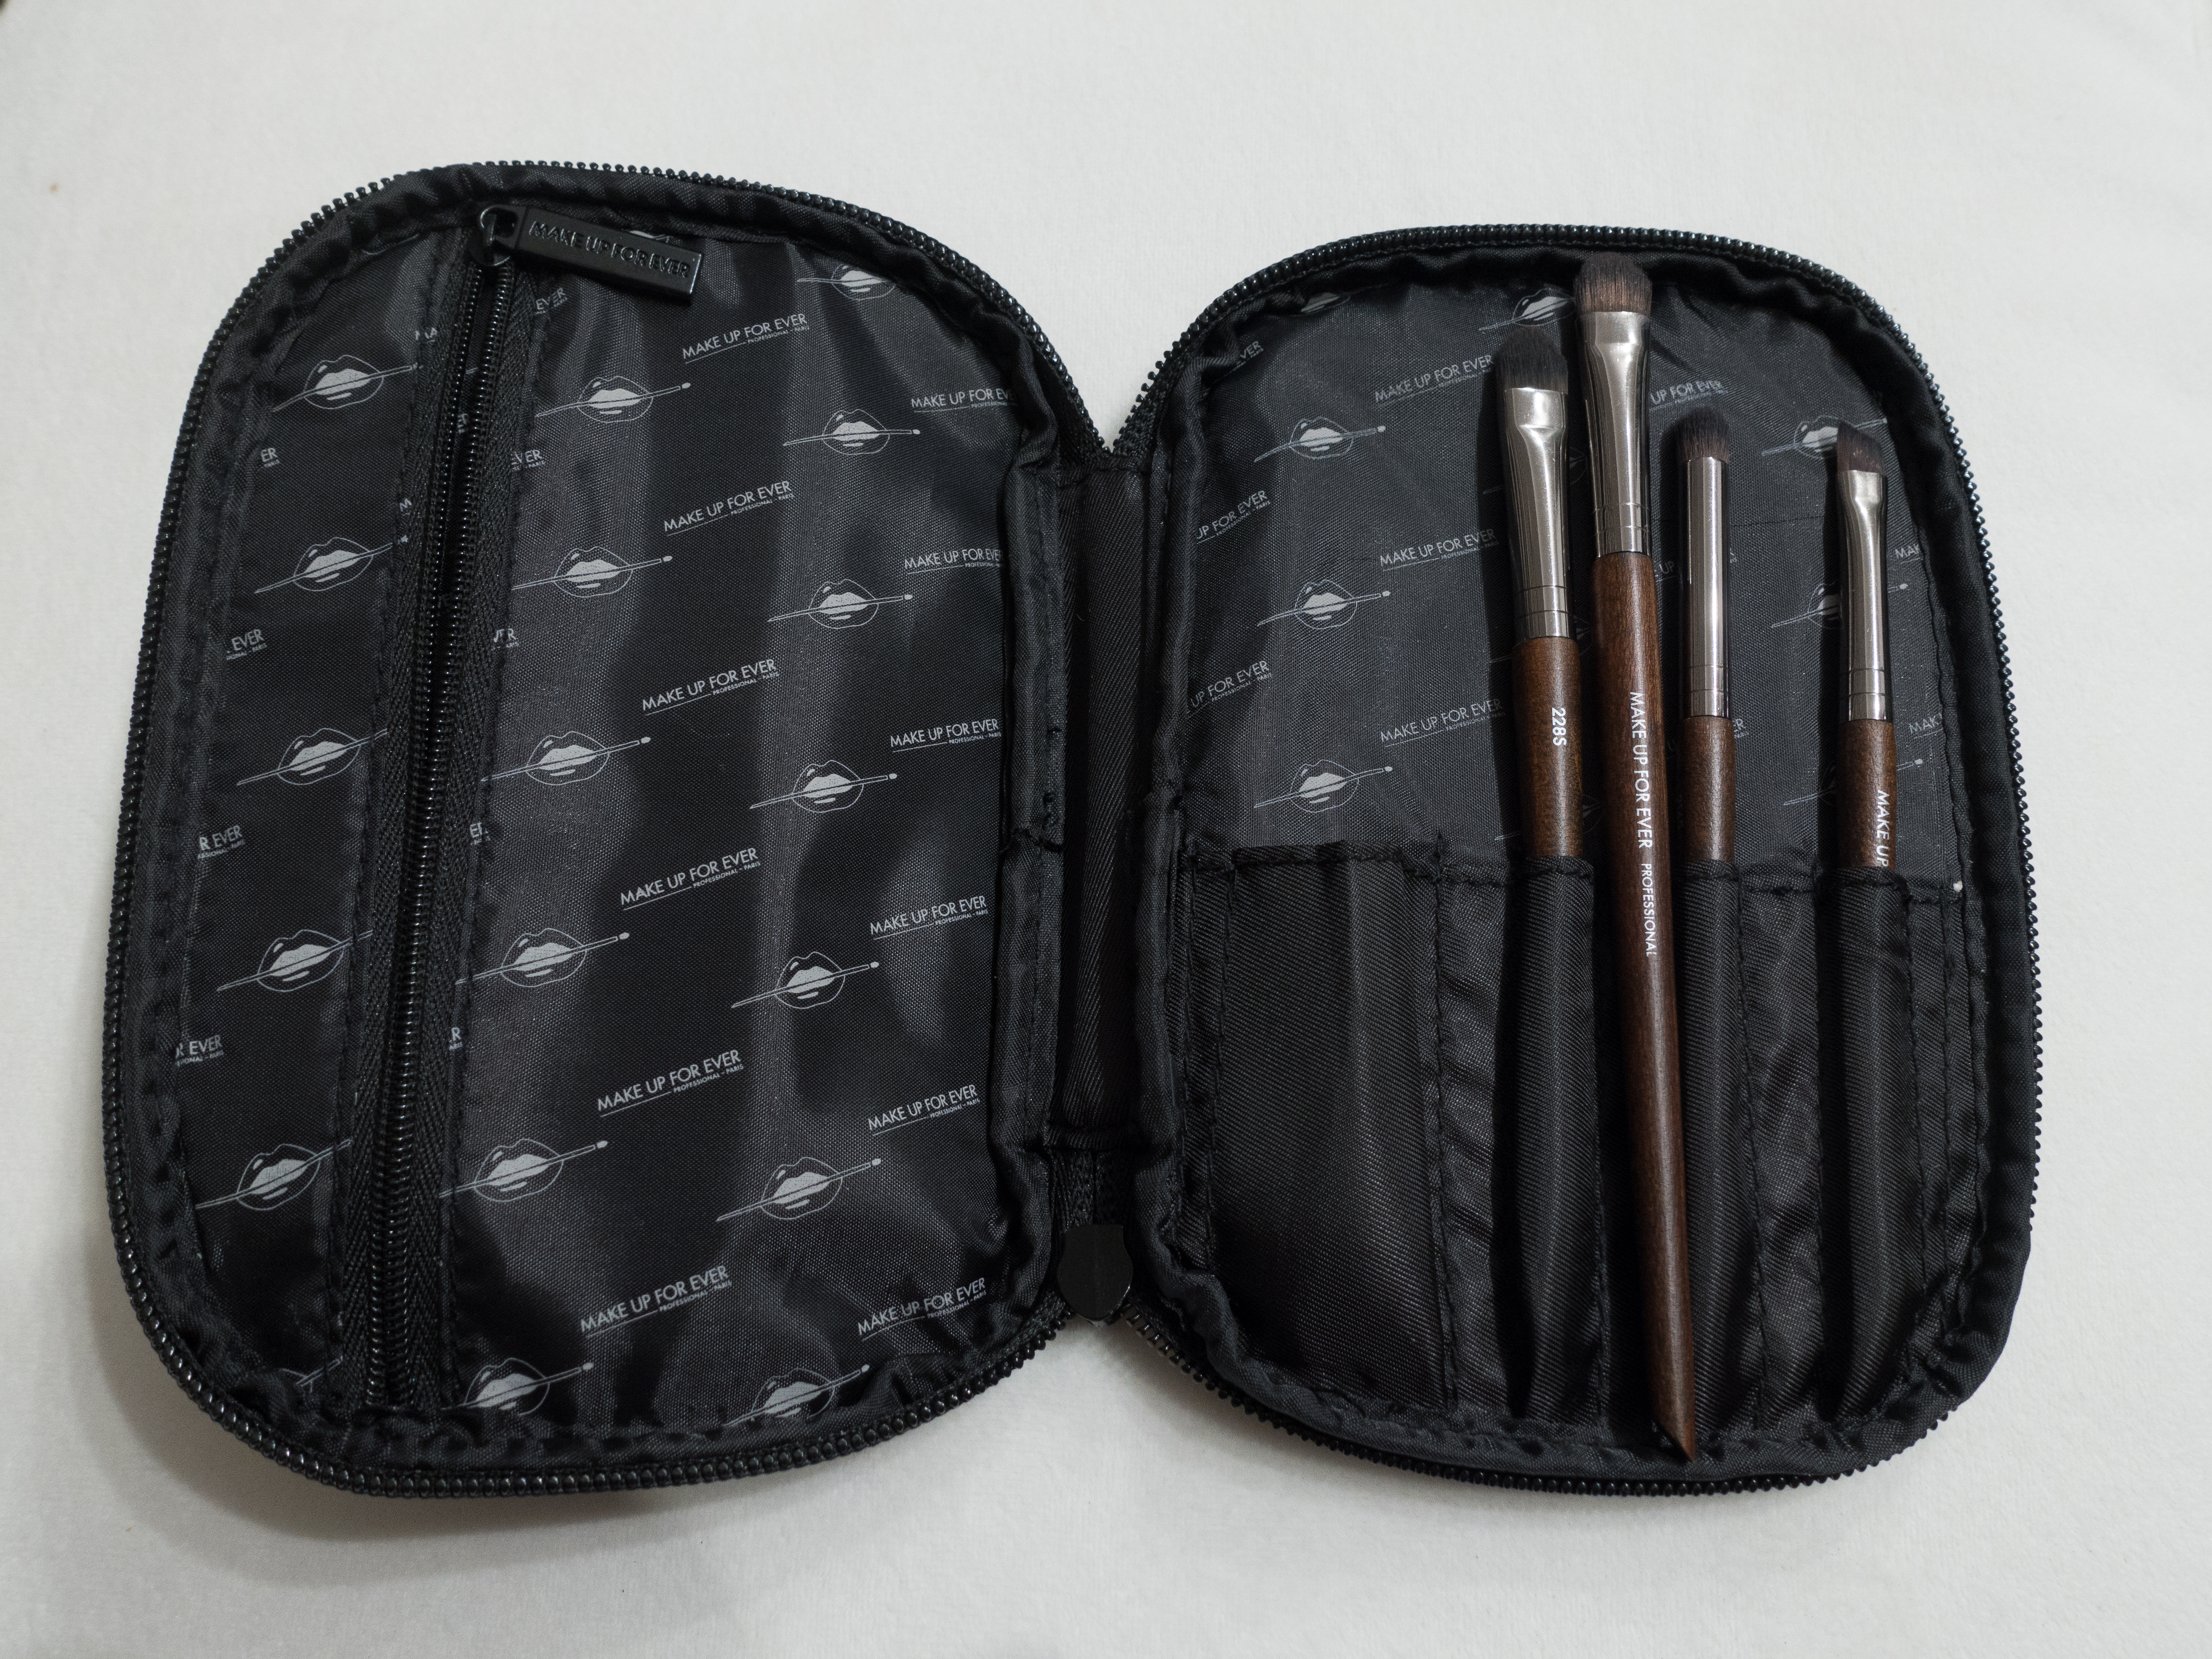
#13 Deluxe Eyeliner, #8.5 Créme Shadow Shader, #7.5 Deluxe Round Shader, #7 Deluxe Point Shader, #8 Medium Point Shader, #9 Detail Point Shader, #6 Deluxe Pro Blender, #10 Deluxe Oval Shadow, #11 Medium Oval Shadow, #12 Lash Line Smudger
i feel the repetitiveness of the eye brushes in the collection are overkill, unless the point is to give you doubles to work with. i would have preferred to see a bit more size variance or different shapes within the eye brushes.
#13 Deluxe Eye Liner. the thickest brush head of the 3 eyeliners in the collection. this is a really awesome liner brush. it’s thick enough to lay down a thick line but can also do thinner lines with light pressure. the point does not splay, and i don’t have to constantly dip my brush back into the pot for more product. it makes using gel liner quick and painless.
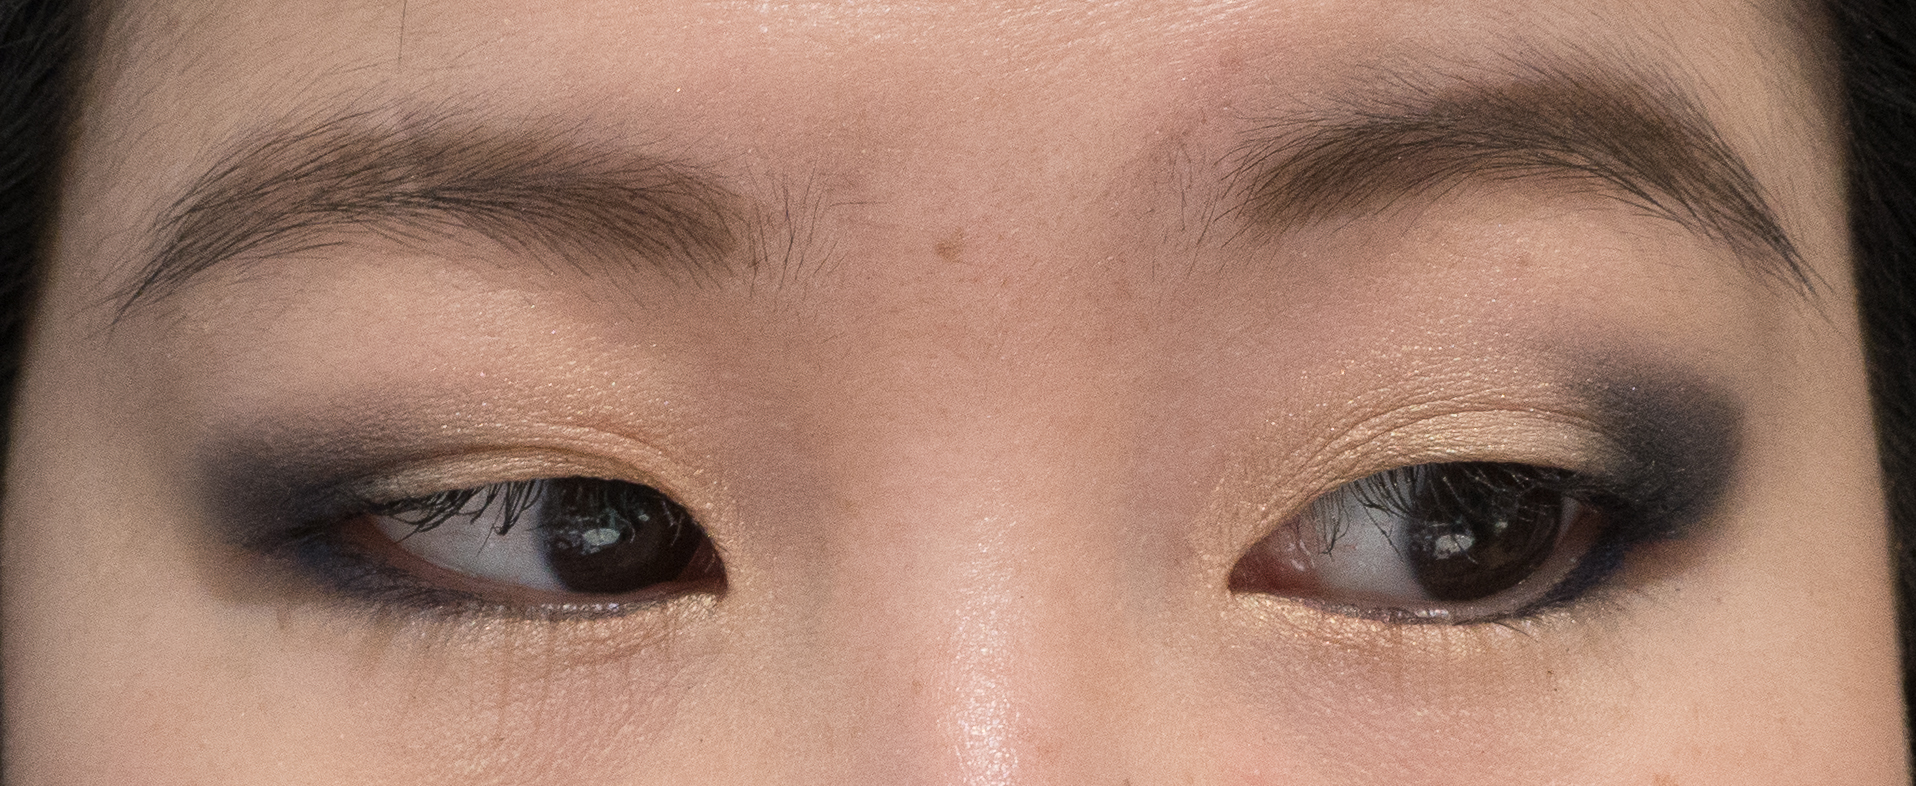
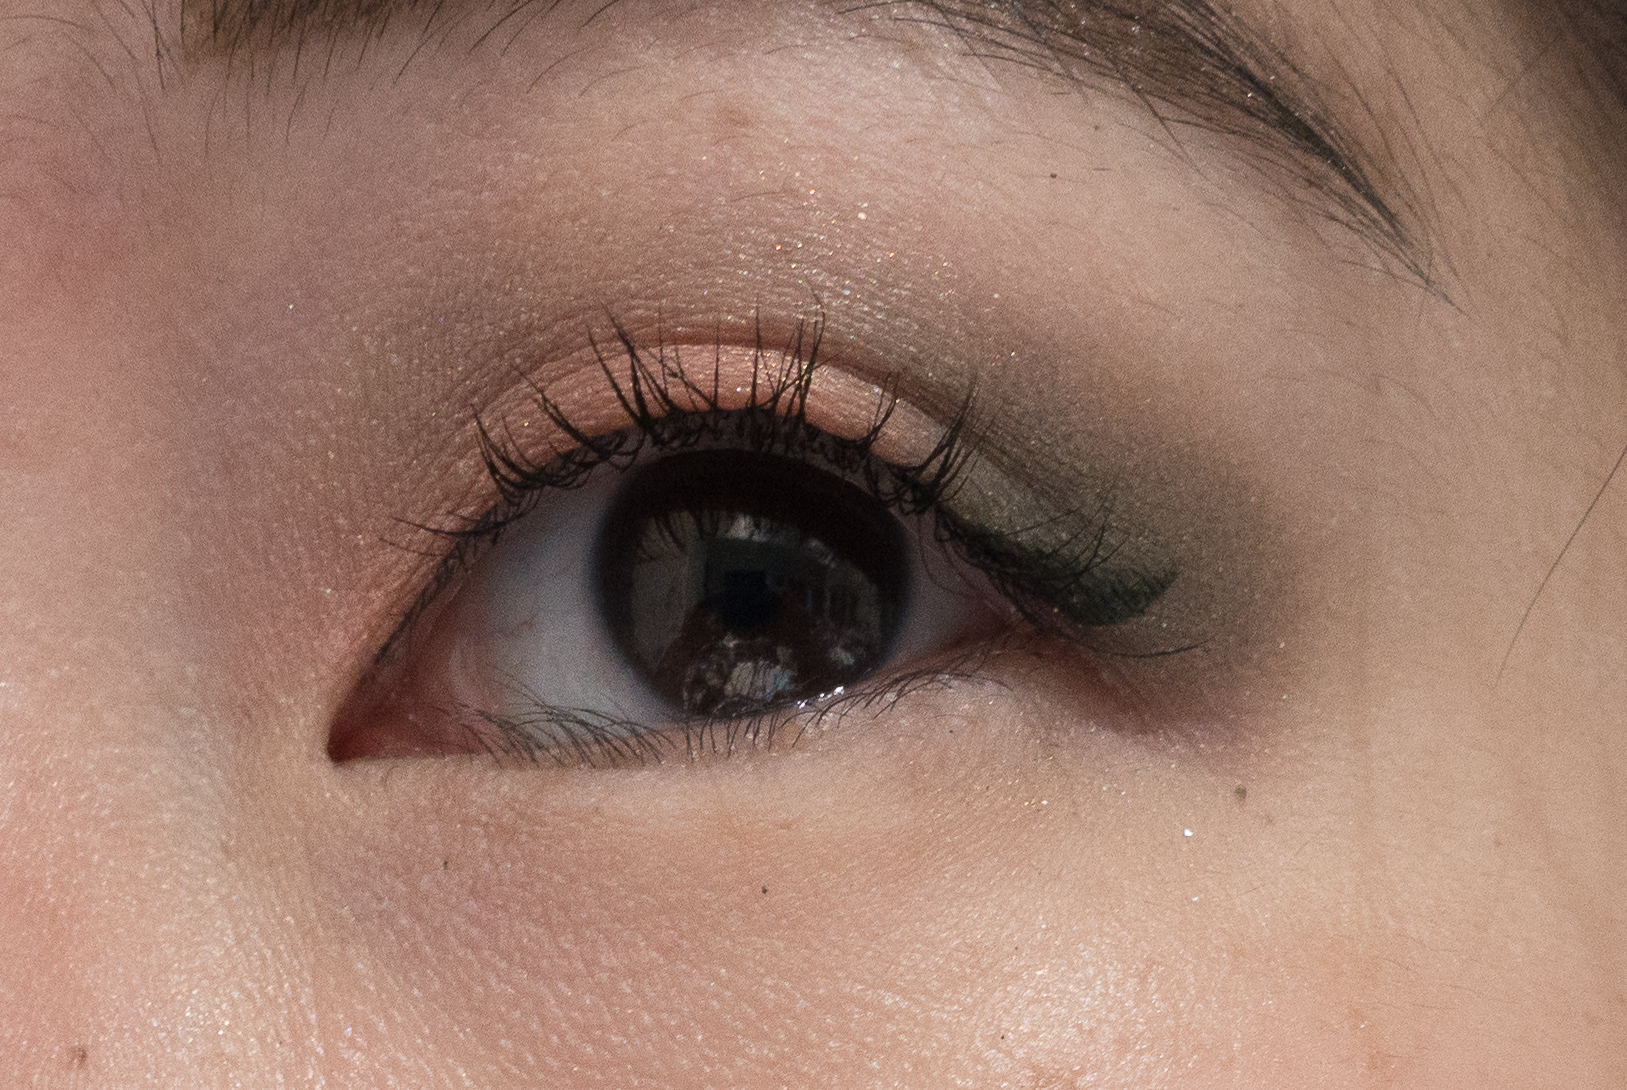
#10 Deluxe Oval Shadow & #11 Medium Oval Shadow. there is approximately a 4mm size difference, in both height and width, between the two. the Medium Oval is a bit larger than my preferred all over shadow brushes (Hakuhodo J5523 or Sigma Blending E25). however, if i’m careful and angle the brush carefully, i can do the same things with it as i do my favorites. like my favorites, this is a functional brush that can do everything in a pinch. you can lay down a couple of colors and do some general blending for some quick looks. there’s a tiny bit more eyeshadow fallout with the Rae Morris brushes, but it’s not a huge difference. i don’t tend to use the Deluxe Oval Shadow since the Medium Oval is already bigger than my preferred size. you can use it to lay down an all over shade, but i prefer a denser brush for that purpose (so more pigment is laid down to neutralize lid discoloration). occasionally, i’ll use it as a clean blending brush for a finishing touch, but it’s really not necessary. most of the eye brushes in this collection are very good at laying down color without harsh edges.
#12 Lash Line Smudger. this is the brush i end up using most as a shadow brush. because it’s smaller, i can lay down color with more precision. it also works better with the more metallic shades, as the Oval Shadow brushes tend to diffuse the metallic effect a little as the color is being laid down. it’s small and fine enough to use as a liner brush.
#6 Deluxe Pro Blender. Rae Morris suggests this as a blending finishing brush for the eyes or powder contouring. it’s a bit large for my eye area and, like i’ve mentioned before, Rae Morris brushes blend and diffuse so well, you don’t really need a finisher. i use this mostly for blush or patting setting powder under my eyes.
is 4 point blenders in a collection excessive? especially since one of them doesn’t warrant a separate number of its own? i guess if the size works for you, you might be happy to have an extra one on hand to use as a clean blending brush. sadly, #7 Deluxe Point Shader is already too big for my lids, so i definitely do not need #7.5 Deluxe Round Shader. while #7.5 Round Shader is rounder than its sibling #7, it does still have a mild point. i haven’t played with these two much since the bigger size requires more experimentation on my part. i do really enjoy #8 Medium Point Shader and #9 Detail Point Shader though! while i lament the fact that they’re not as soft as my Hakuhodo or Wayne Goss brushes, they are easier to use! crease color are placed exactly where it needs to go, and blending is achieved faster without diffusing too far. it’s great at pulling out your eyeshadow to a point instead of a blob. definitely the easiest crease shadow brush to use in my collection. i’d definitely recommend these two brushes for makeup newbies or those who feel frustrated that they’re shadows never quite blend to the shape they’d like.
#8.5 Créme Shadow Shader. why 8.5? why not a different number since it’s not a point shader? purely synthetic, this brush functions well. it’s one of the few in my collection that actually does a decent job of picking up and applying my Makeup Forever Aqua Creams. if you’re looking for a cream eyeshadow brush, this one would be high in my consider list.
#23 Liquid Foundation, #21 Mineral Buffer, #24 Foundation Contour, #1 Deluxe Kabuki, #2 Mini Kabuki
#24 Foundation Contour. a synthetic brush that works very well for blending out under eye concealer. this is the brush i reach for if i’m not using my Beauty Blender.
#23 Liquid Foundation. a duo fiber brush made of synthetic and goat hair. it gets the job done but not as fast nor as well as #26 Radiance Brush.
#20 Concealer. i don’t use concealer brushes like this, but this one performed better than the same types in my collection. if you like this type of brush, i’d definitely recommend it. it places concealer and blends very well. though it doesn’t come to a fine point, it places small dots of concealer pretty precisely.
#21 Mineral Buffer. how you like this brush will depend on what kind of coverage you want from your mineral foundation. if you want medium to full coverage, this brush is not dense enough. if you’re looking for light to medium coverage, it does it well.
these are all the brushes i’ve tried more than twice so far. so far, i’m loving #5 Flawless Shader and #26 Radiance brushes. i’d buy these again in a heartbeat. in fact, i’m already contemplating the purchase of another #5 Flawless Shader for a loved one. i’m also very happy to own #8 Medium Point Shader and #9 Detailed Point Shader. these are the easiest crease/blending brushes i own to date, but i’ll be keeping an eye out to see if there’s any close Hakuhodo matches. in general, i’d say that i prefer Hakuhodo brushes because they’re softer and perform just as well if not better.
it is difficult to say which has the better economic value because which is the more apples to apples comparison? do i compare the Rae Morris brushes that are made from blue squirrel with the Hakuhodo goat brushes which are just as soft, if not softer? Or is it more fair to compare them with the Hakuhodo blue squirrel line? obviously, if you compare them with the Hakuhodo goat line, Hakuhodo will come off as the more budget friendly option. however, the beauty and utility of Rae Morris brushes can not be denied. it would be even better if she had magnetized the whole collection, instead of leaving 4 brushes unmagnetized and forcing you to buy 2 extra holders for them. in retrospect, i probably would have been better off with the Rae Morris Personal Set and picking up Radiance and Flawless Shader separately, but i wanted to review the whole set for the blog. if you’re new to makeup or are considering gifting brushes to someone new to makeup, i would definitely consider some of these brushes. the way they’re shaped help correct color placement and lessens the need for skill in blending. if you’re an avid collector, you’ll have to decide whether aesthetics and magnet functionality is worth giving up some bristle softness for.
Readers, what do you think of the Rae Morris Brush Collection? do you think the magnet is functional or gimmicky? what’s your preferred method of brush storage? please share your thoughts with me in the comments!