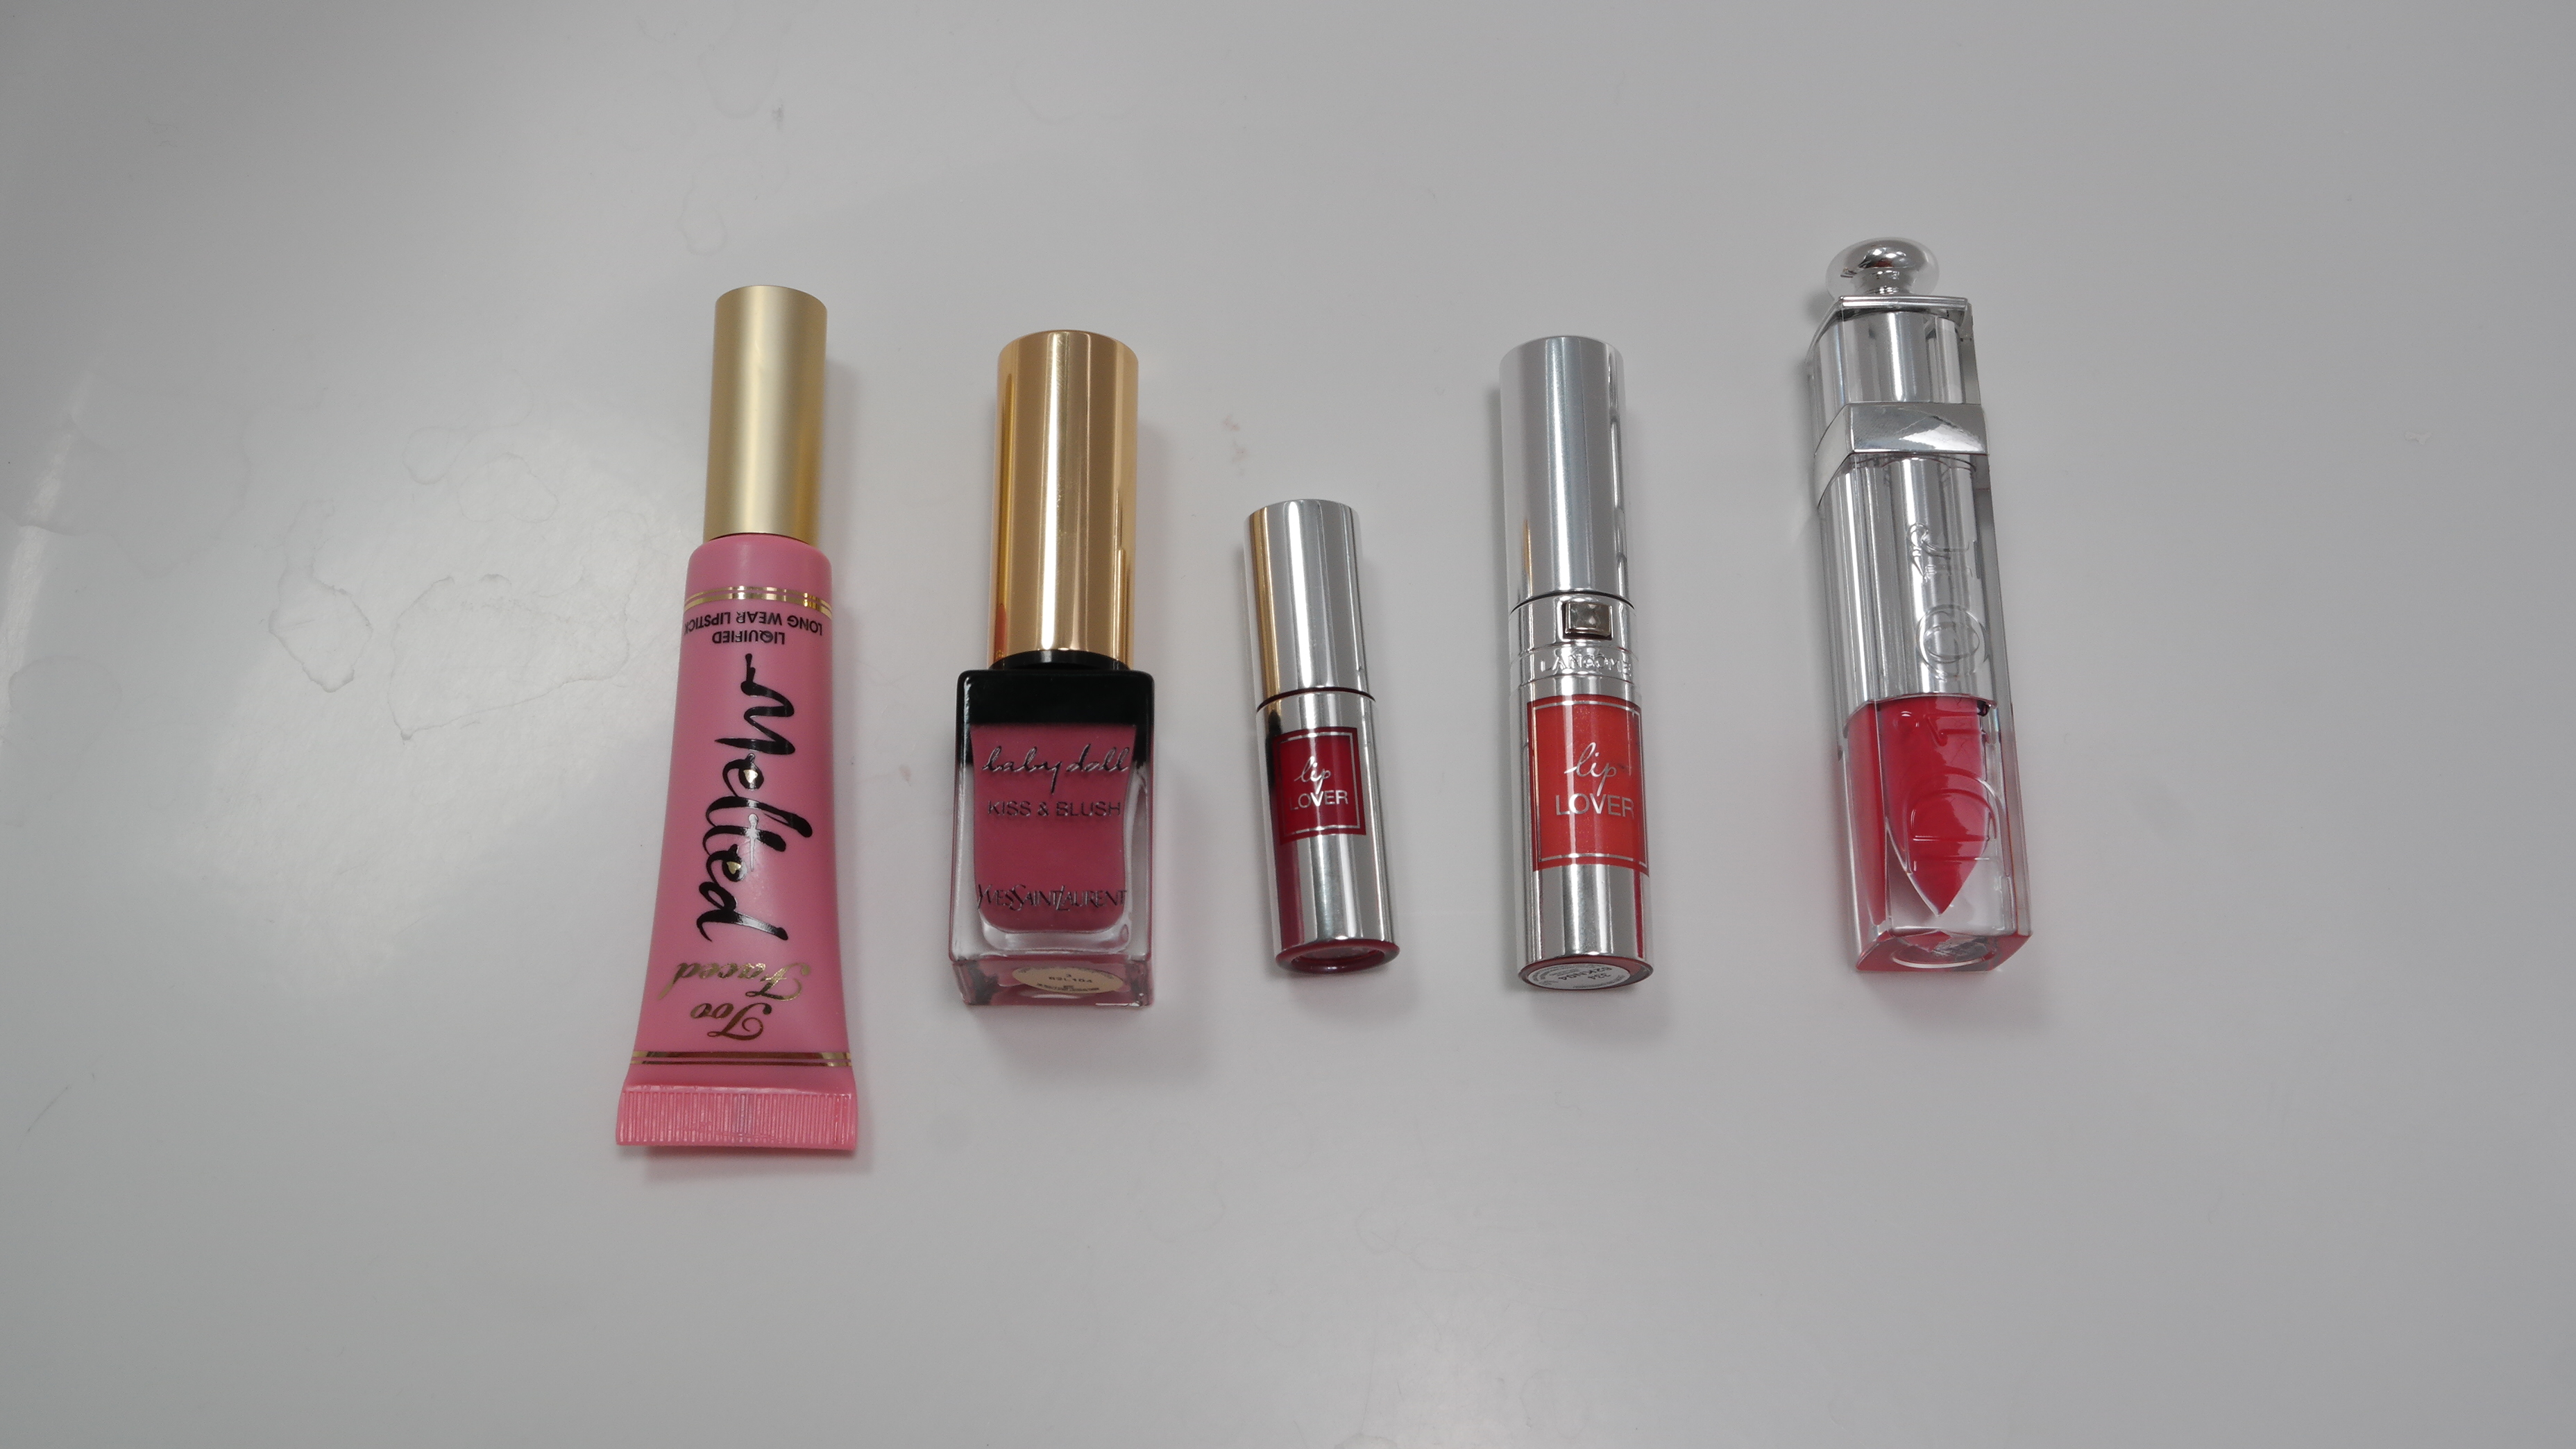
a few new lip products caught my eye this season. i’m going to compare and contrast them for you, so you can a better feel about which one will earn your hard earned money. up for the battle rounds are Lancôme Lip Lover vs Dior Addict Fluid Stick and Yves Saint Laurent’s Baby Doll Kiss and Blush vs Too Faced Melted Liquified Lipsticks. ok, i know YSL vs Too Faced isn’t as fair of a comparison, as one is a multitasking product, but they feel and look similar on the lips.

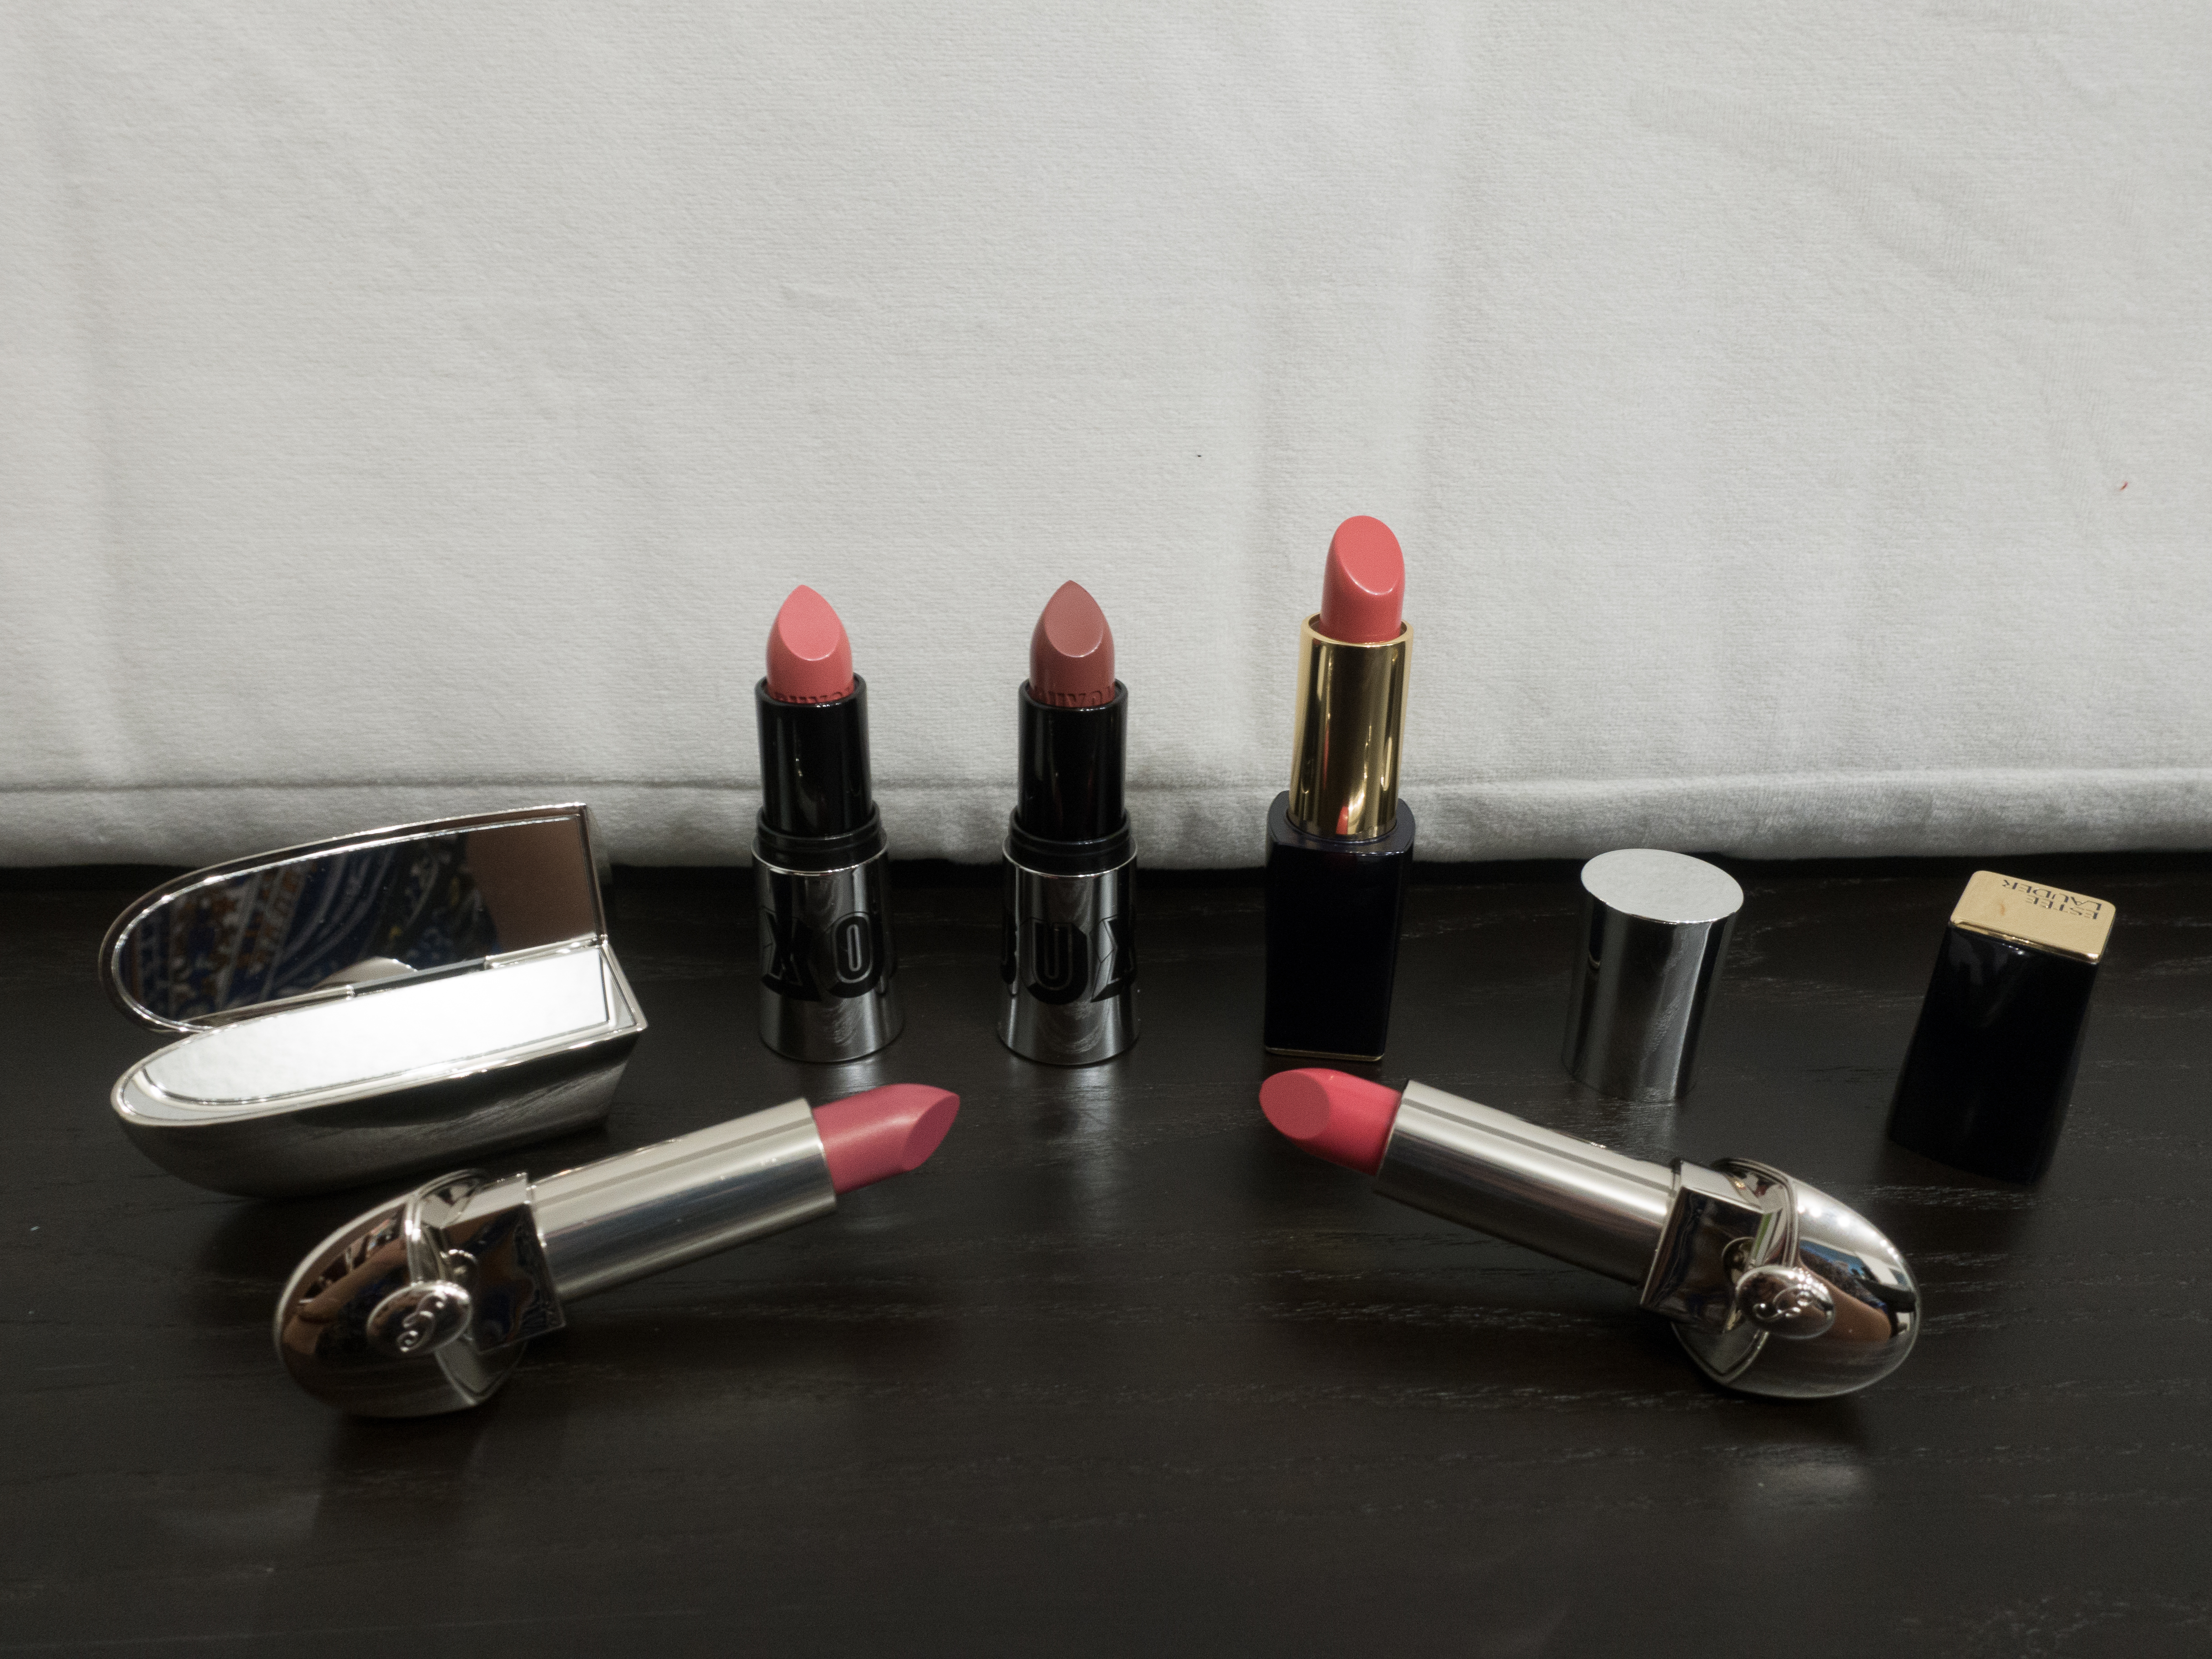
Too Faced, YSL, Lancôme and Dior
up for comparison, i have Lancôme Lip Lover in 355 Framboise Etoile and Dior Addict Fluid Stick in 575 Wonderland. i’m going to compare Framboise Etoile and Wonderland because they’re a little more similar in color. since my Framboise Etoile was a deluxe sample, i’ve included Lip Lover 334 Corail Cabriole, so you can see what a full size tube looks like

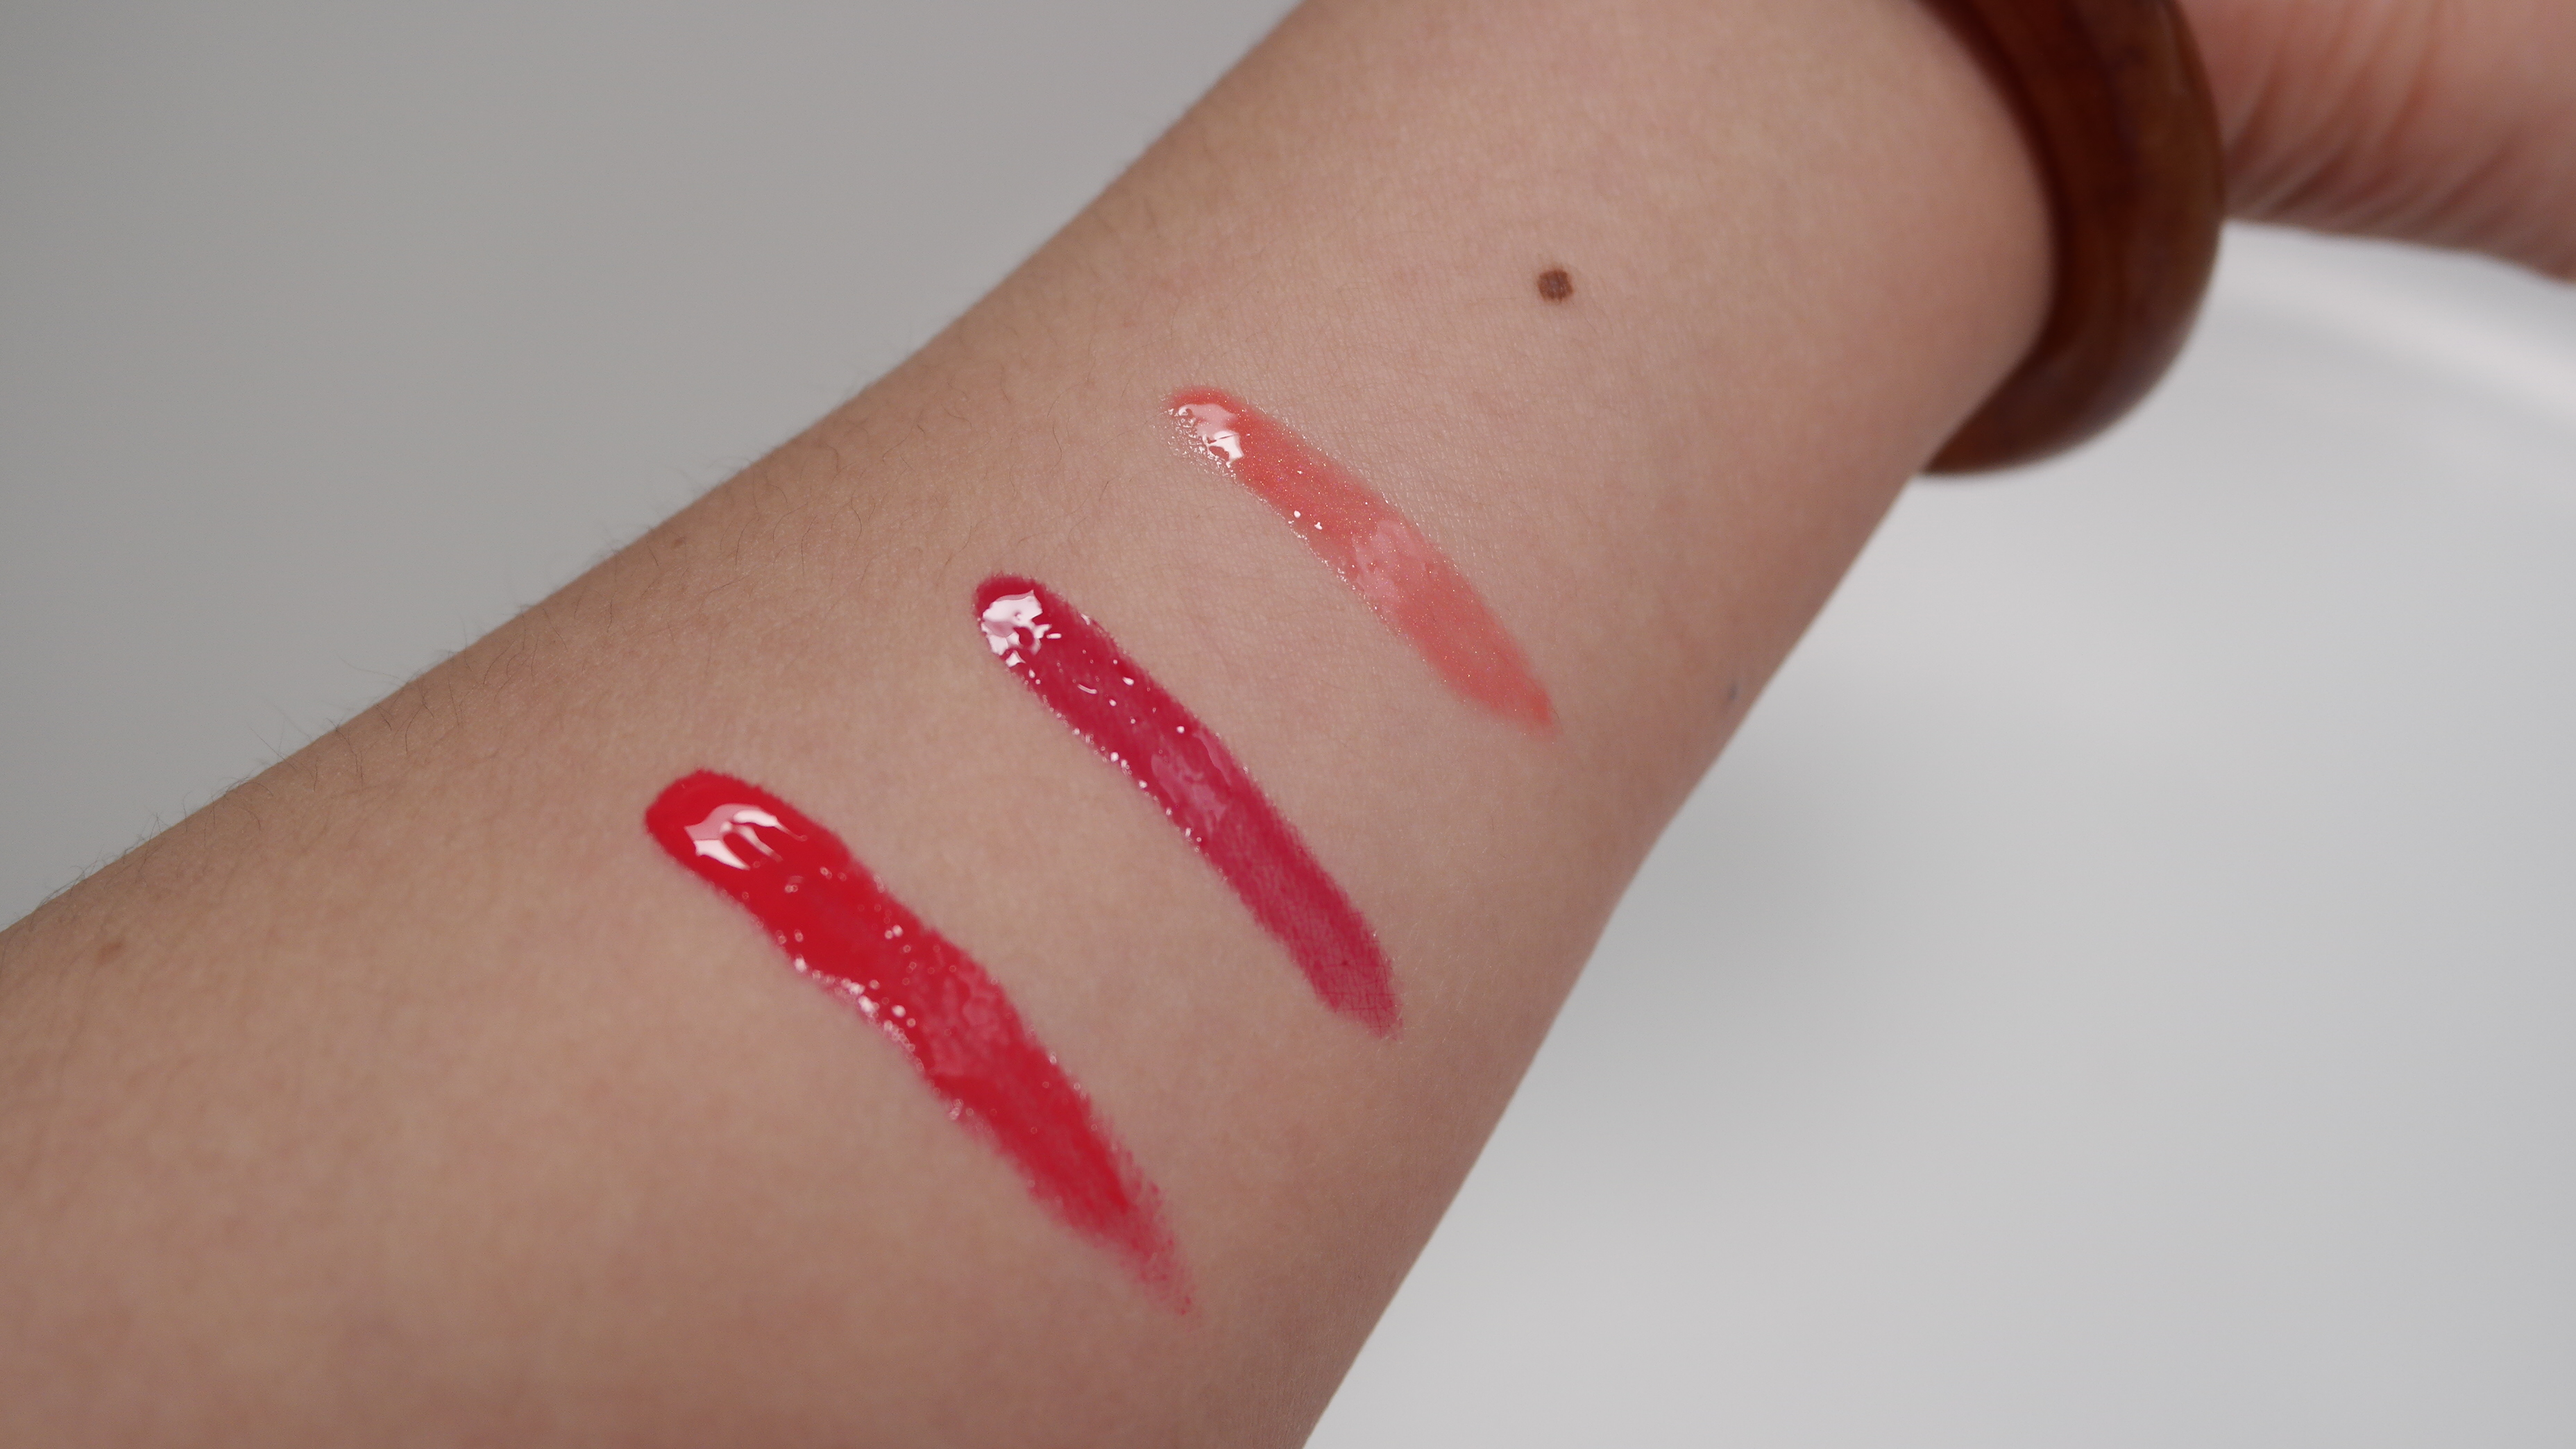
(L to R) Wonderland, Framboise Etoile and Corail Cabriole

Lip Lover in 334 Corail Cabriole and 355 Framboise Etoile and Addict Fluid Stick in 575 Wonderland
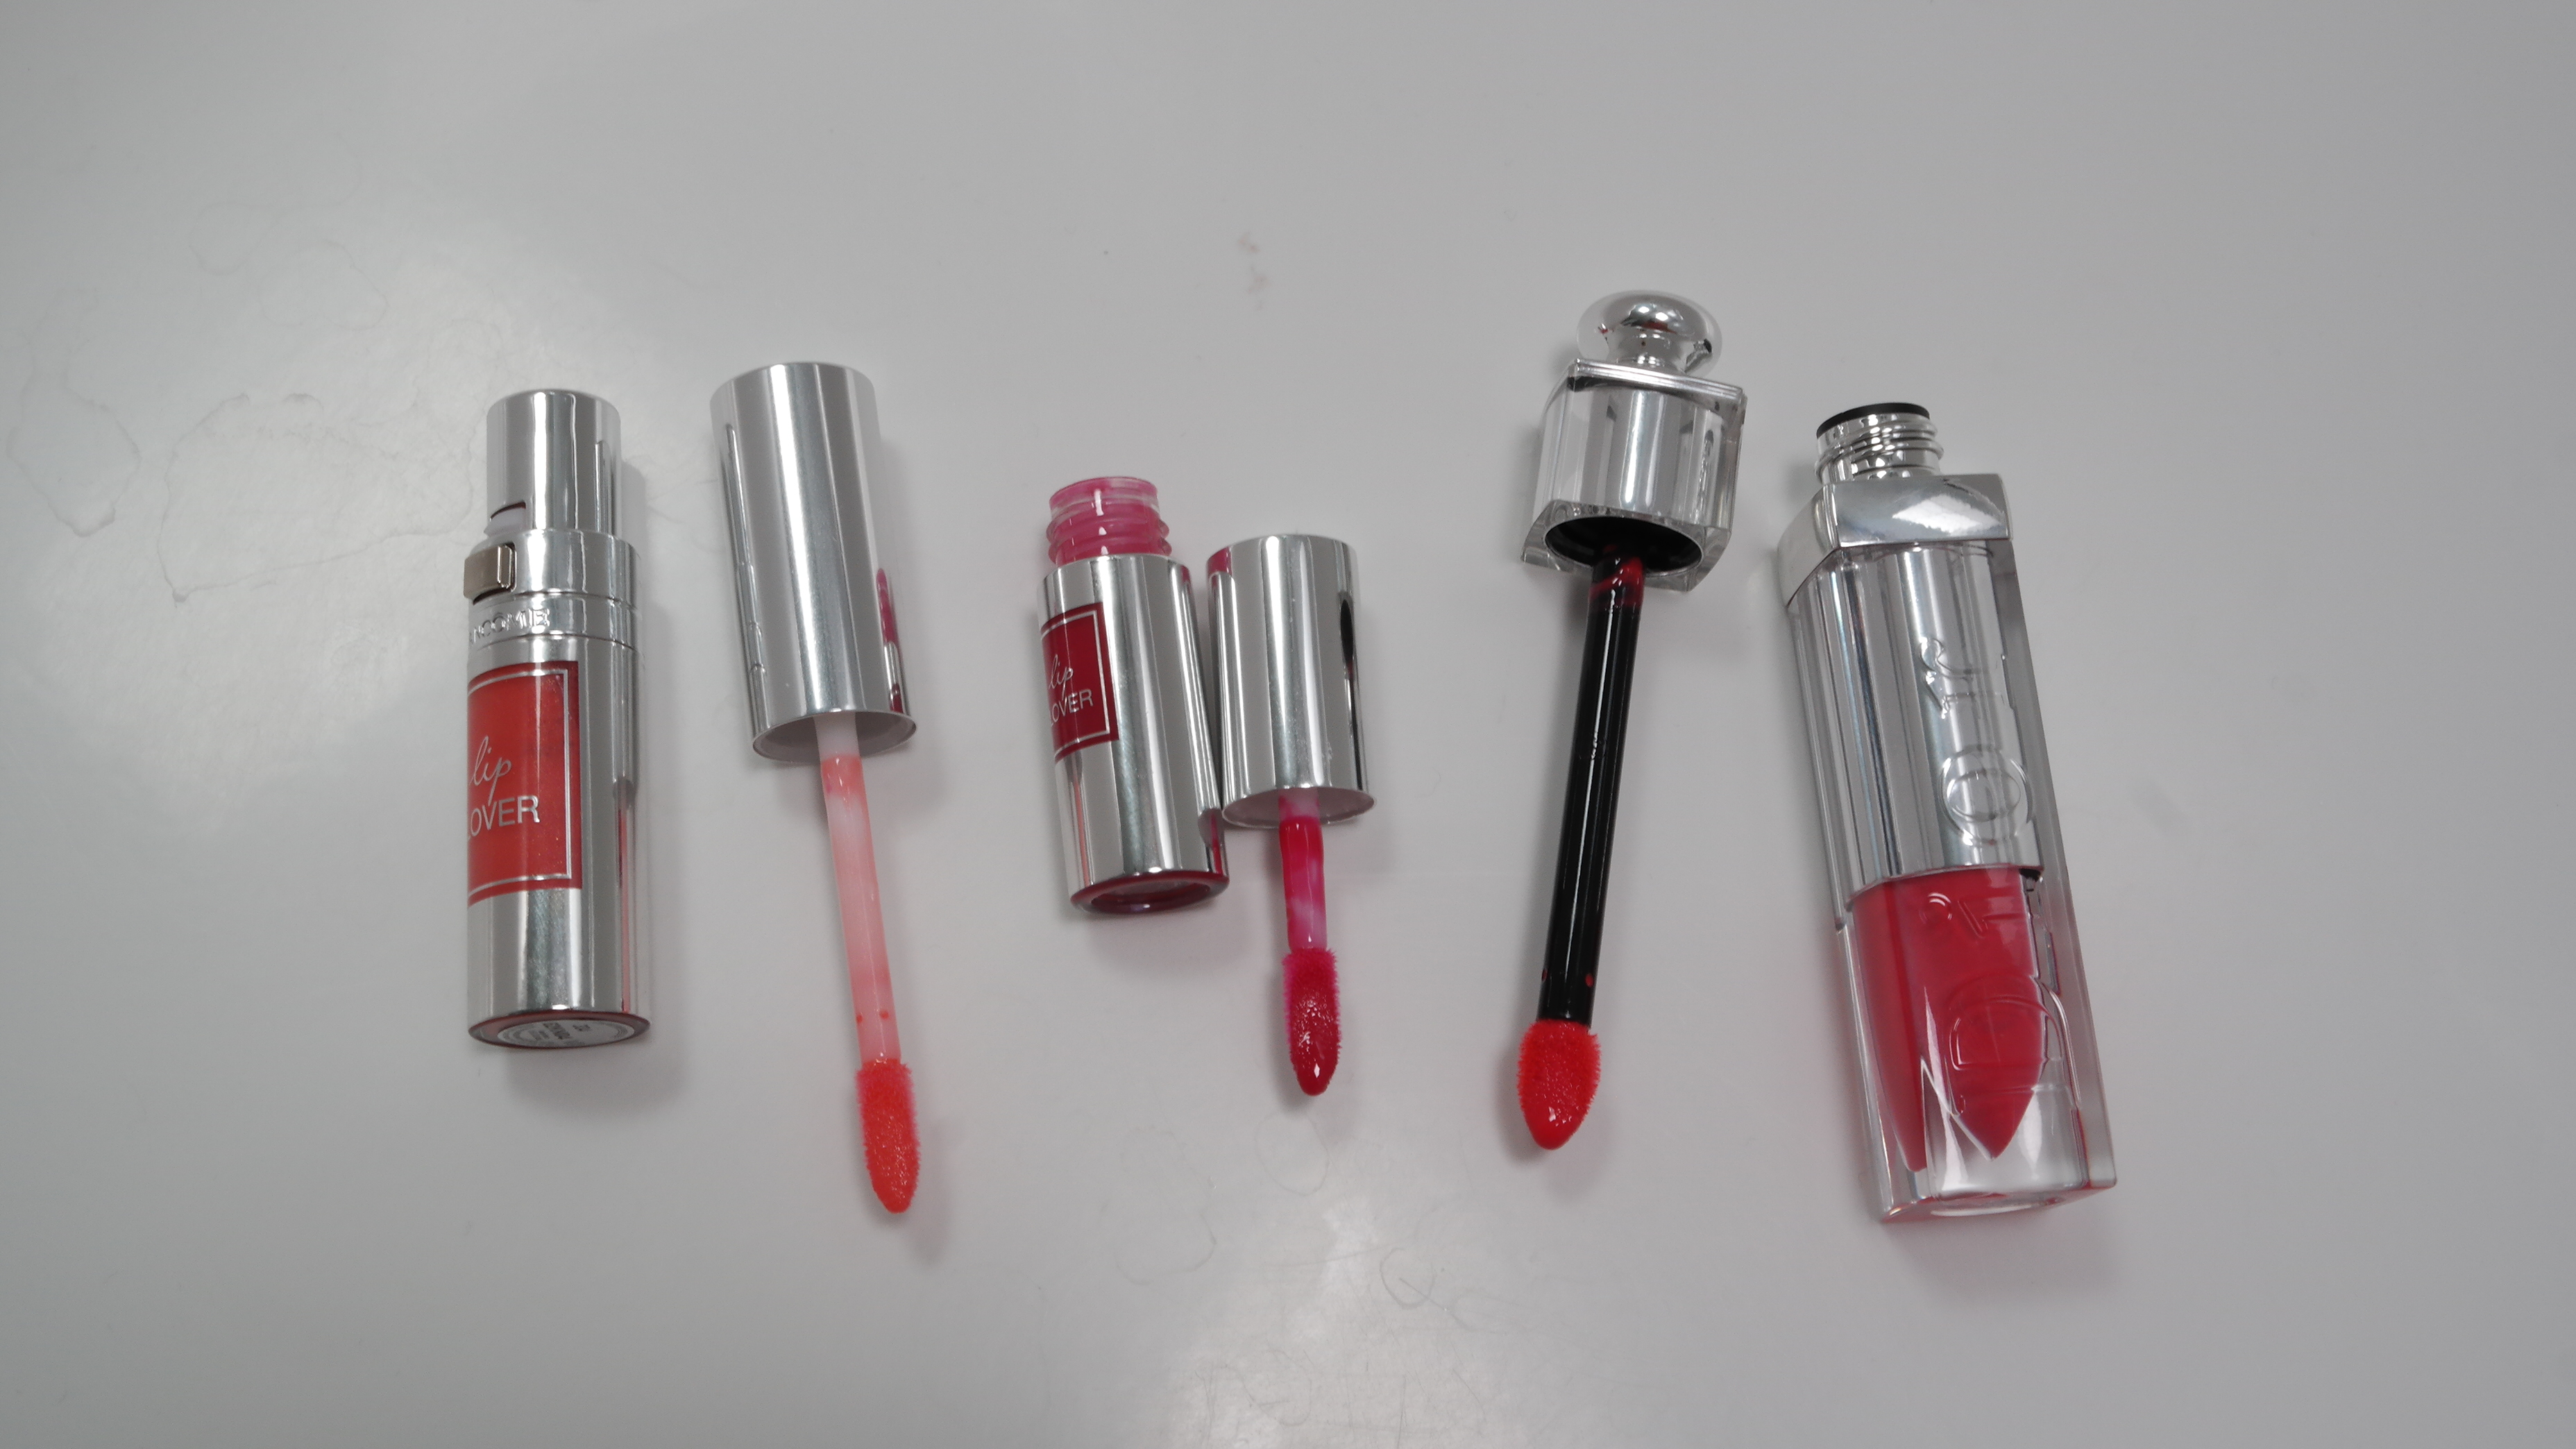
Lip Lover contains .14oz of product for $23 while Addict Fluid Stick comes with .18oz of product for $35, so Lancôme comes out a little ahead in the product to cost ratio. Lip Lover has a thin, flexible wand topped with a thin doe foot applicator that comes to a fine point. the combined elements give you really great control, allowing you to put the color exactly where you’d like. Addict Fluid Stick comes with a stiff wand, with a rounder and wider applicator than Lip Lover’s. although it’s not quite as precise as Lip Lover’s, Addict Fluid Stick’s applicator still gives you great control. it’s also softer and cushier than Lip Lover’s.

Lancôme Lip Lover in Framboise Etoile
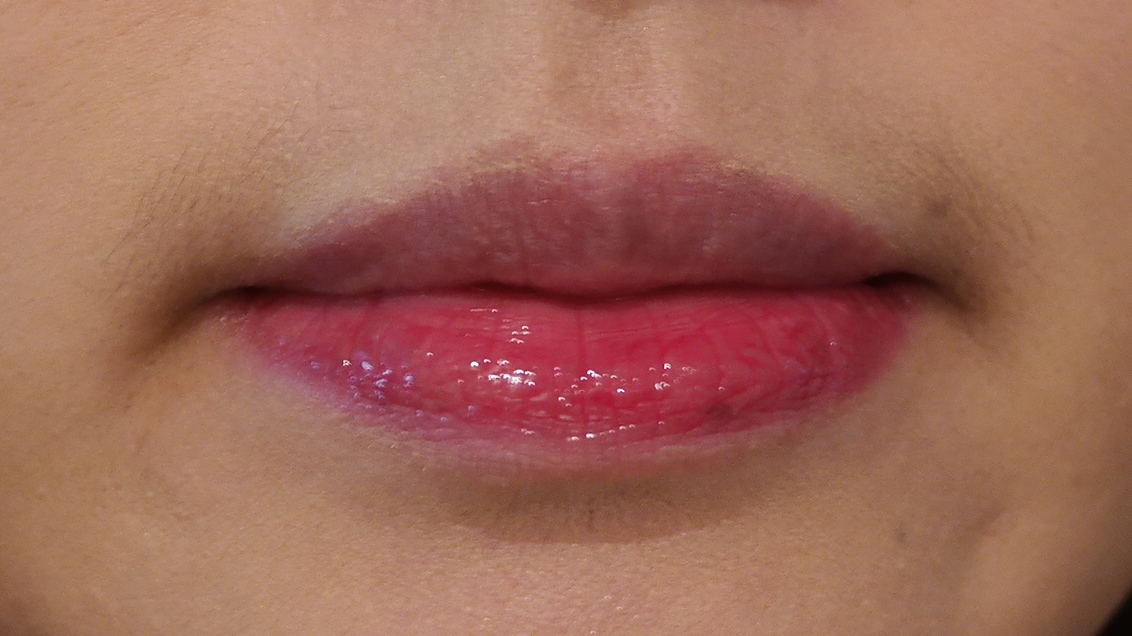
Lip Lover 355 Framboise Etoile is a lovely bright berry color appropriate to its name. my 3 years of french in high school tells me that framboise means raspberry, and google translate tells me etoile means star, just in case you were wondering. it looks like a stain + gloss hybrid. the pigmentation is good, but there’s also a quality of translucence to it that gives the bright color a very natural, wearable look. here are some close ups for you to see the effect.

Framboise Etoile on just the bottom lip

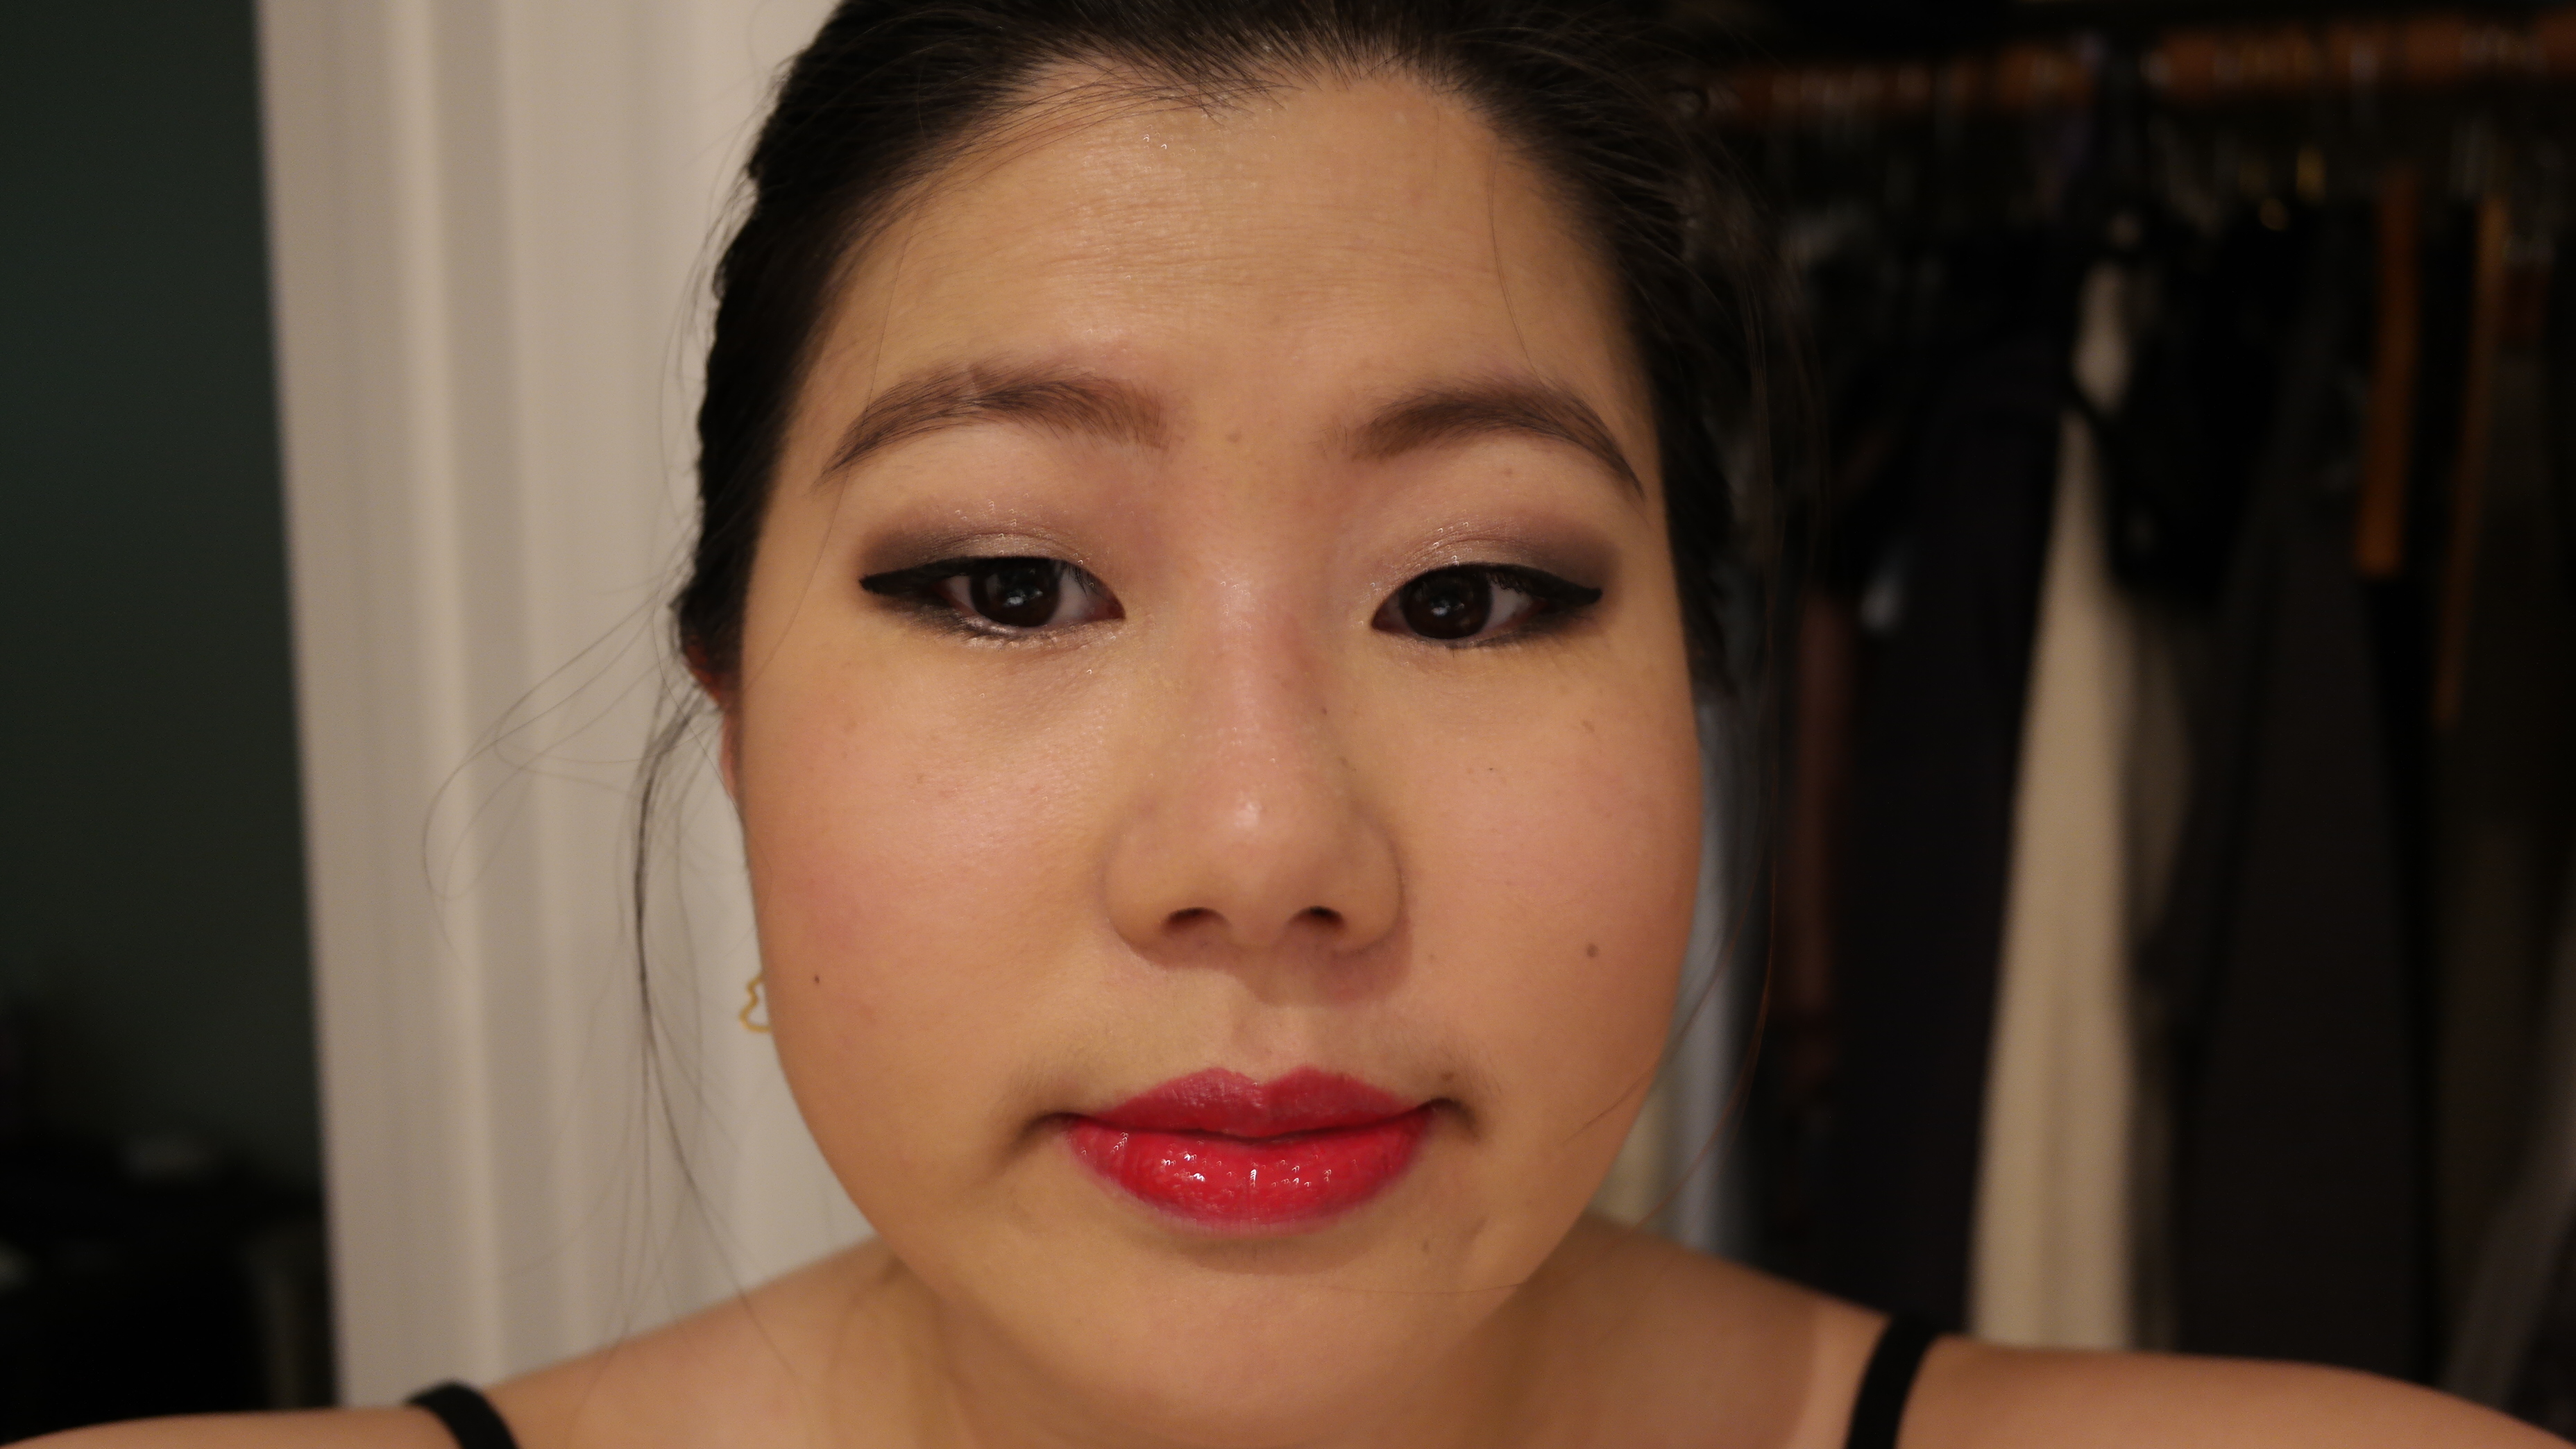
Framboise Etoile lasts quite well through drinks, but after a full meal, only a light stain will remain. here’s a picture of me after a lunch of salad and finger sandwiches

Framboise Etoile worn down to a stain
obviously the look would be more polished if i reapplied, but at least the stain leaves a MLBB look. the formula feels moisturizing. the texture is just like an ointment based lip balm such as Kiehl’s (not the waxy kind like Nuxe). it’s not thick or sticky at all. this is just the type of product i like to put on in the morning before going out to eat lunch with someone. there’s enough pigmentation and shine to look polished while the translucence makes it look natural and effortless. after lunch, there’s enough color from the stain to keep me from looking washed out while i run my errands, if i can’t be bothered to reapply. however, Lip Lover in lighter colors do not stain. in fact, Corail Cabriole 334 looks just like a mildly pigmented gloss. (yes, that one is definitely being returned) you can see it down below.

Lancôme Lip Lover Corail Cabriole on bottom half of lip
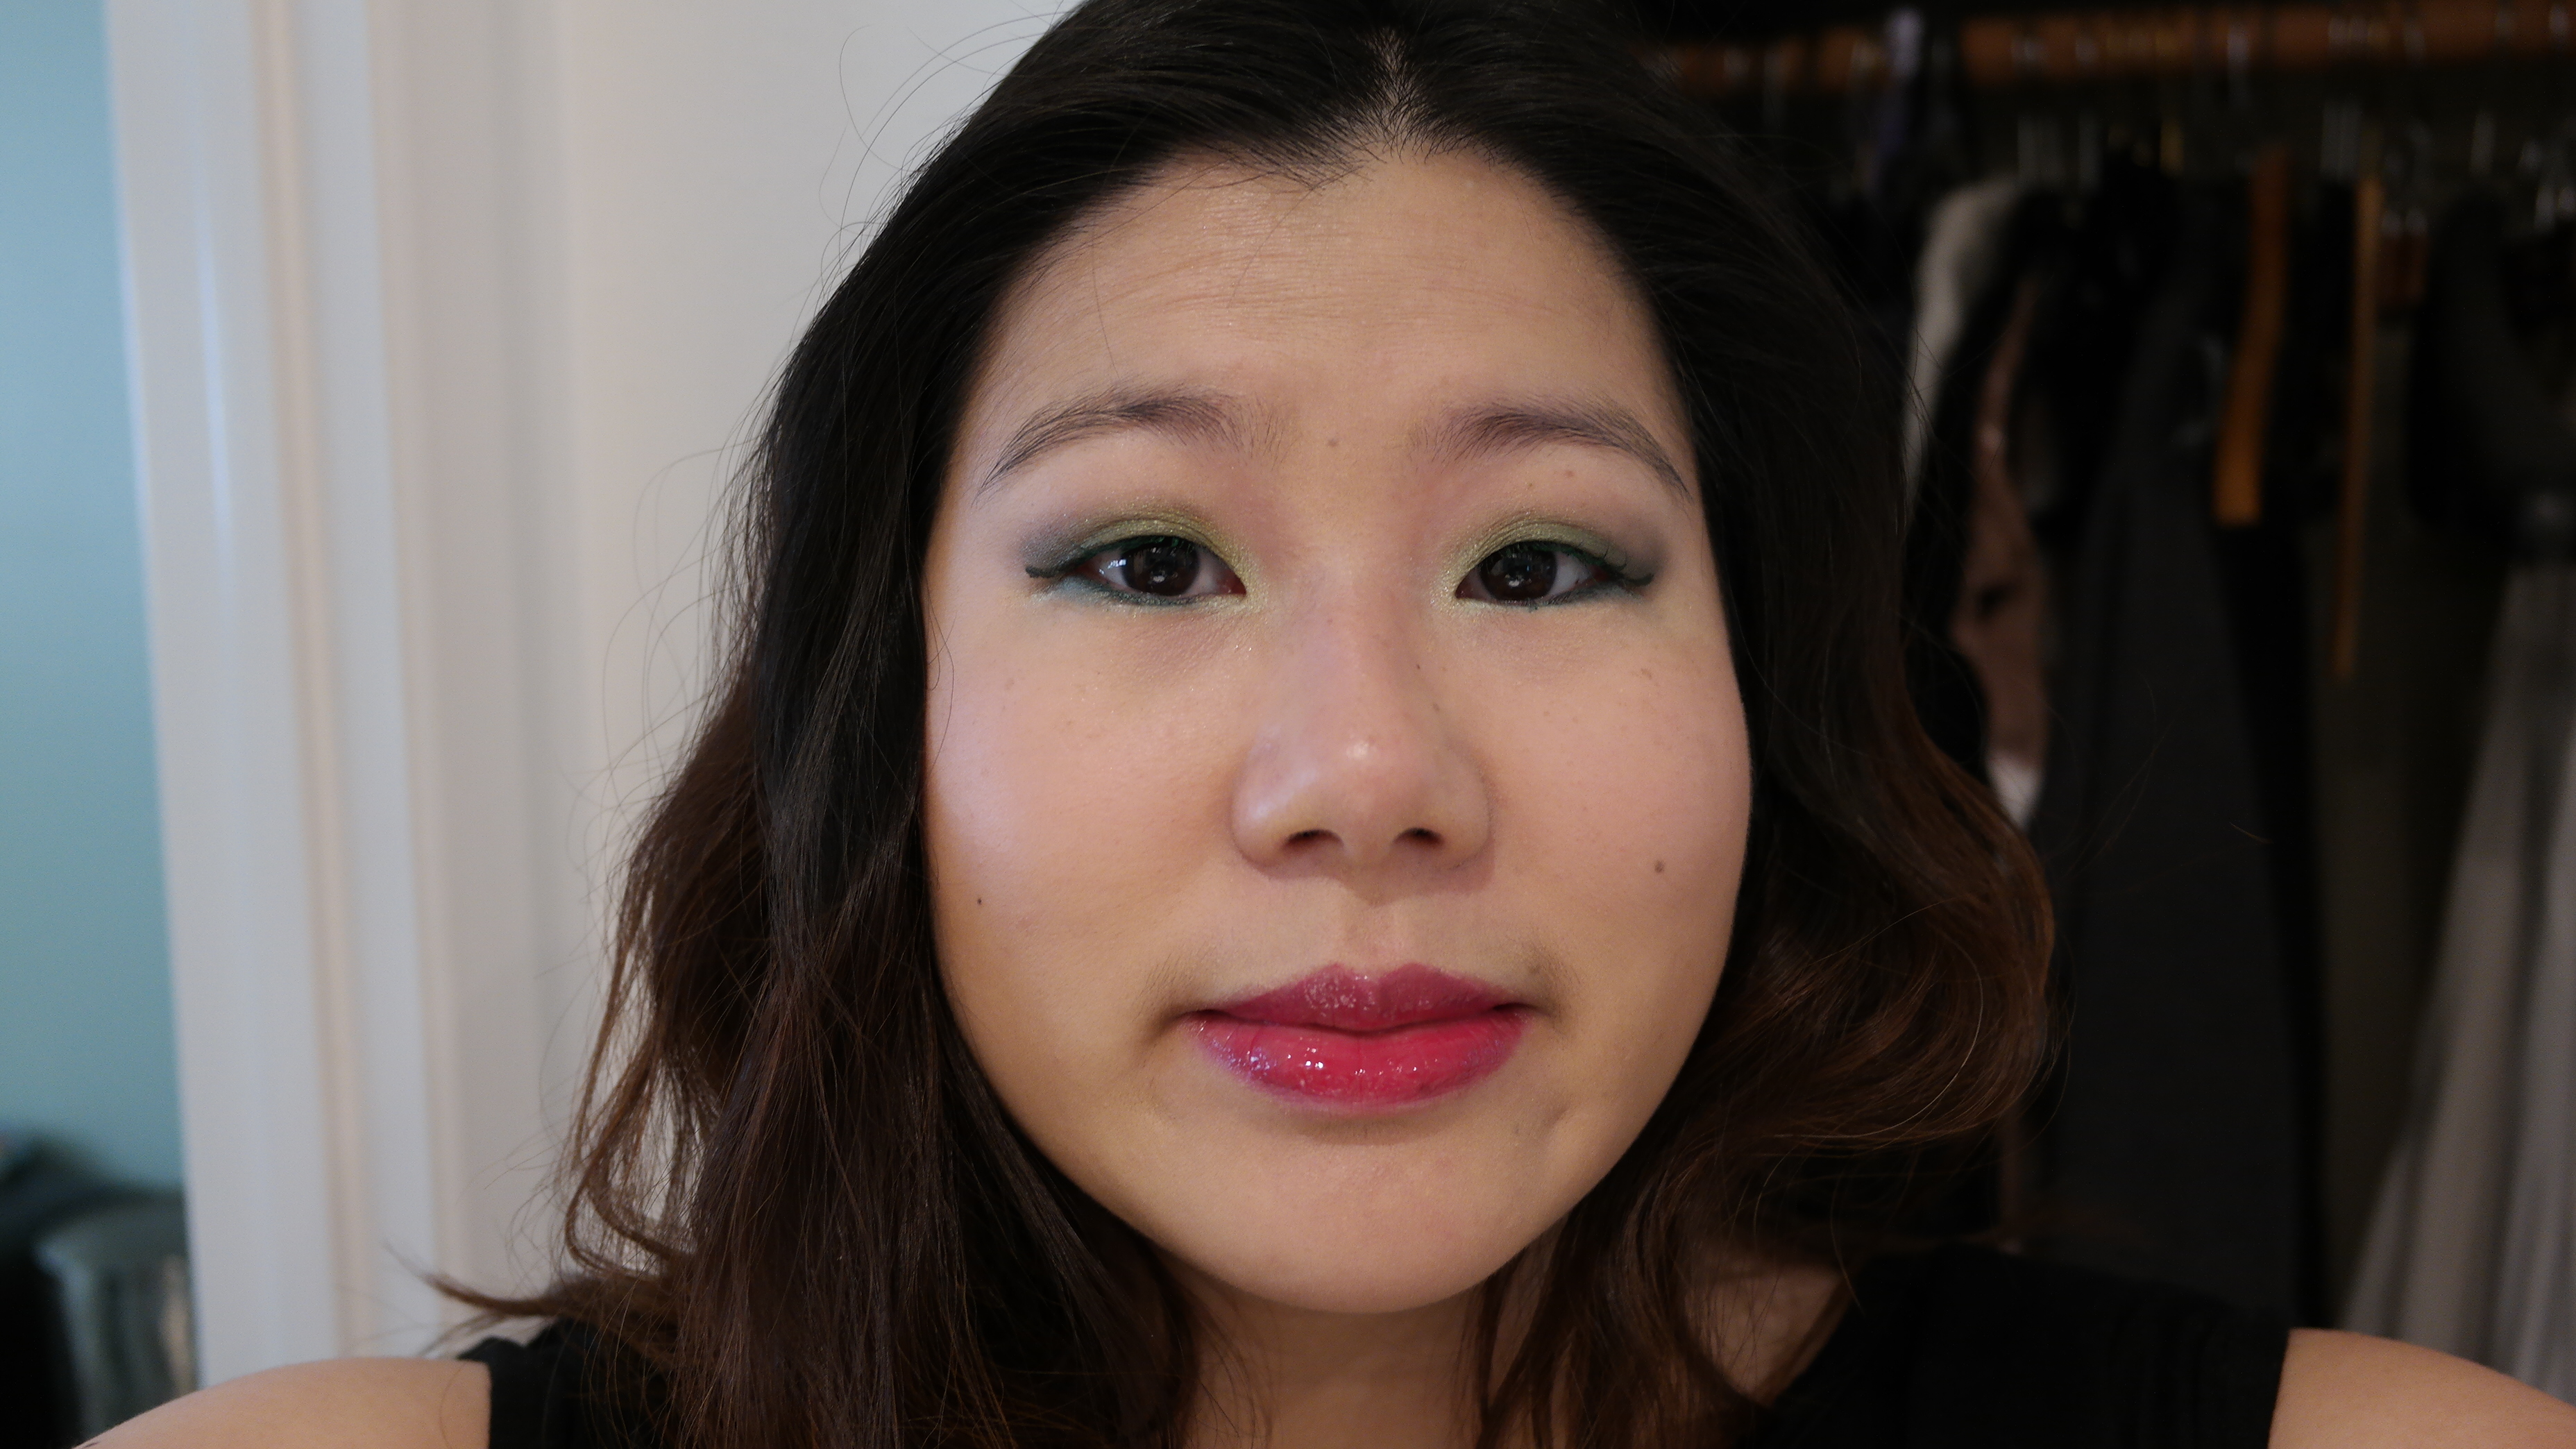
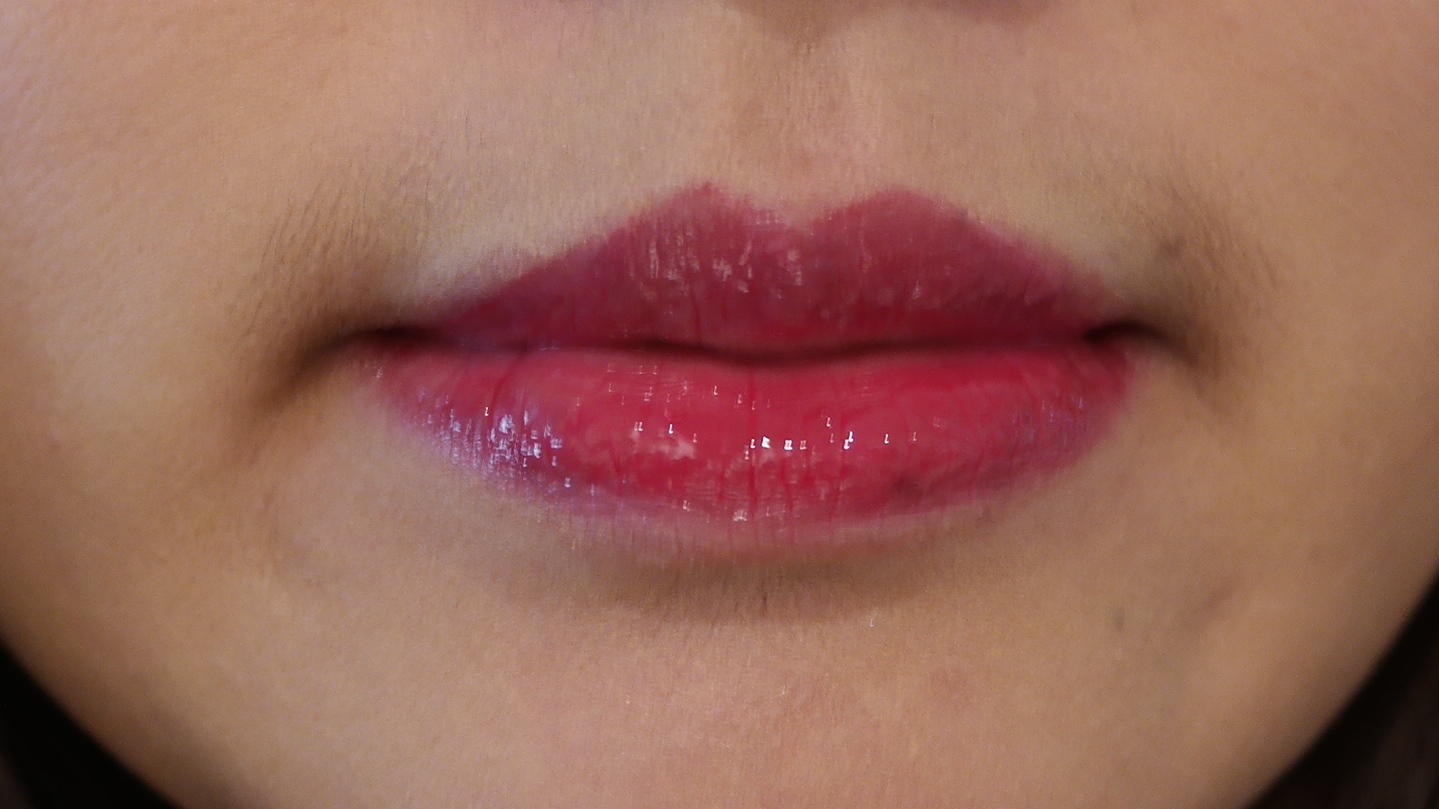
Addict Fluid Stick 575 Wonderland is a bright, deep fuchsia pink. however, i pull out a lot of red tones in it, so on me it looks almost red. i’ve seen it on others where it looks like it is in the tube, so this is a color that seem to vary a little from person to person.

Dior Addict Fluid Stick in Wonderland
here’s a slightly more color accurate photo. this is after 2 hours and my lips has touched a mug 3 times.

Wonderland after a couple of hours and drinks
it has more of a lipstick + gloss hybrid feel. it’s more pigmented than Lip Lover, and the gloss has a more high impact, almost lacquer-like shine. the texture is slightly thicker and tackier than Lip Lover, with a more cushioned feel. even after 4 hours of having it on and 2-3 drinks later, my lips felt slightly tacky if pressed together. by this time, the gloss has faded and Wonderland looks more like a lipstick. it takes a meal before Wonderland is taken down to an even stain. at this point, you can either leave it as is for a natural lip look, throw on some lip gloss, or reapply depending on what kind of look you want to achieve. the wear time is definitely longer than Lip Lover, and the effect is more sophisticated. it’s also a little bit more moisturizing than Lip Lover.
so who wins the battle? while i do love my Lip Lover in Framboise Etoile, if push came to shove, i’d have to pick Dior Addict Fluid Sticks over Lancôme Lip Lover. it costs a little more, but i think the effect is more unique (at least in my experience, but my stash of lip products isn’t as robust as my eyeshadows). i can duplicate the look of Framboise Etoile with a good lip stain and gloss, but i would not be able to duplicate the look and the long wear time of Addict Fluid Sticks without a lot of work. i have Addict Fluid Stick in Wonderland and Aventure (a nice coral), but i’m already eyeing the lighter colors in the range and wondering if i’ll love them as much. here’s a picture of Aventure, just in case you’re curious.

Dior Addict Fluid Stick in Aventure
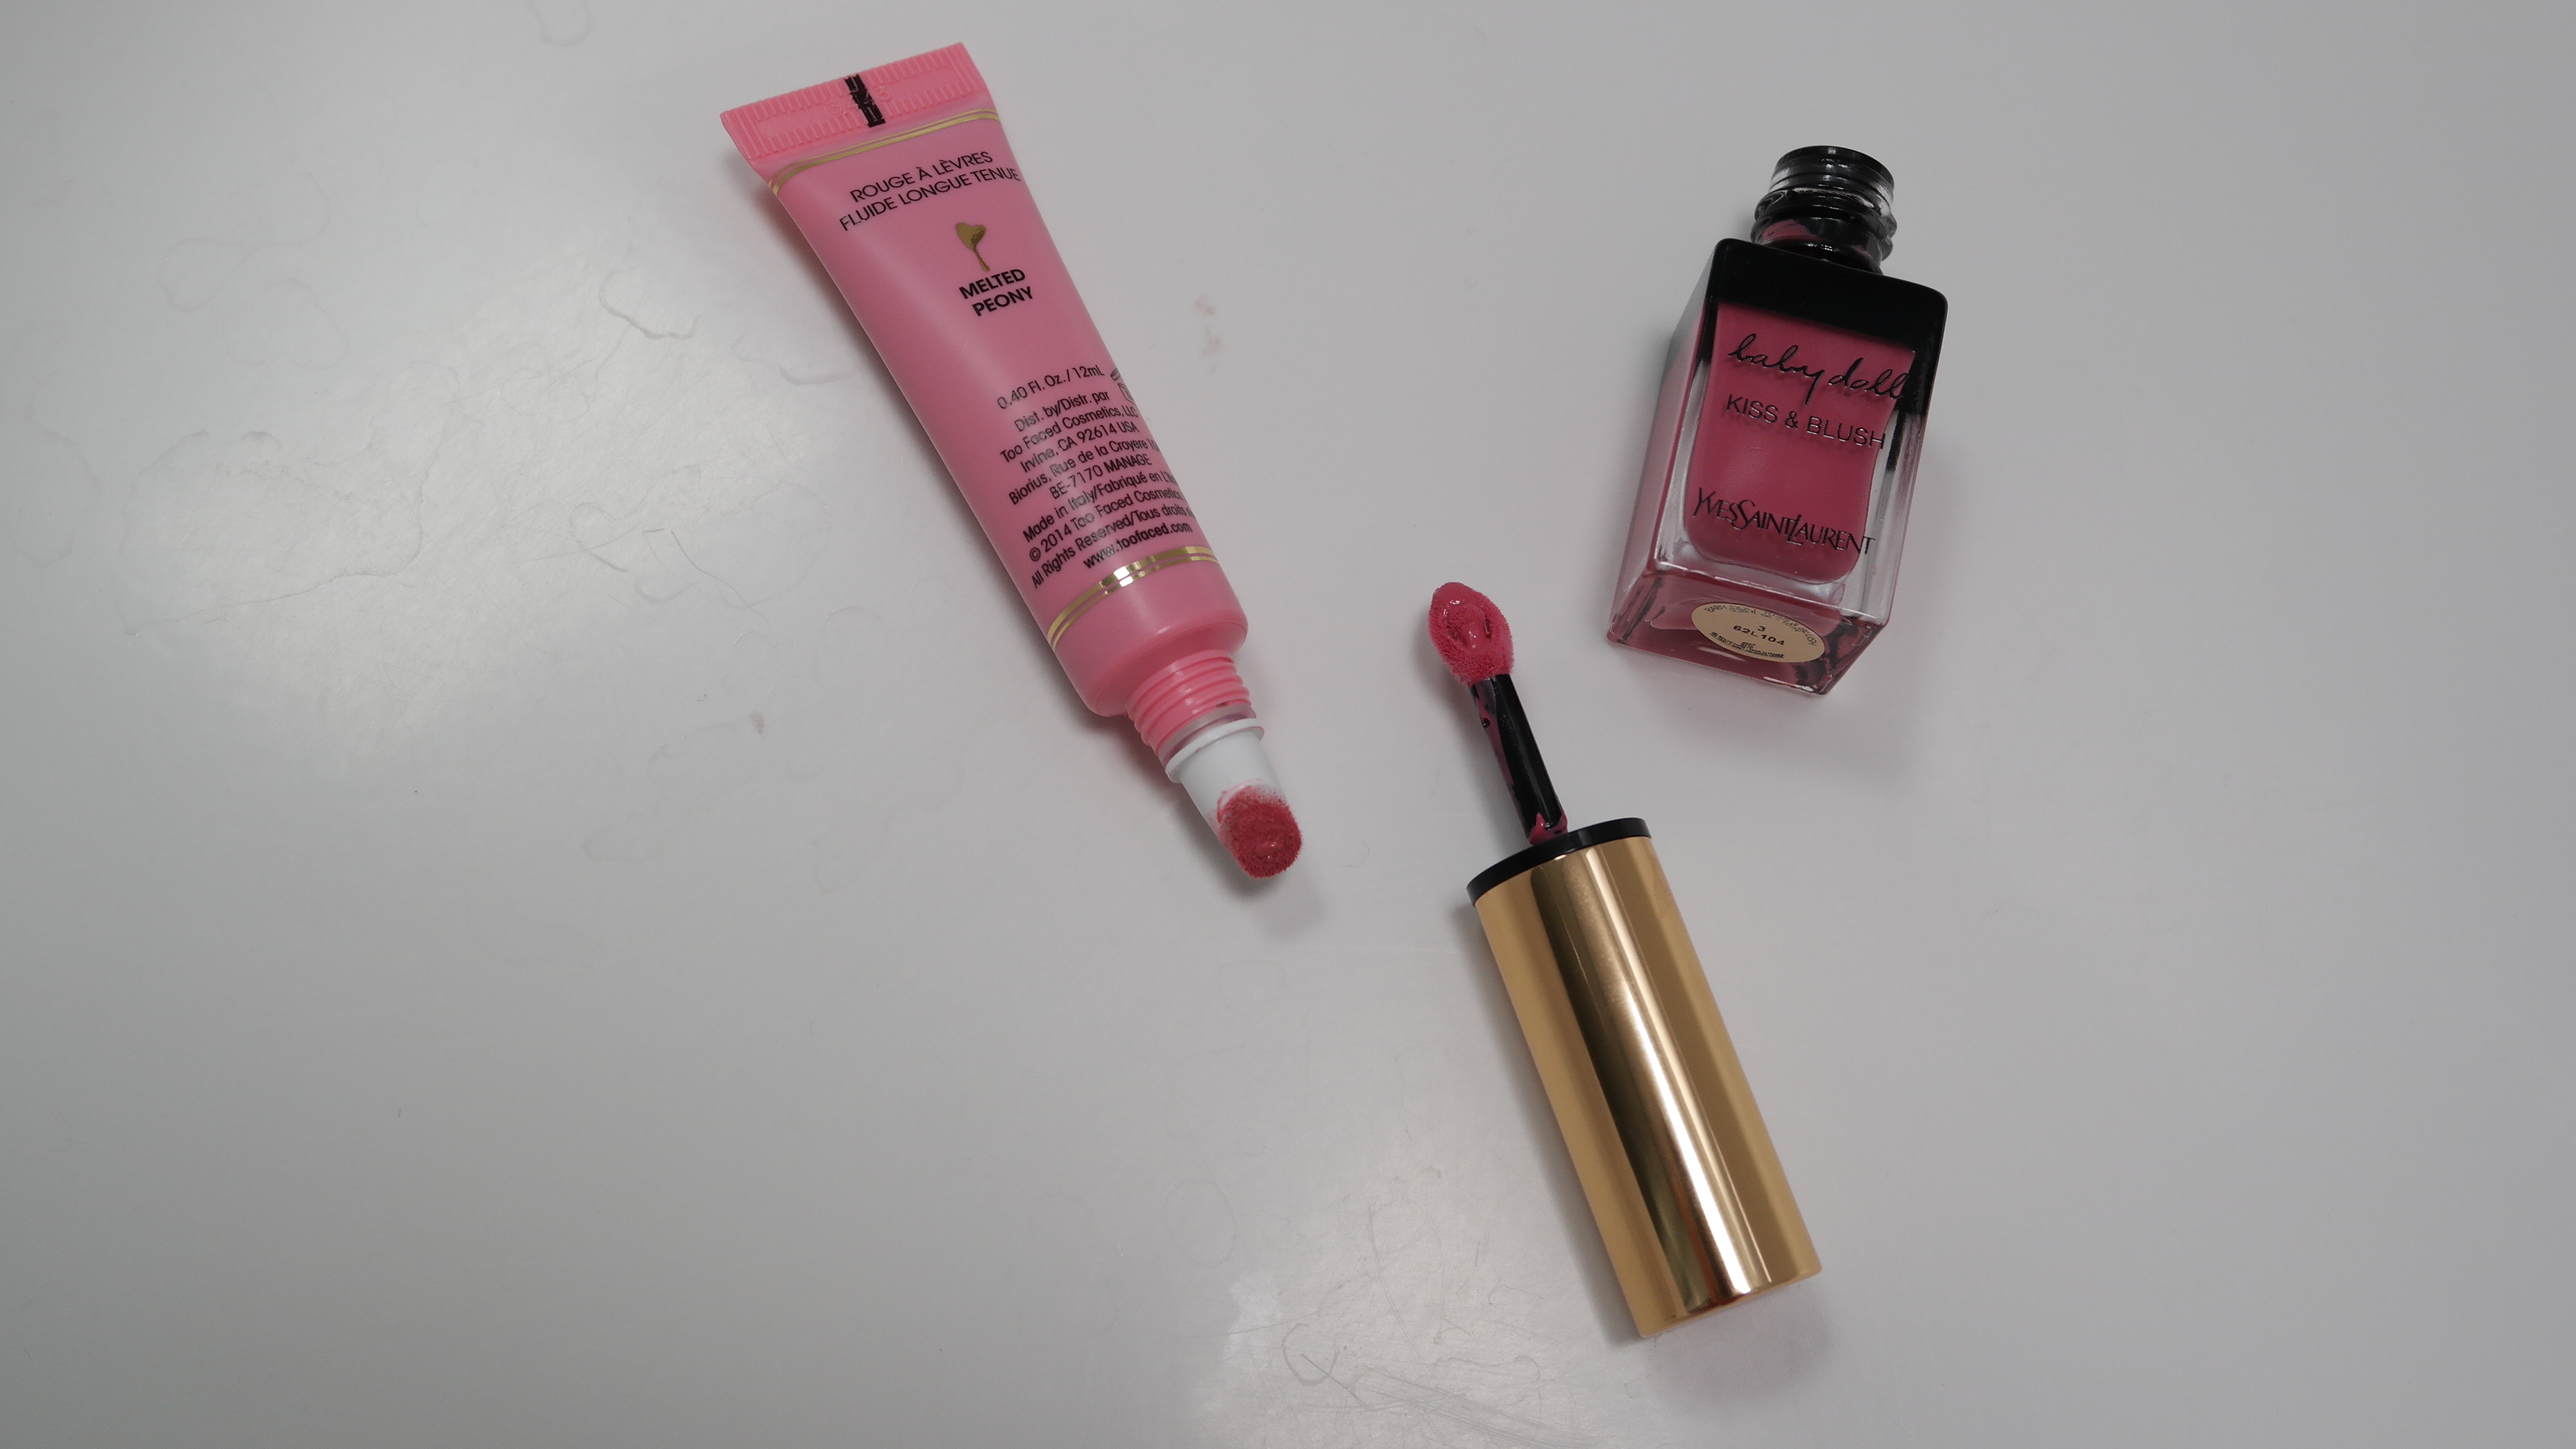
Too Faced Melted Liquified Long Wear Lipstick is .4oz for $21 while YSL Baby Doll Kiss & Blush Lips and Cheeks is .33oz for $40. this means you’re paying double for a little less product that will multitask, has prettier packaging, and brand prestige.

Too Faced Melted Lipstick in Peony and YSL Baby Doll Kiss and Blush in 3 Rose Libre
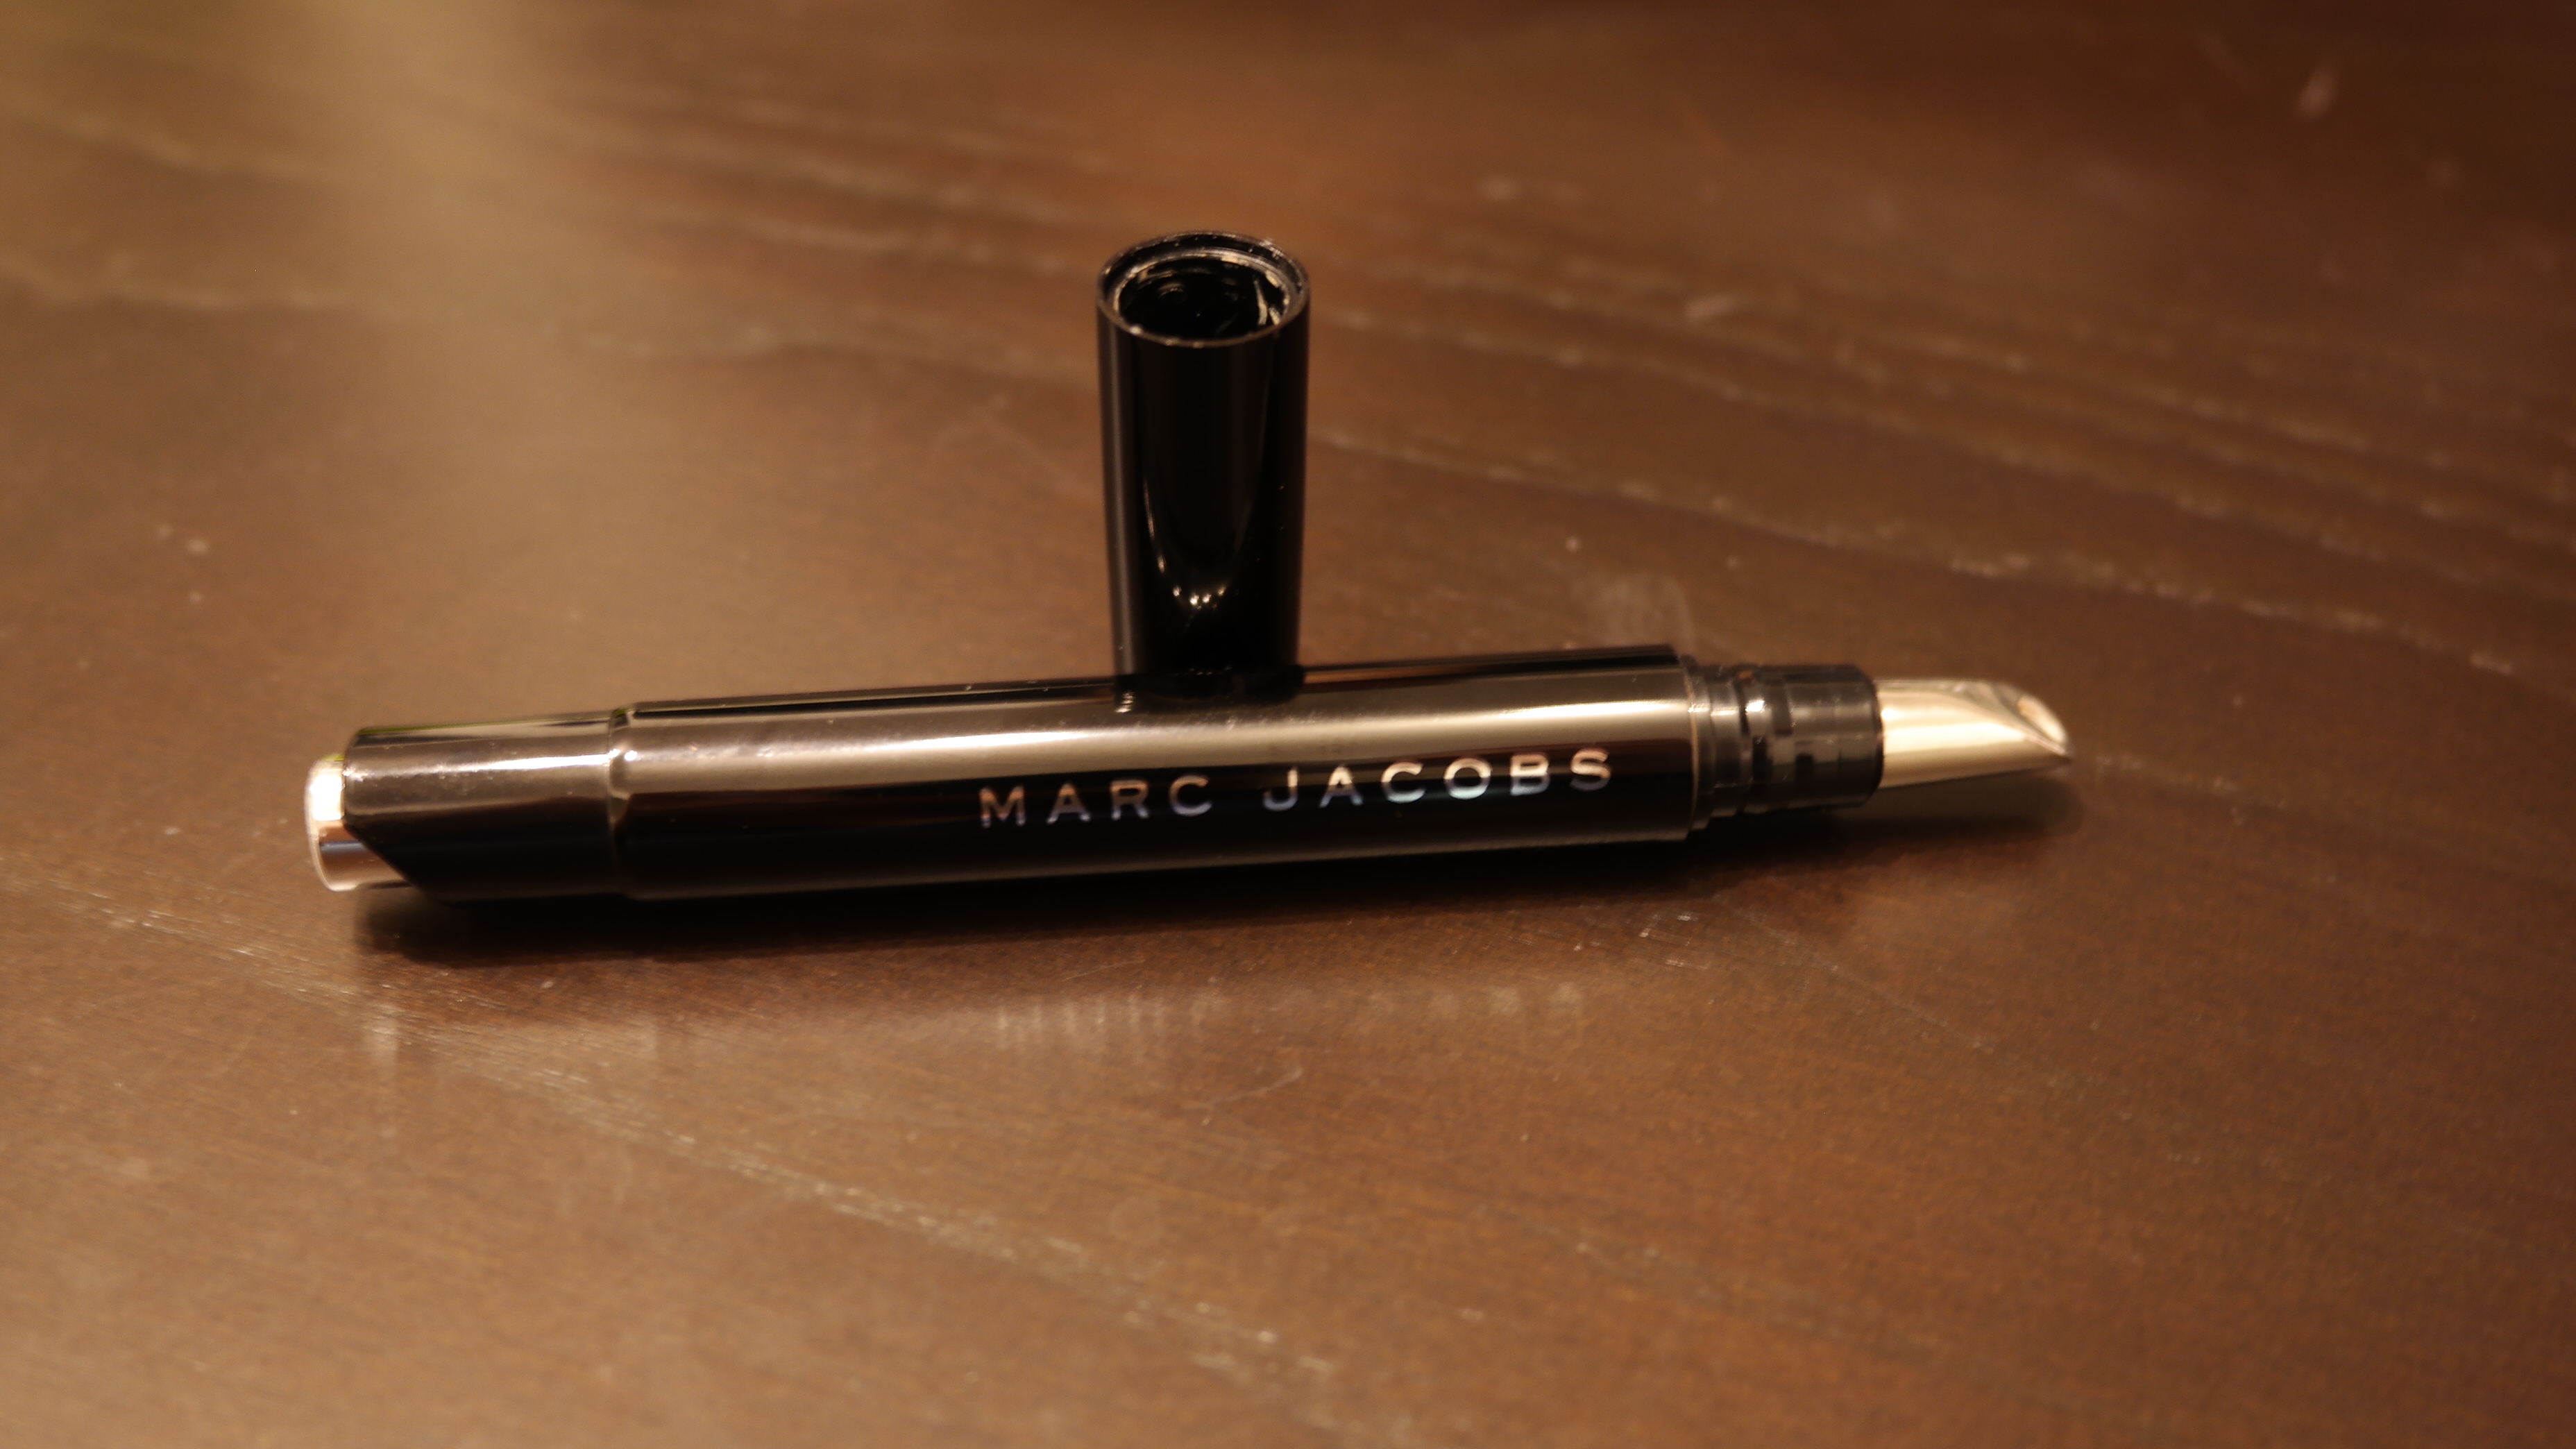
the tip of Too Faced Melted was soft and easy to use, but the shape was a little too round for precise application on my small lips. it worked ok in Peony, but i can see myself having trouble if it was a darker color that needed more precise lines. i also don’t like the fact that it’s in a squeeze tube. this is a personal preference. i just don’t like a lip product where the amount that dispenses depends on my motor skills. it’s fine when i’m not in a rush, or if it’s not early in the morning, but when it is… well, let’s just say sometimes too much product can accidentally dispense and leave it at that 😛 the wand of YSL Baby Doll Kiss and Blush was easy to use. the pearl bump on both sides of the doe foot applicator gives you the ability to place precise dots of color exactly where you want. if the hygiene of putting a lip product on your cheeks bothers you, consider using one side of the applicator for your cheeks and the other for your lips. i recommend using the concave side of the applicator for your lips and the convex side for your cheeks. why? because the curvature from the convex side allows you to use the pearl bump to place color without the other parts of the doe foot applicator touching your cheek. otherwise you might end up with two dots of color on your cheeks, one from the pearl bump and the other from the tip of the doe foot. rest assured that while using the concave side of the applicator for your lips feels counter-intutitative, it still gives you great control of color placement.

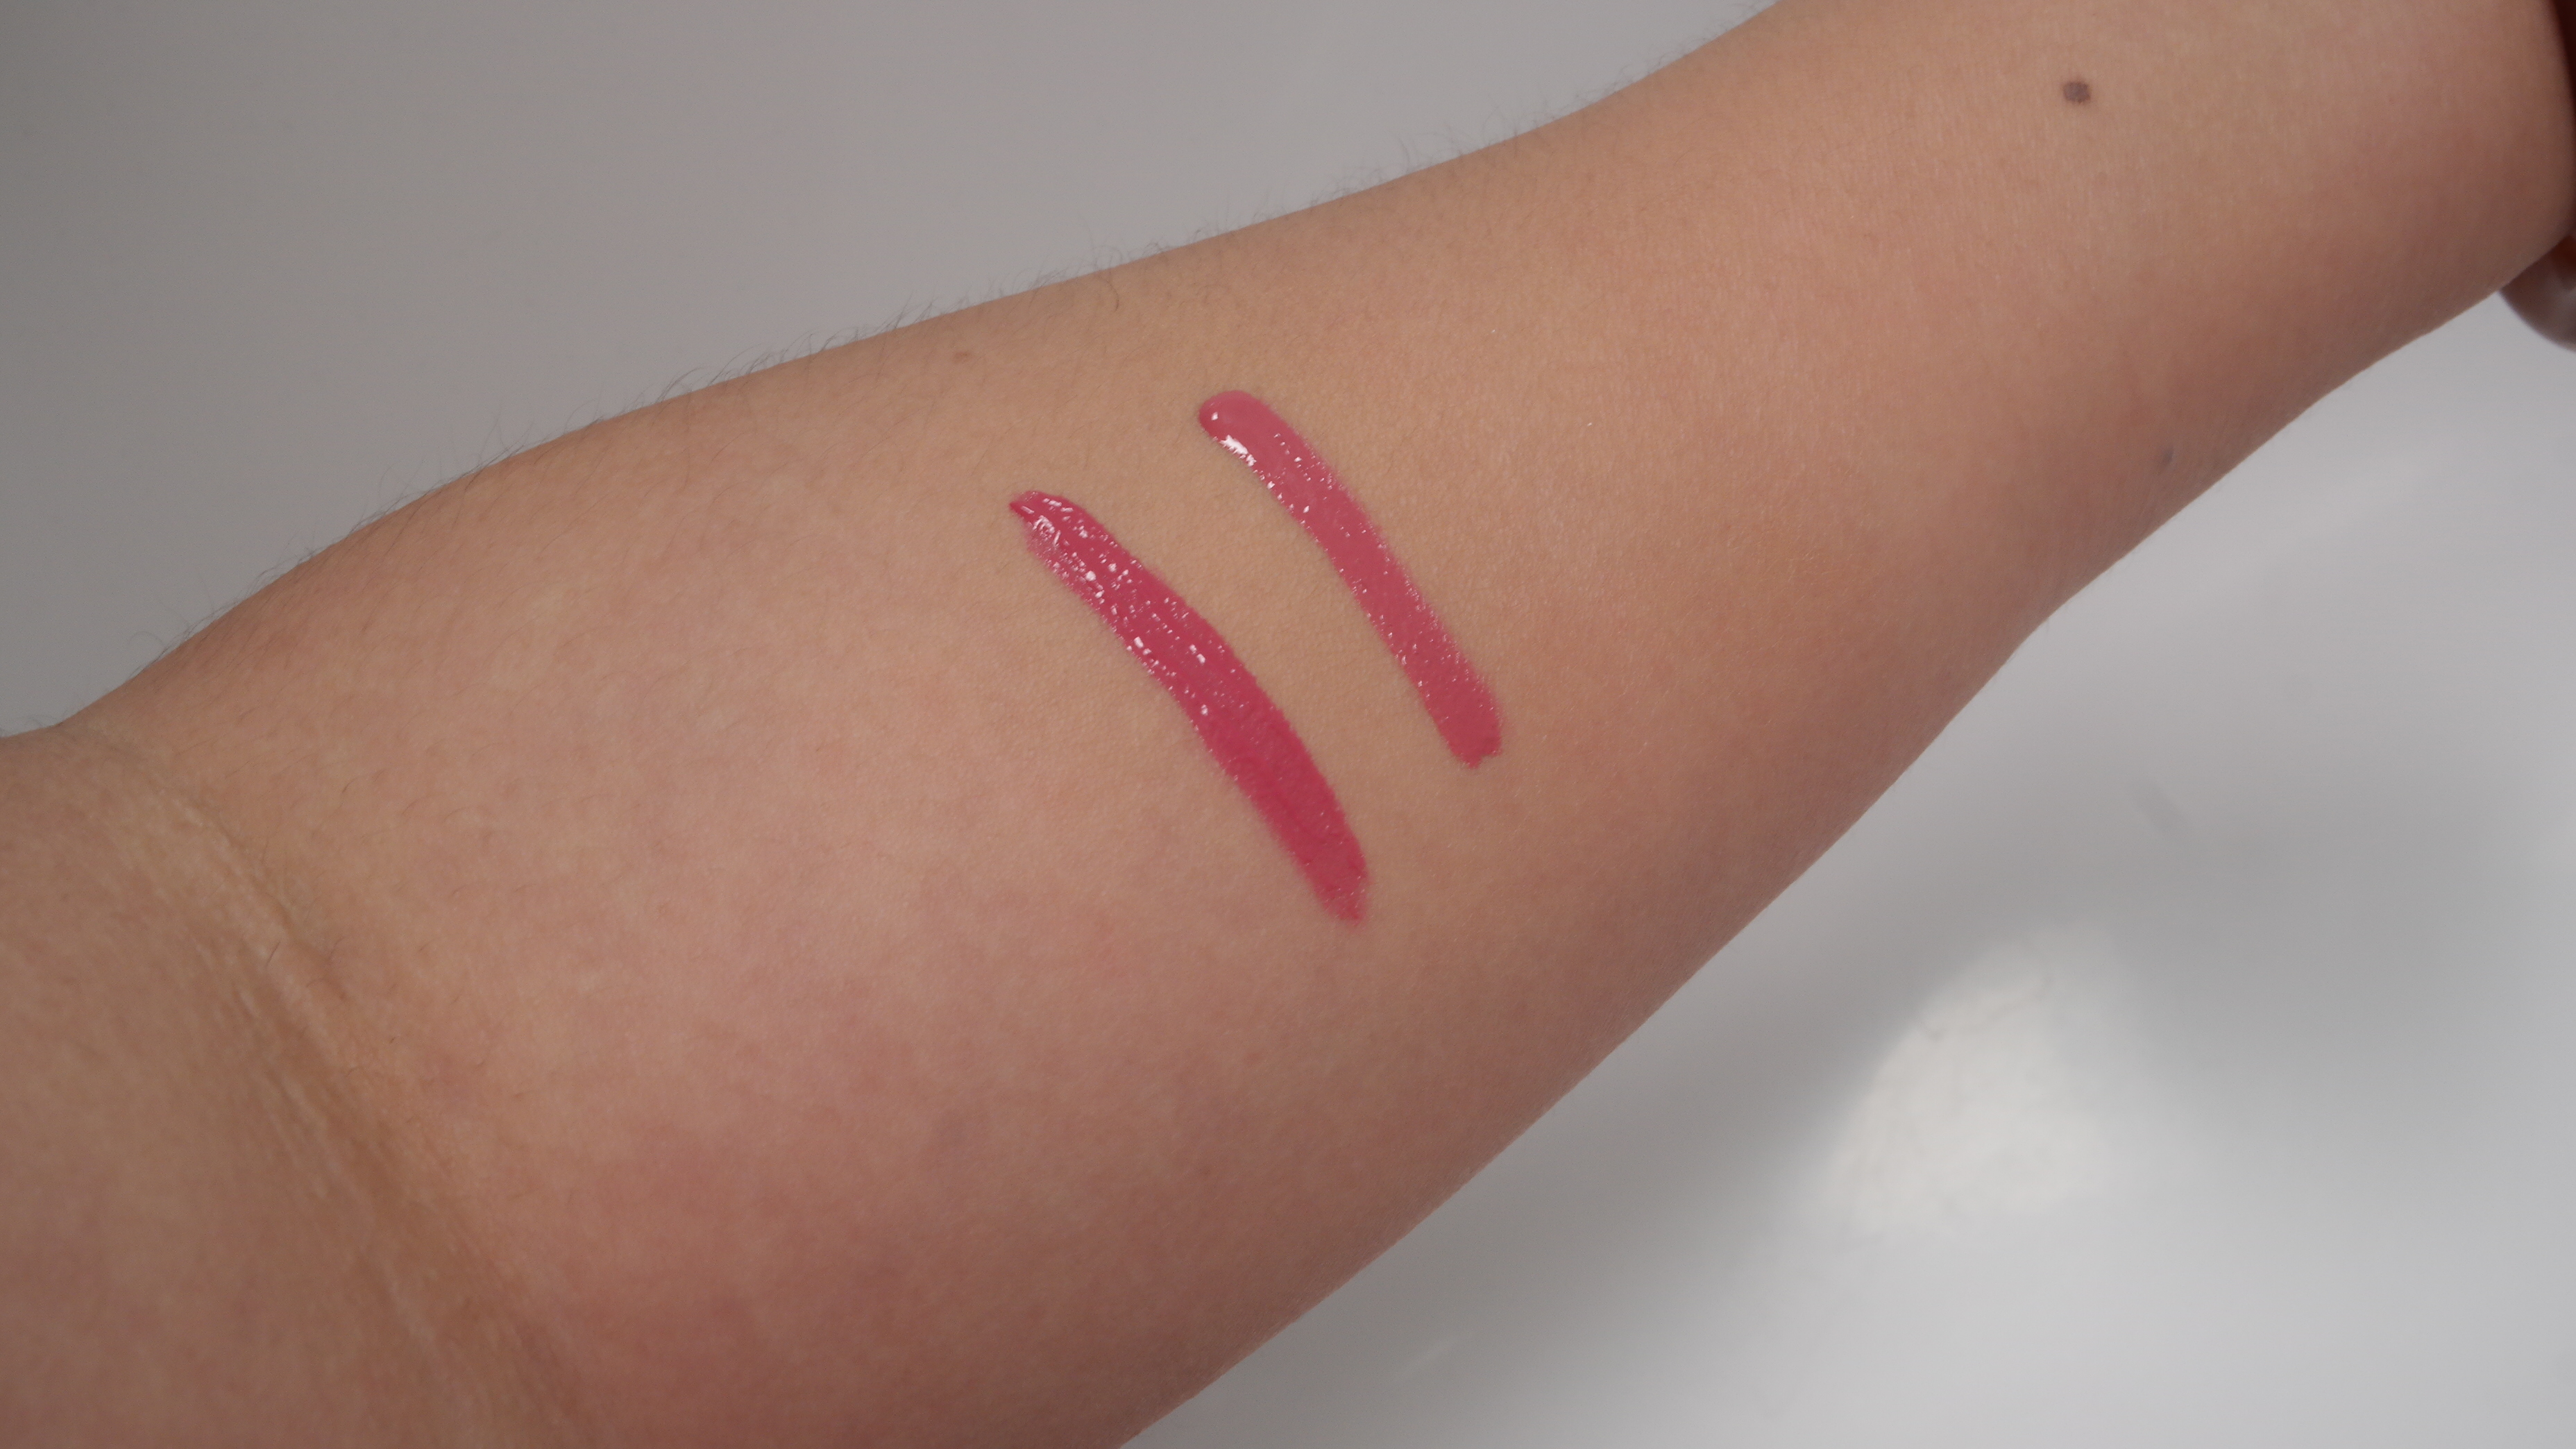
(L to R) YSL Rose Libre and Too Faced Peony
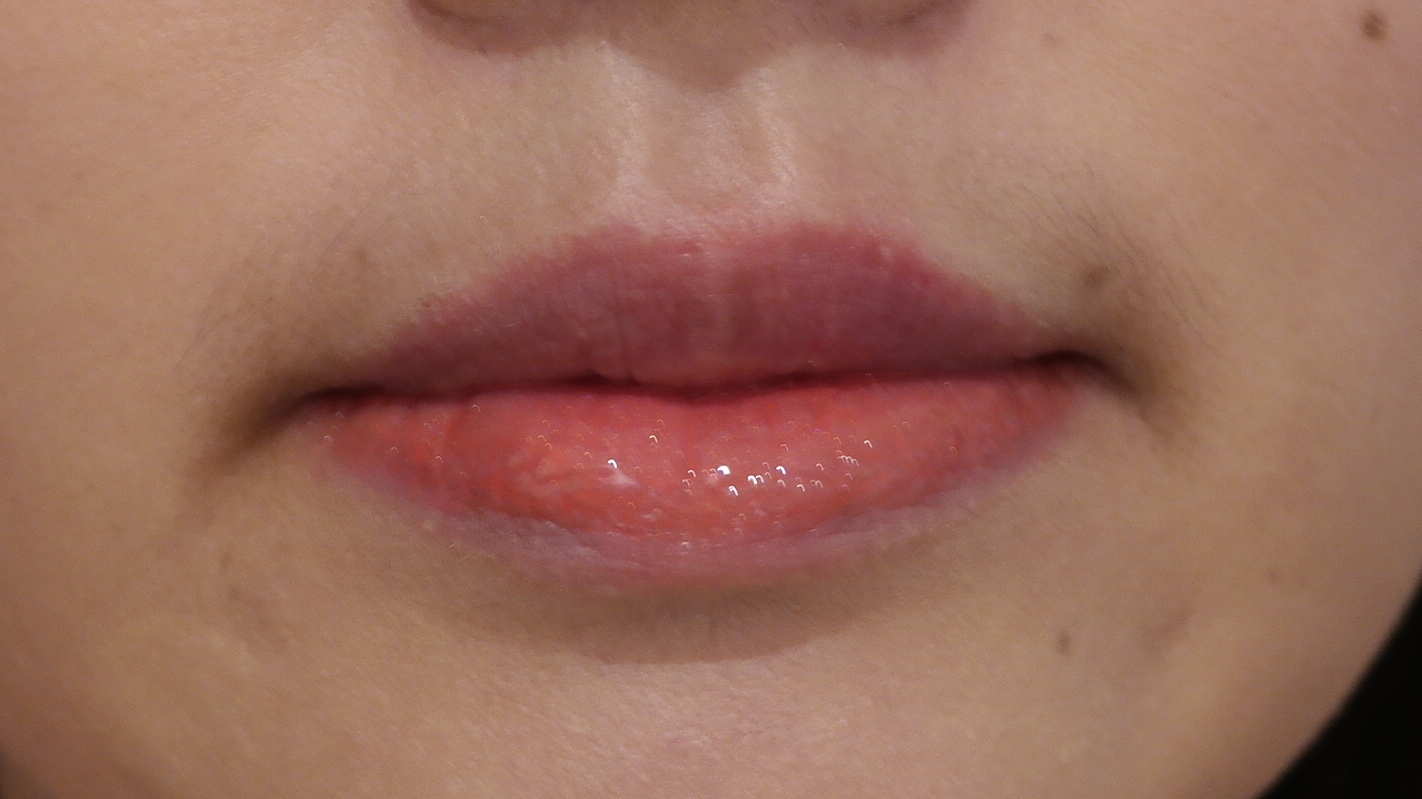
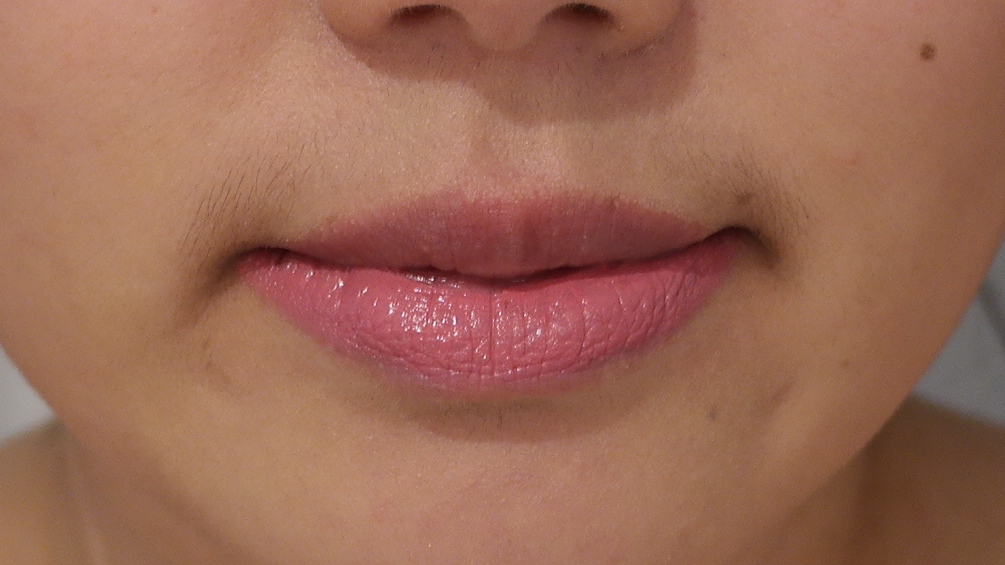
Too Faced Melted Liquified Lipsticks in Melted Peony is a pale baby pink. it’s suppose to deliver the shine of a gloss, the pigmentation of a lipstick, and the lasting power of a stain.

Too Faced Melted Liquified Longwear Lipstick in Peony

Too Faced Melted Lipstick in Peony on bottom lip only

out of the 3, it only delivered pigmentation for me. when you’re looking at it up close, the color did have a slight sheen similar to what your faded gloss would look like after a few drinks. in reality, it looks like a borderline satin finish lipstick. it’s not quite the matte look of Hourglass’s Opague Rouge Liquid Lipsticks, and it definitely did not have Hourglass’s lasting power. perhaps in a brighter or darker color, the pigmentation would last longer, but i found Peony started fading on me around the 3 hour mark. you should also have exfoliated and moisturized lips, as this formula will show any dryness or flaky skin on your lips. the formula doesn’t feel drying or moisturizing when it goes on. however, my lips always feel a little dry and a little flaky by the end of the day if i didn’t follow up with something moisturizing after it’s worn off. its texture is very light, and you don’t feel like you’re wearing anything on your lips unless you press them together. if you do, you’ll feel a thin oily film with some slip. there’s a briefly plasticky scent to the product but no taste.

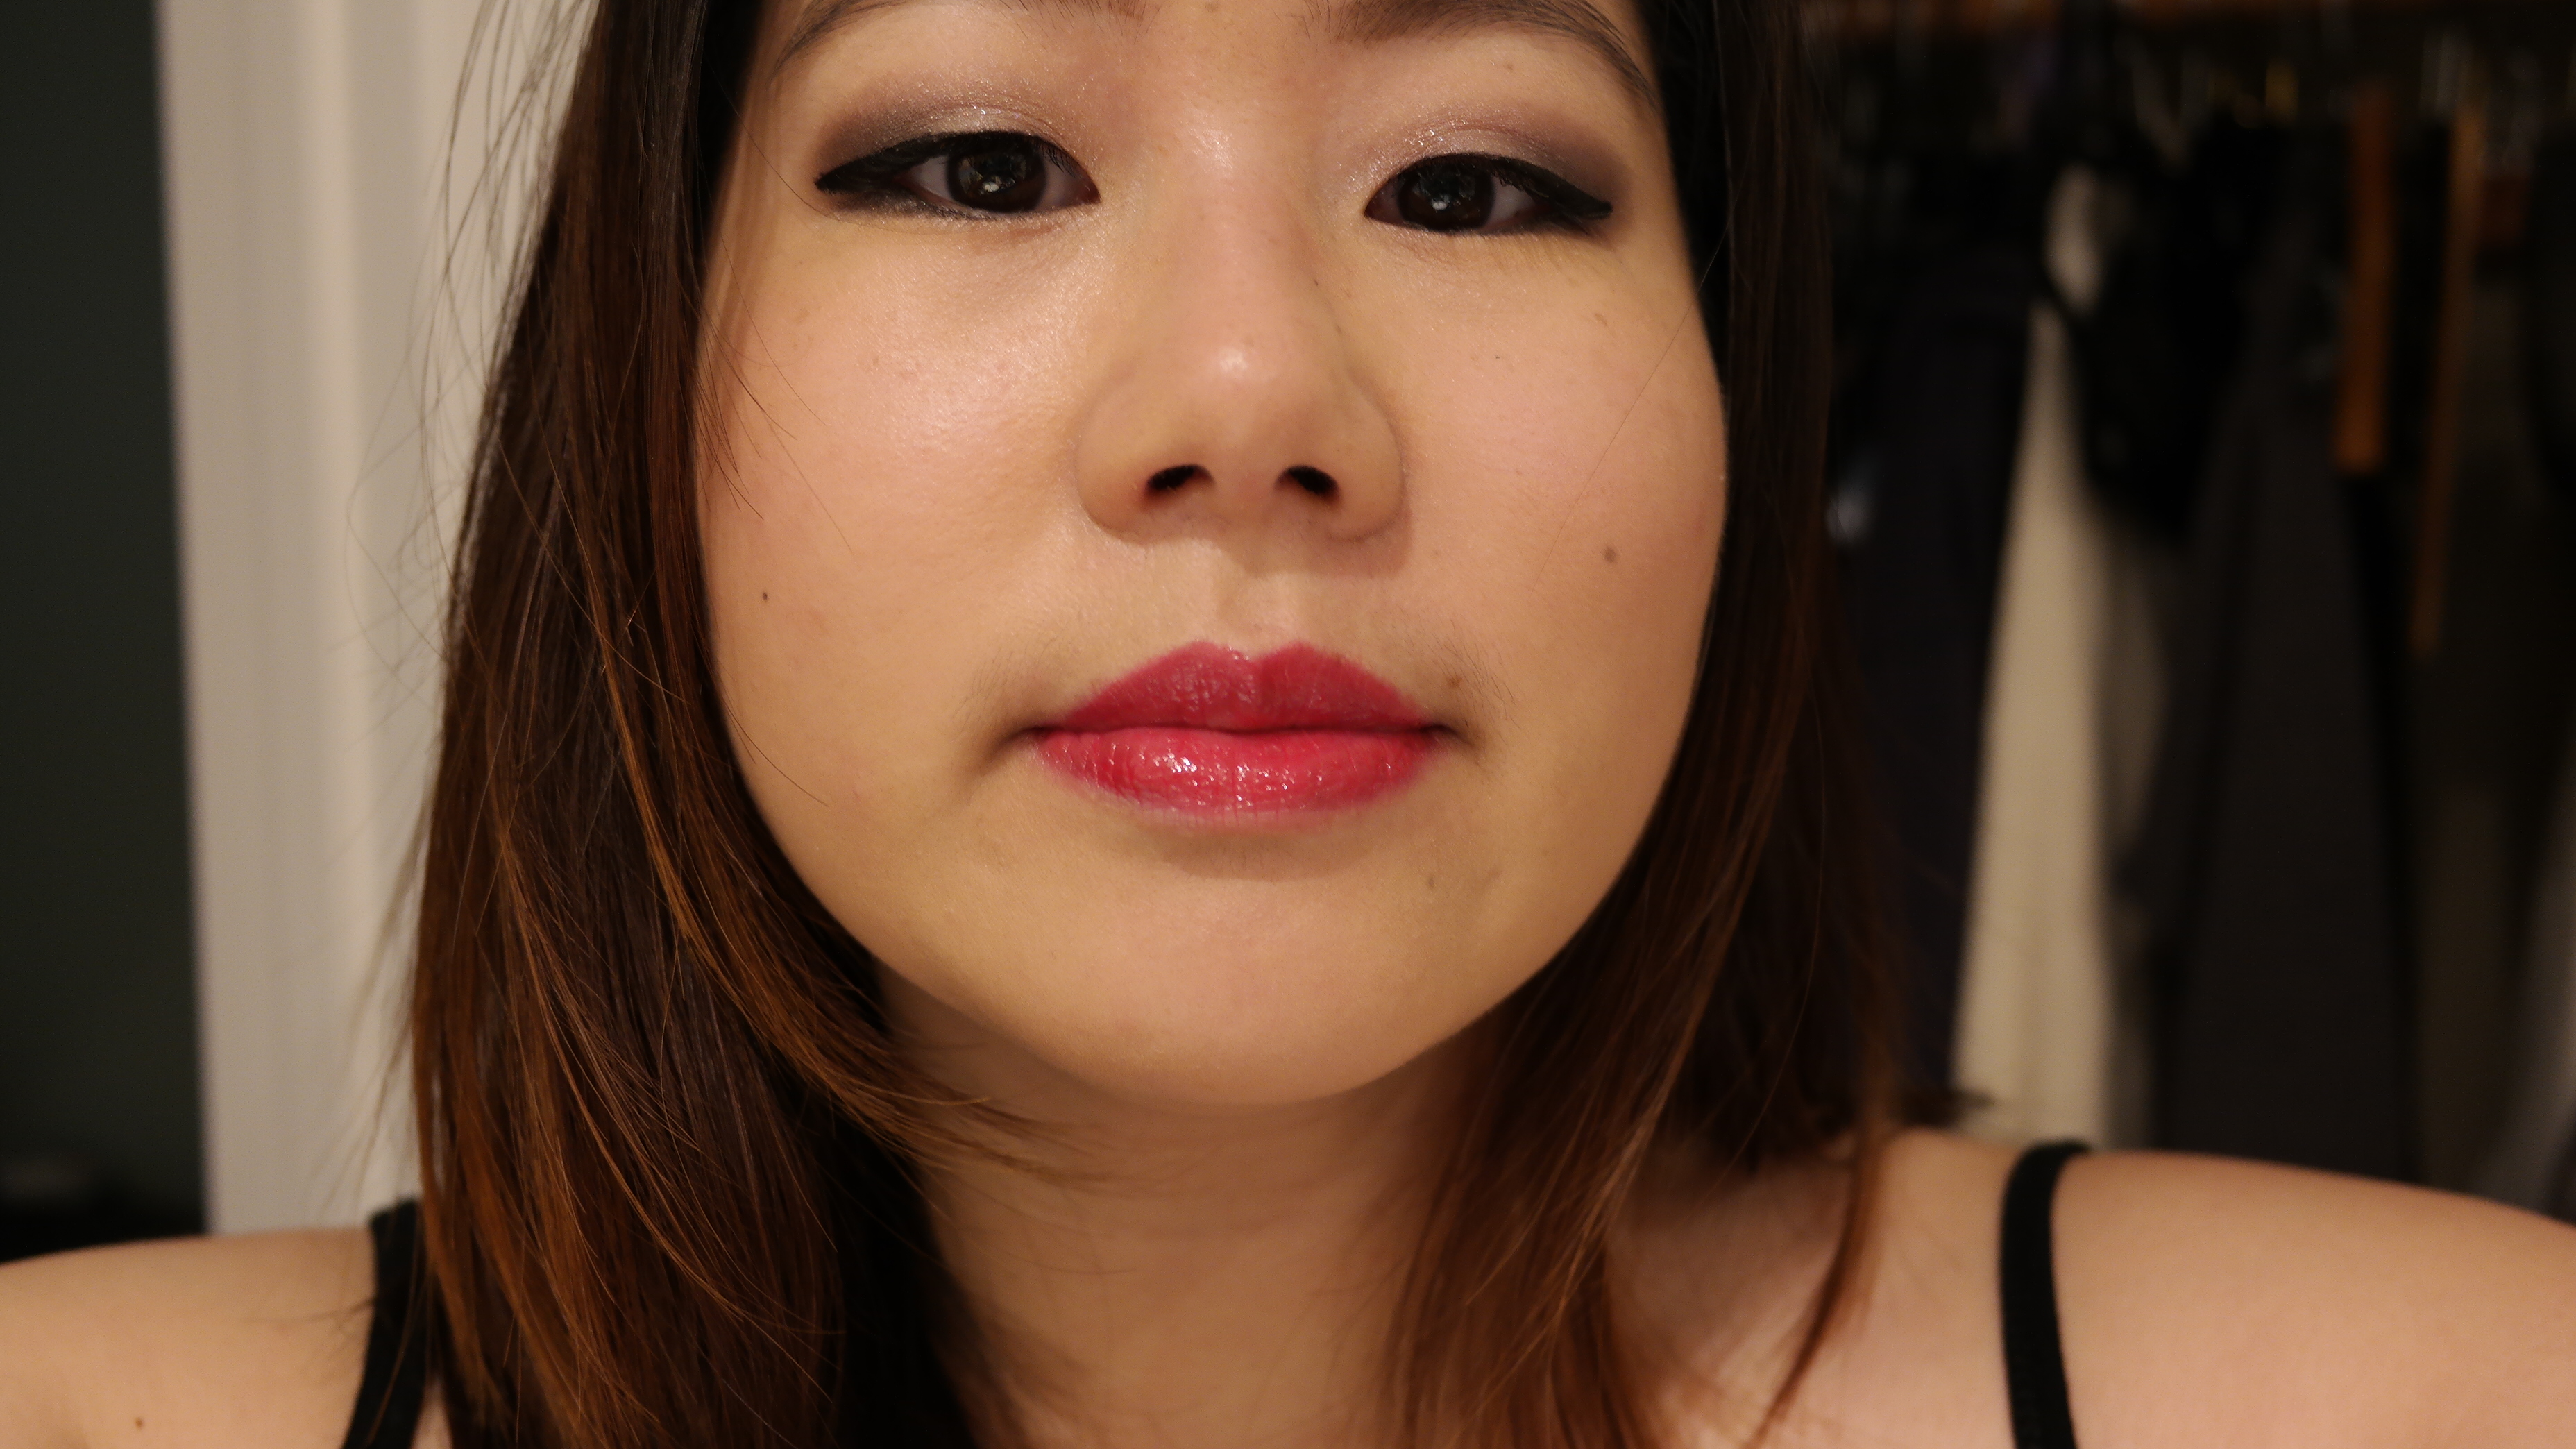
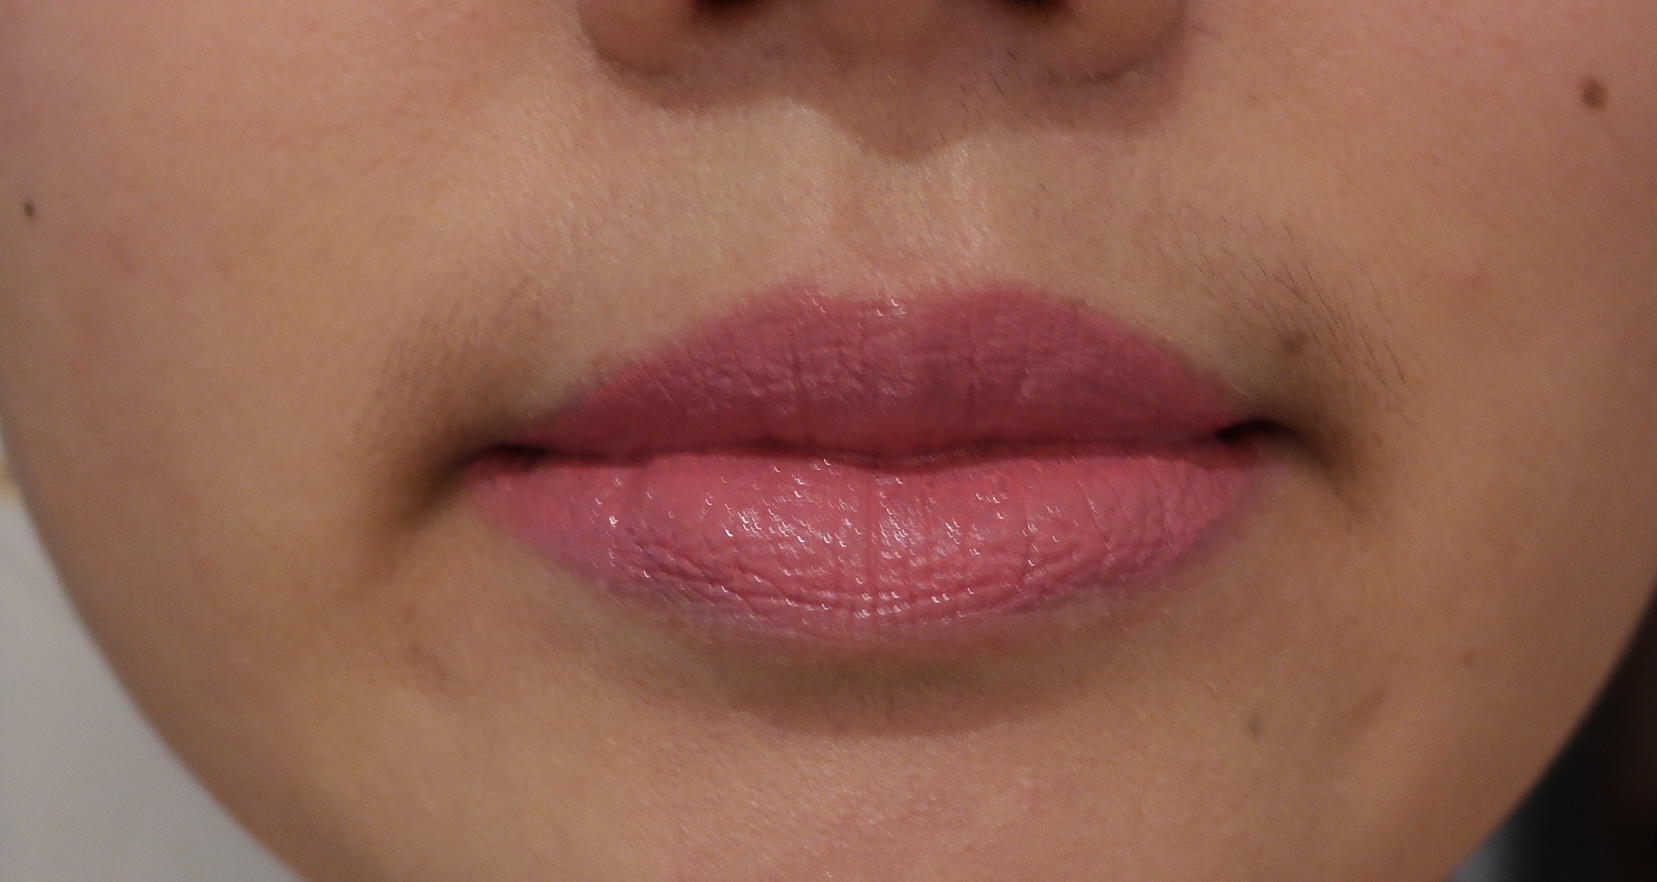
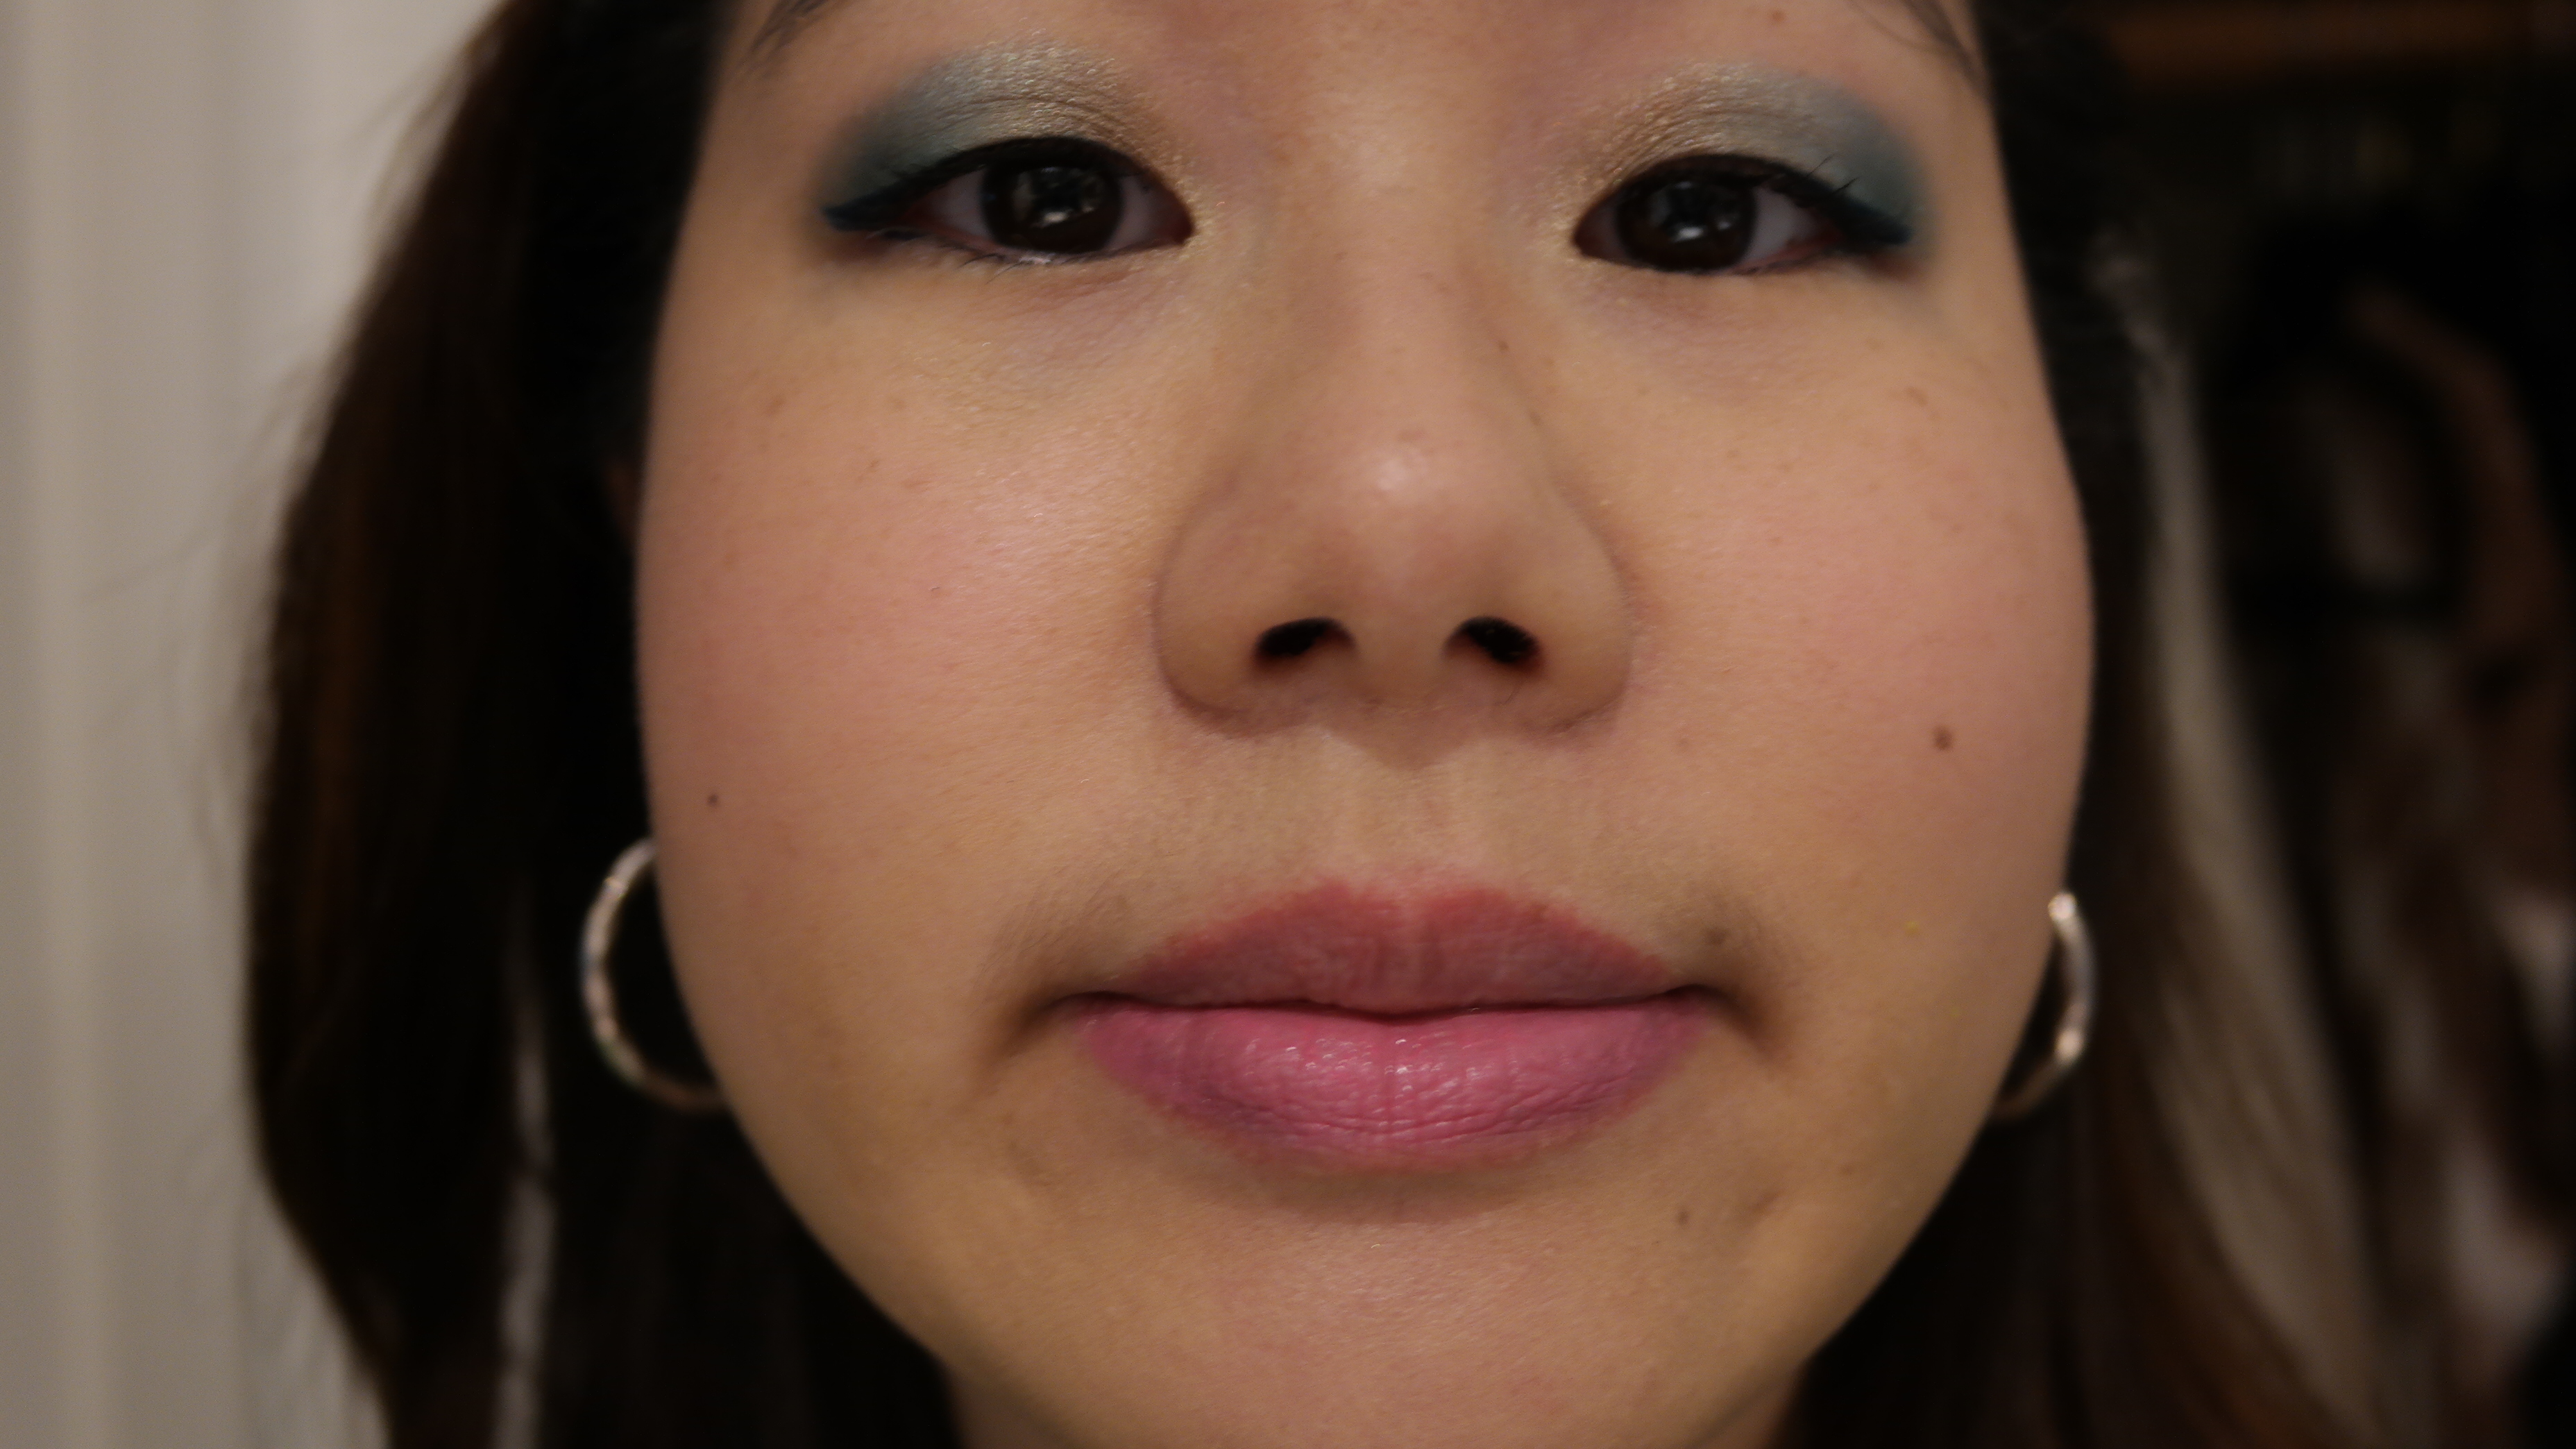
YSL Baby Doll Kiss and Blush #3 Rose Libre on my lips and cheeks
Yves Saint Laurent Baby Doll Kiss and Blush Lips and Cheeks is a multitasking product. on the lips, it has a very soft, silky texture and is slightly more moisturizing than Melted’s formula. that’s not to say Kiss and Blush is hydrating, just that it’s slightly less drying than Melted. it both smells and tastes fruity, but the taste doesn’t last for too long.

Kiss and Blush #3 Rose Libre on bottom of lip
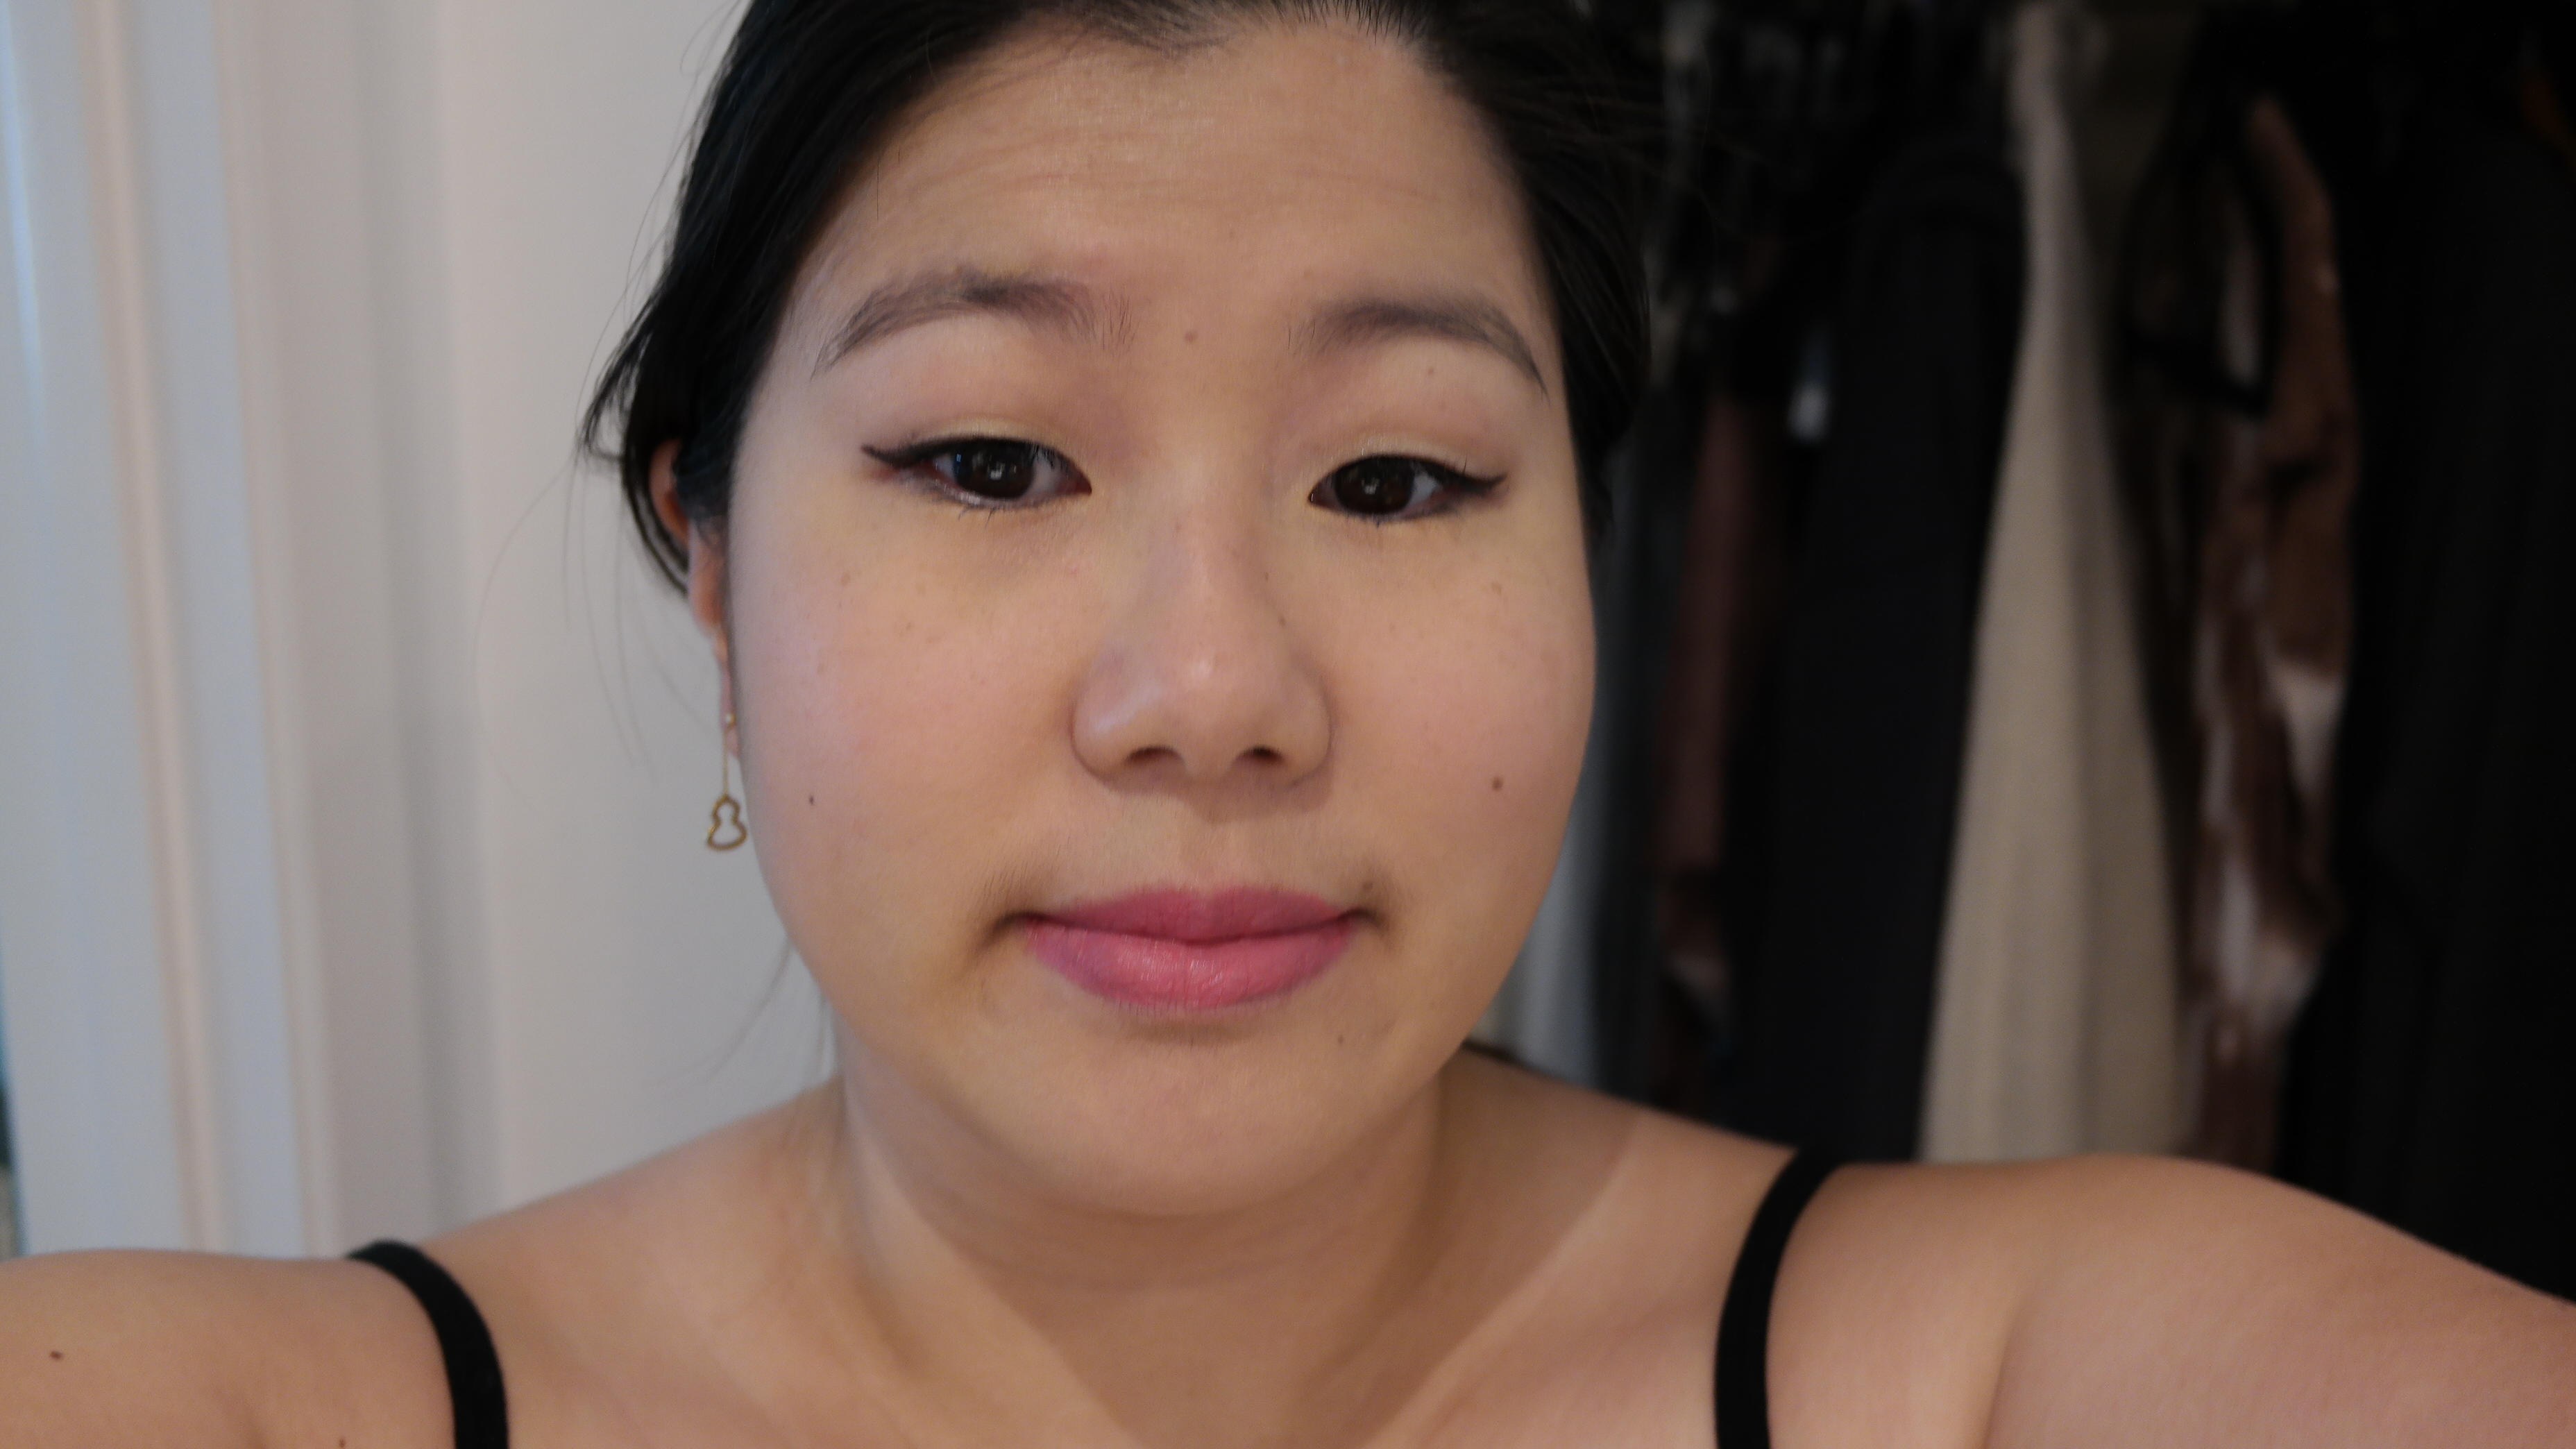
as you can see, it has a satin finish and a mid level of pigment. its staying power is about the same as Melted, but it does stain a tiny bit better. Melted tends to look patchy and cracked after it wears off, but Kiss and Blush leaves a barely there stain. again, the staining power might vary in a less MLBB shade. here’s how Rose Libre looked after a meal. please excuse the lint 😛

i’m not a huge fan of satin or matte finish lip products. my chronically dry lips just don’t take well to the formula, and both my boyfriend and i prefer a glossier look. that said, Kiss and Blush’s formula is definitely one of the better ones i’ve tried. if it were just a lip product, i’d be on the fence about it, but i really enjoy it as a blush. here’s a close up of how it looks.

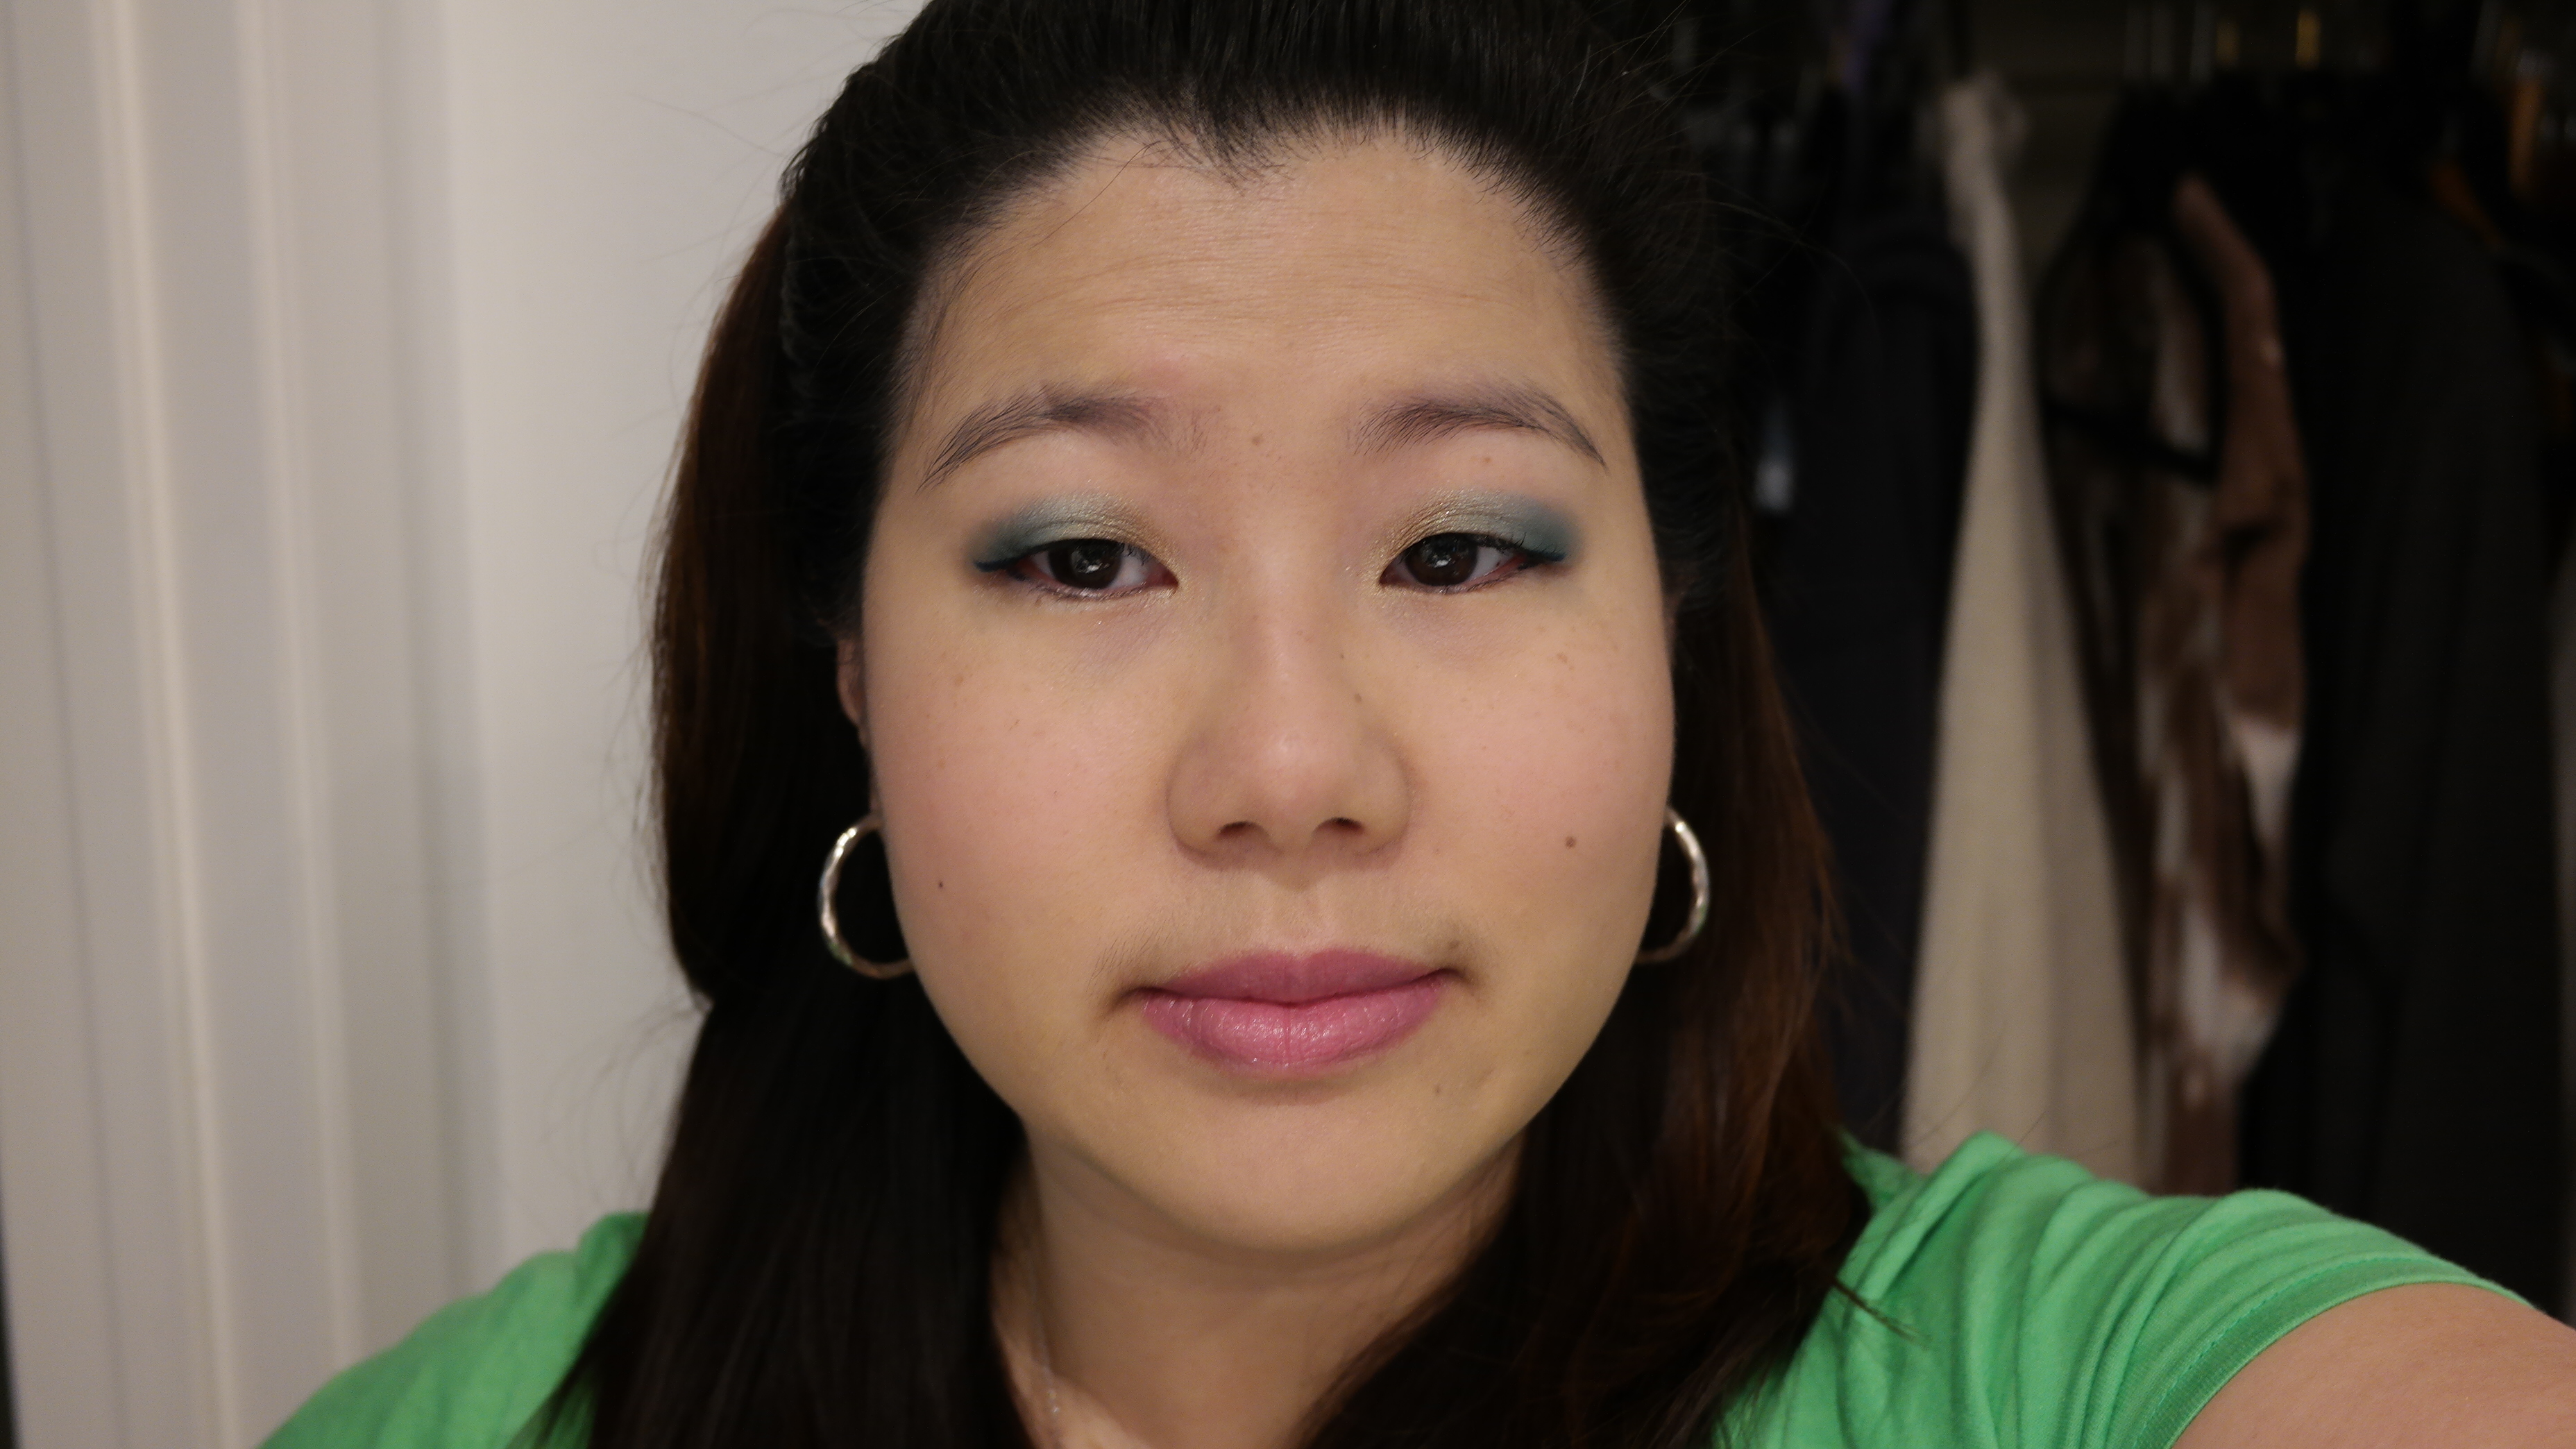
YSL Kiss and Blush Rose Libre on lips and cheeks with Benefit Cosmetics High Beam
i forgot that i wanted to show you the blush by itself and accidentally threw on some highlighter. so i’ll show you two more pictures of the blush in a slightly different shade.

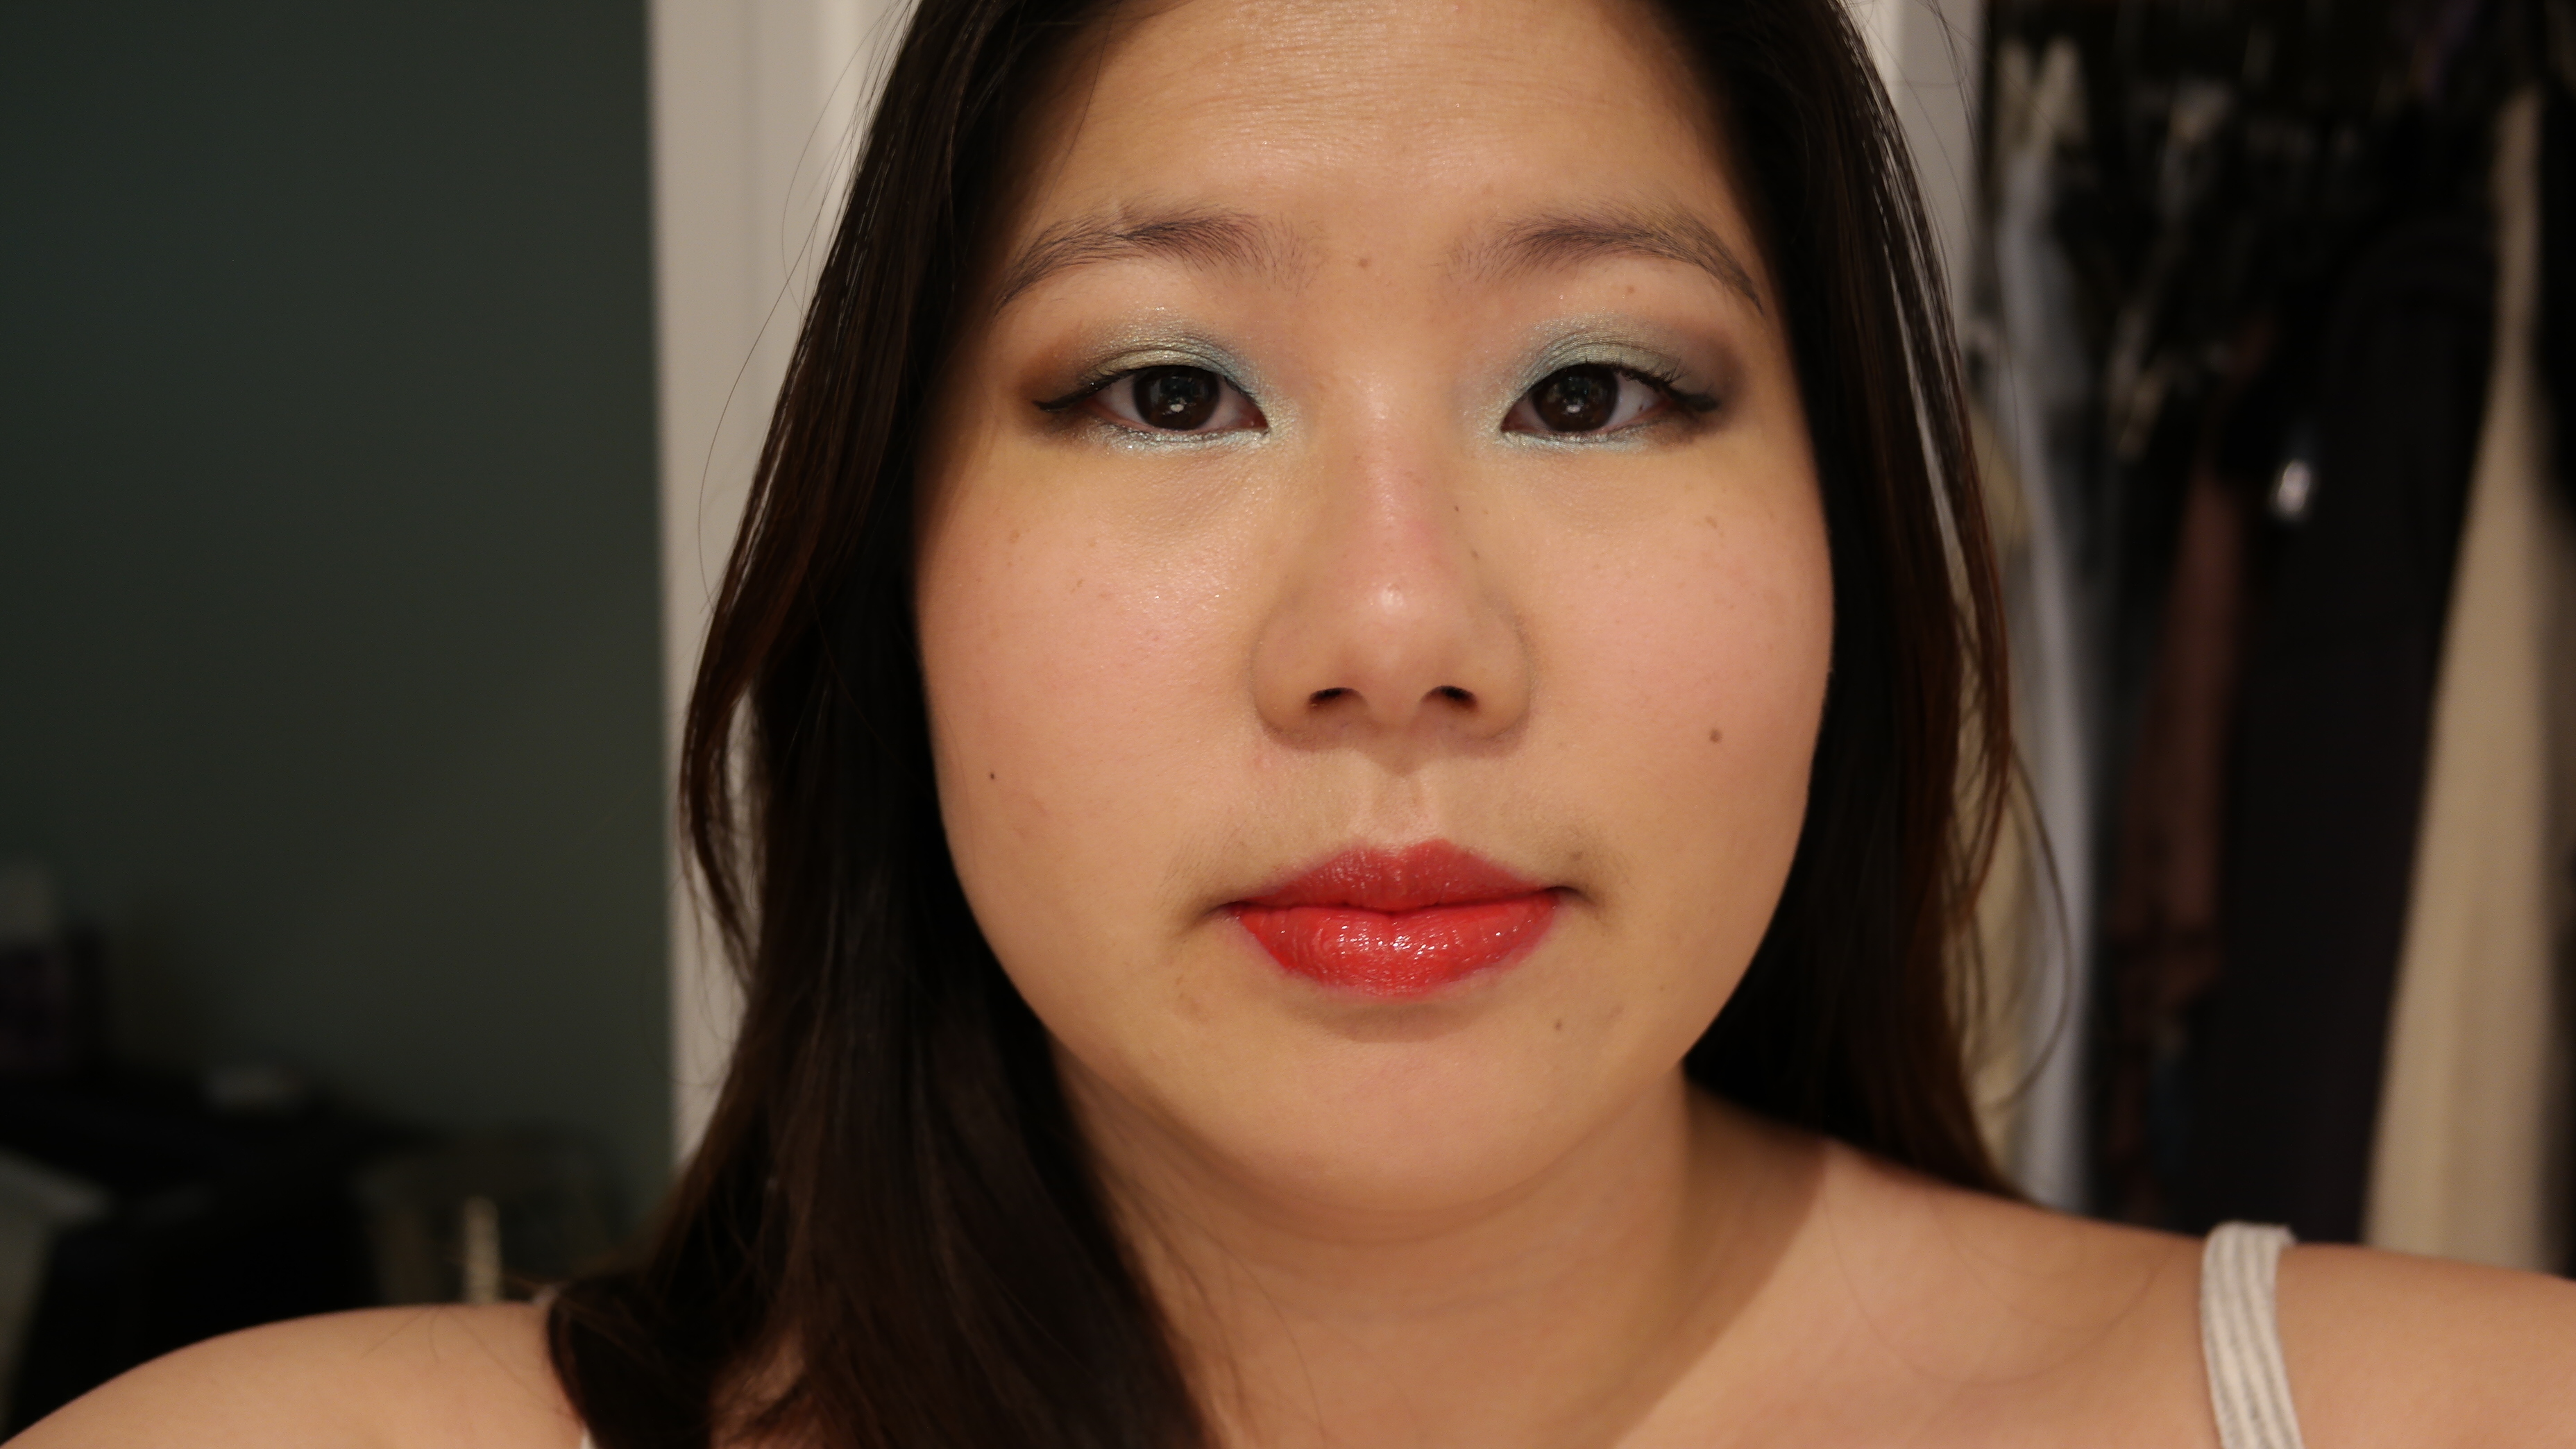
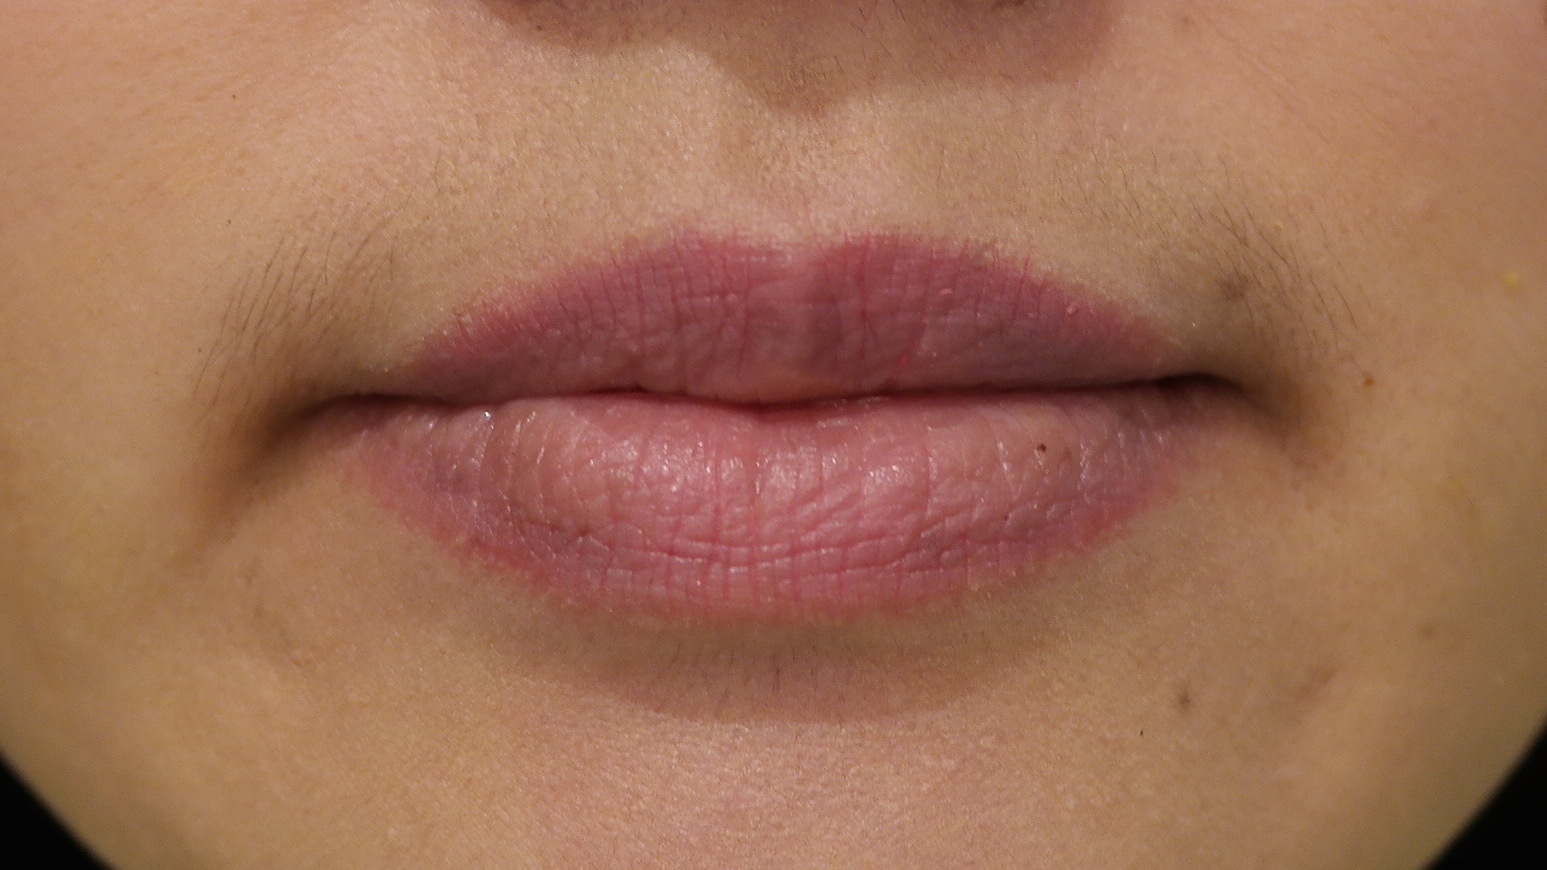
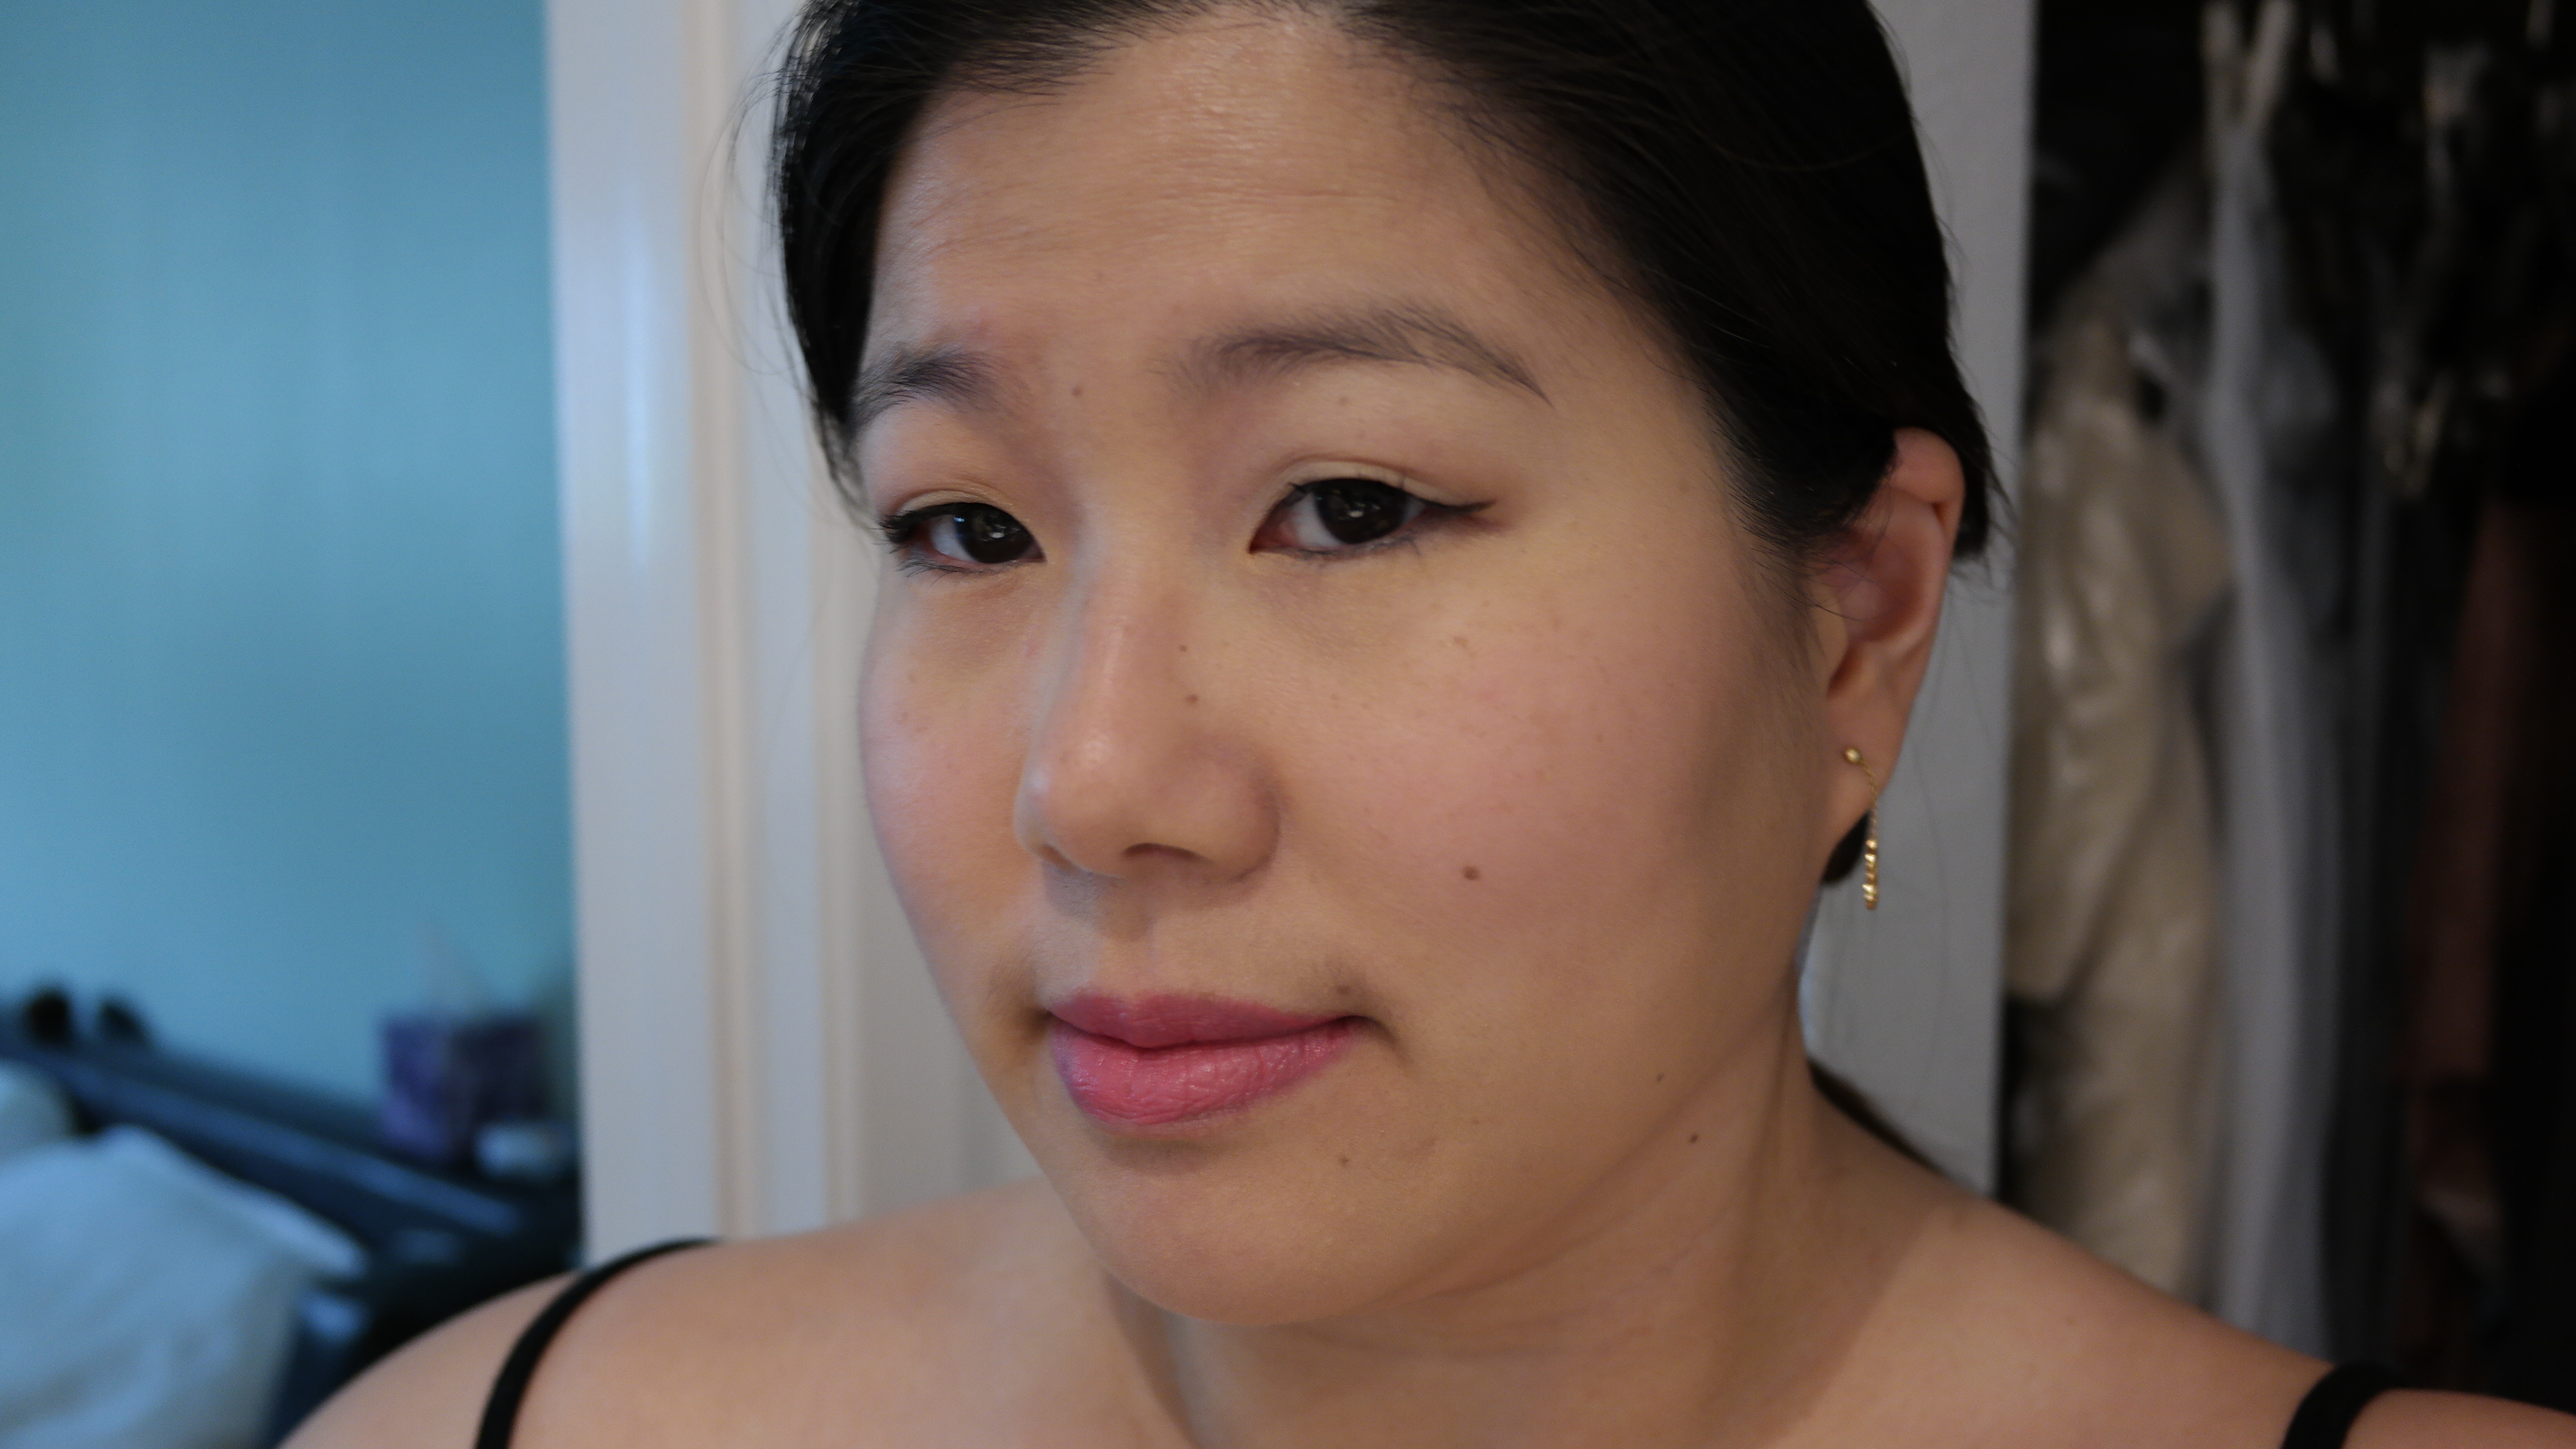
YSL Kiss and Blush #2 Rose Frivole on my lips and cheeks

this is how Kiss and Blush #2 Rose Frivole looks on top of some bb cream. there’s no highlighting or contouring, so you can see the effect of Kiss and Blush on its own. the formula of Kiss and Blush really shines as a blush. the application is easy and foolproof. the pigment blends out evenly across the cheeks regardless of whatever tool you use. i’ve tried it with my beauty blender, a synthetic domed brush, and my fingers. all provided excellent results. since it blends out so effortlessly, i prefer blending it out with my fingers. the blush melds into the skin and gives a subtle luminous glow. it mimics the effect of a subtle highlighter or diffusing finishing powder. the glow from this blush gives the face a little extra dimension that regular blushes can not achieve on their own. the color intensity is easily buildable. depending on the shade of the color i’m using and the intensity i want, i gently tap 3-5 small dots of color from the pearl bumper.
the versatility of Kiss and Blush makes it a great addition to your arsenal if you’re traveling. i can definitely see myself packing just this for lips, cheek and highlight if i’m going somewhere for up to a week. any longer than that, the color addict/pack rat in me starts demanding more products be taken along, just in case.
while YSL Kiss and Blush is twice the cost Too Faced Melted, for me it’s the clear winner. Kiss and Blush’s formula performs better on the lips as well as being an incredible cheek product. if you’re a product minimalist, it can even replace your highlighter.
Readers, did any of these catch your eye? what finish do you prefer for your lip products? anyone else think that companies are confusing product names and product description? what’s with these excessively long product names that insist on telling you everything about it in the name itself?
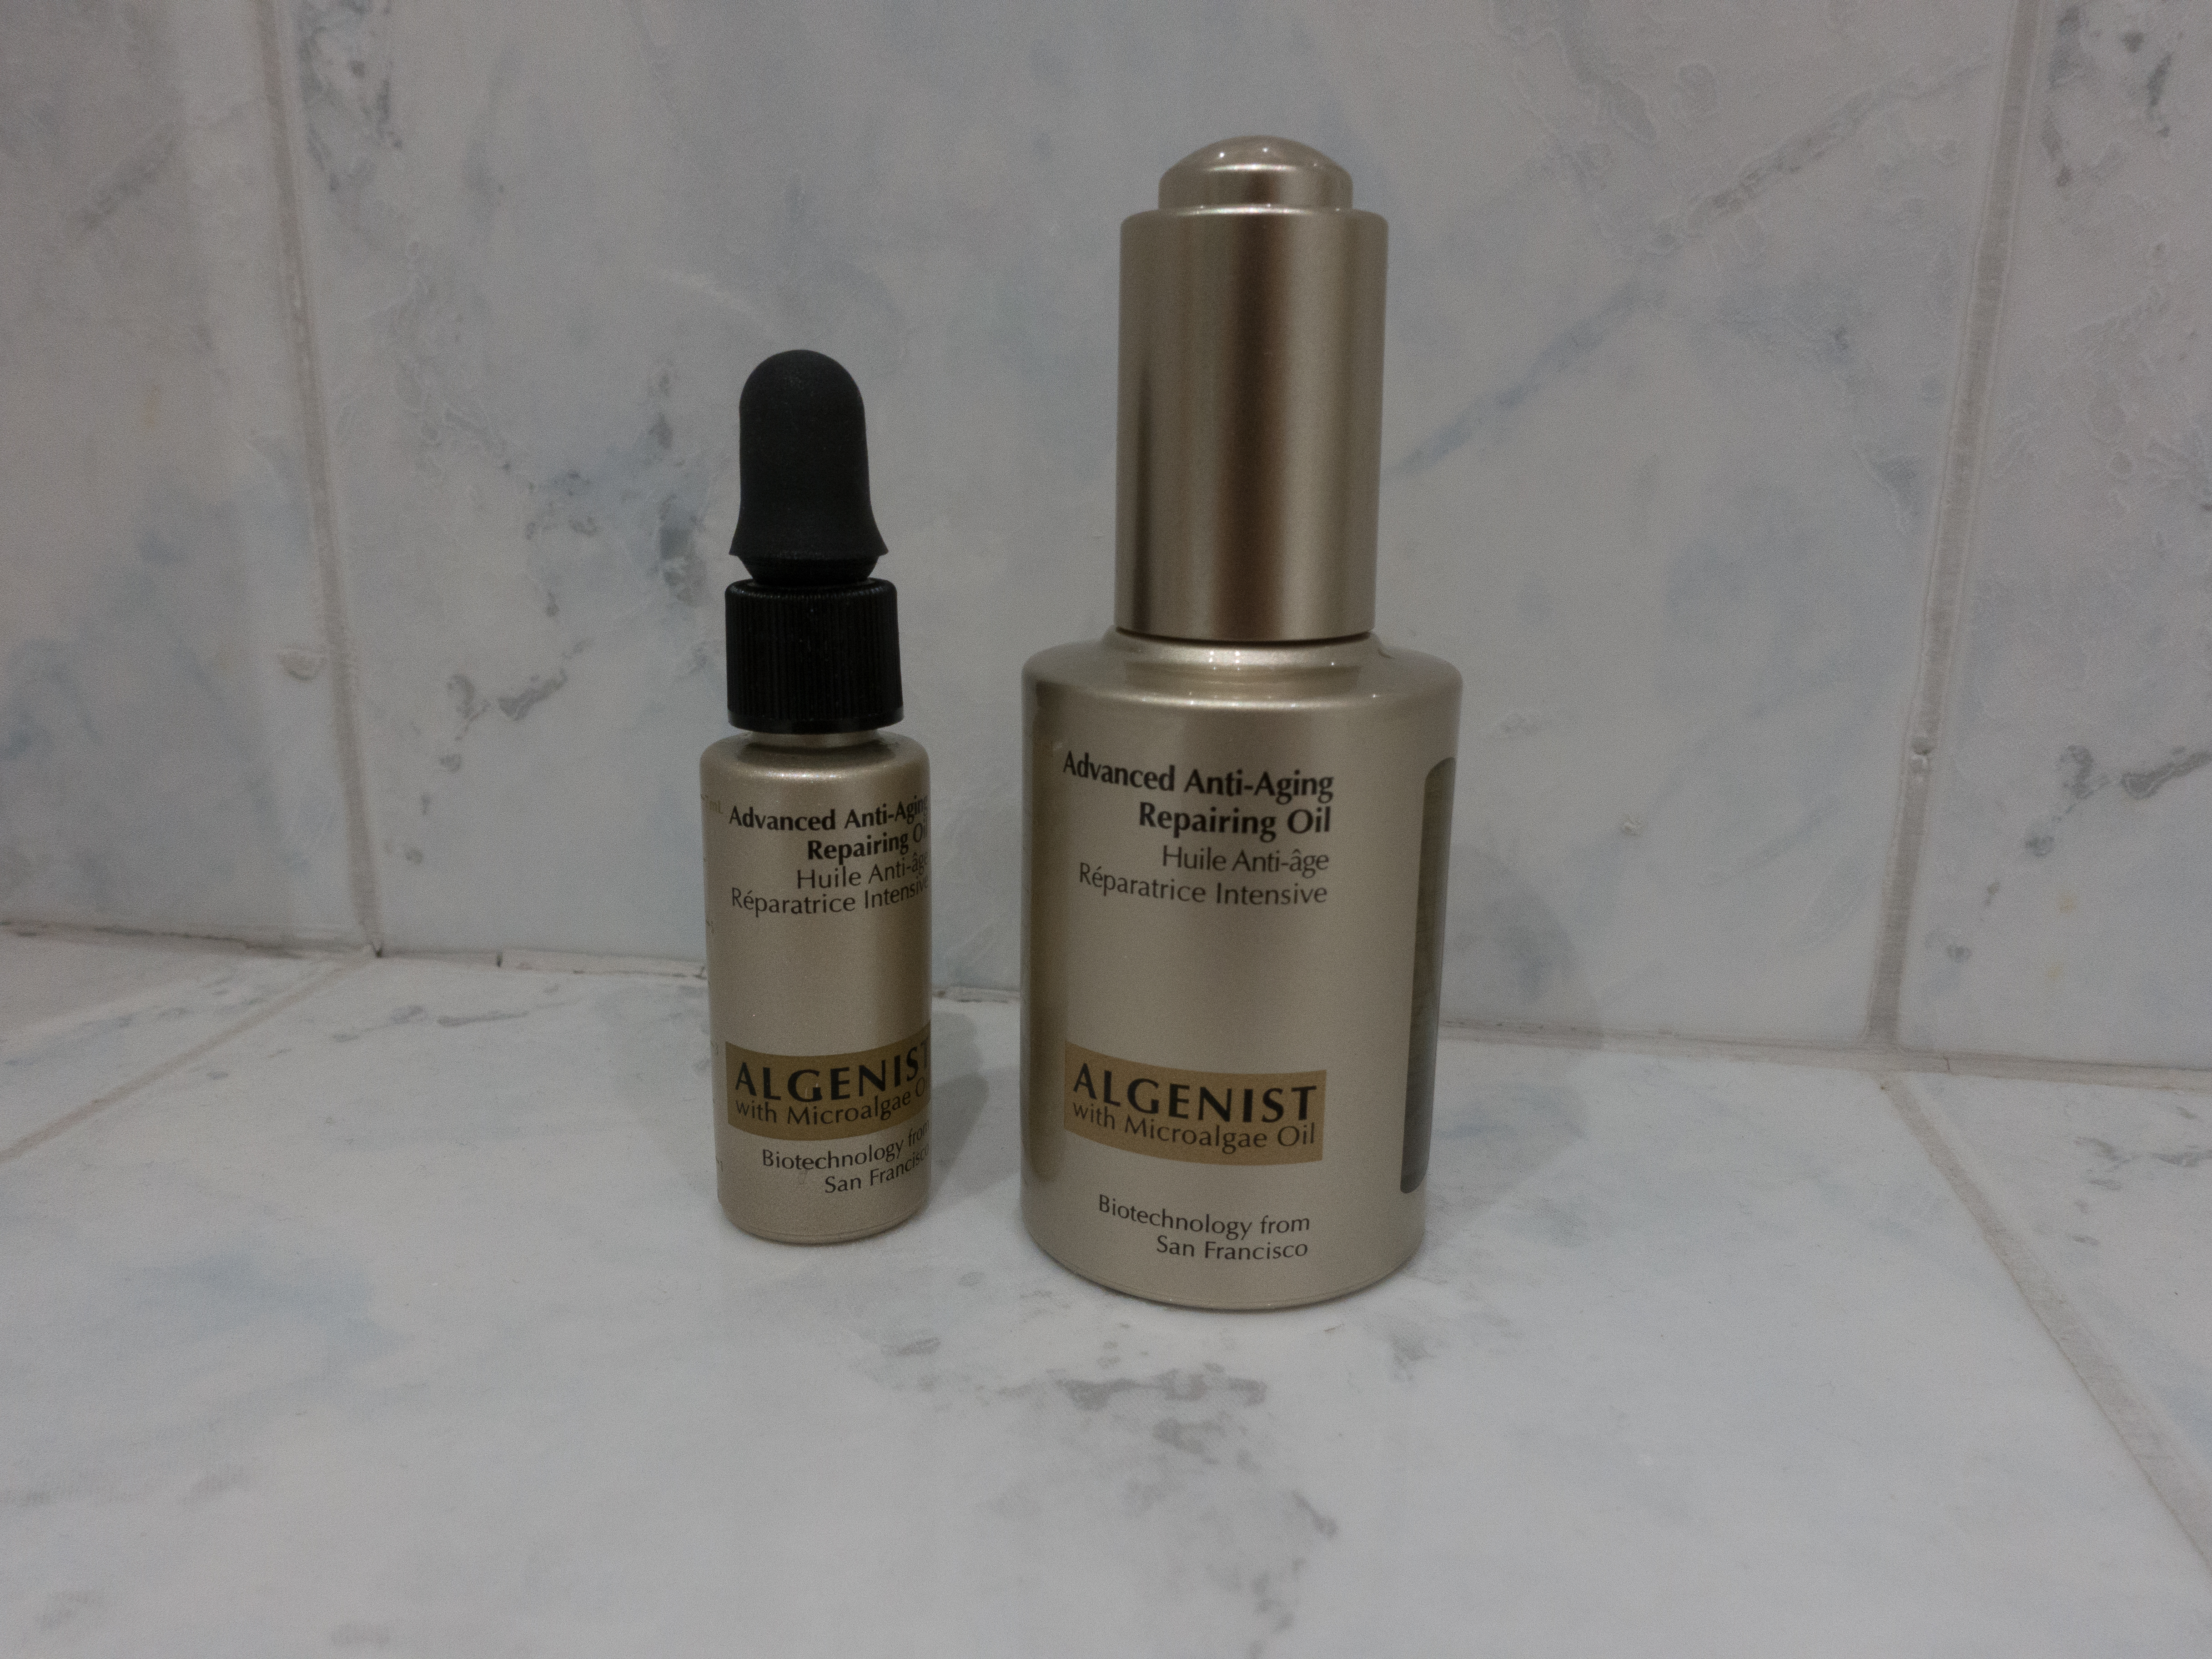
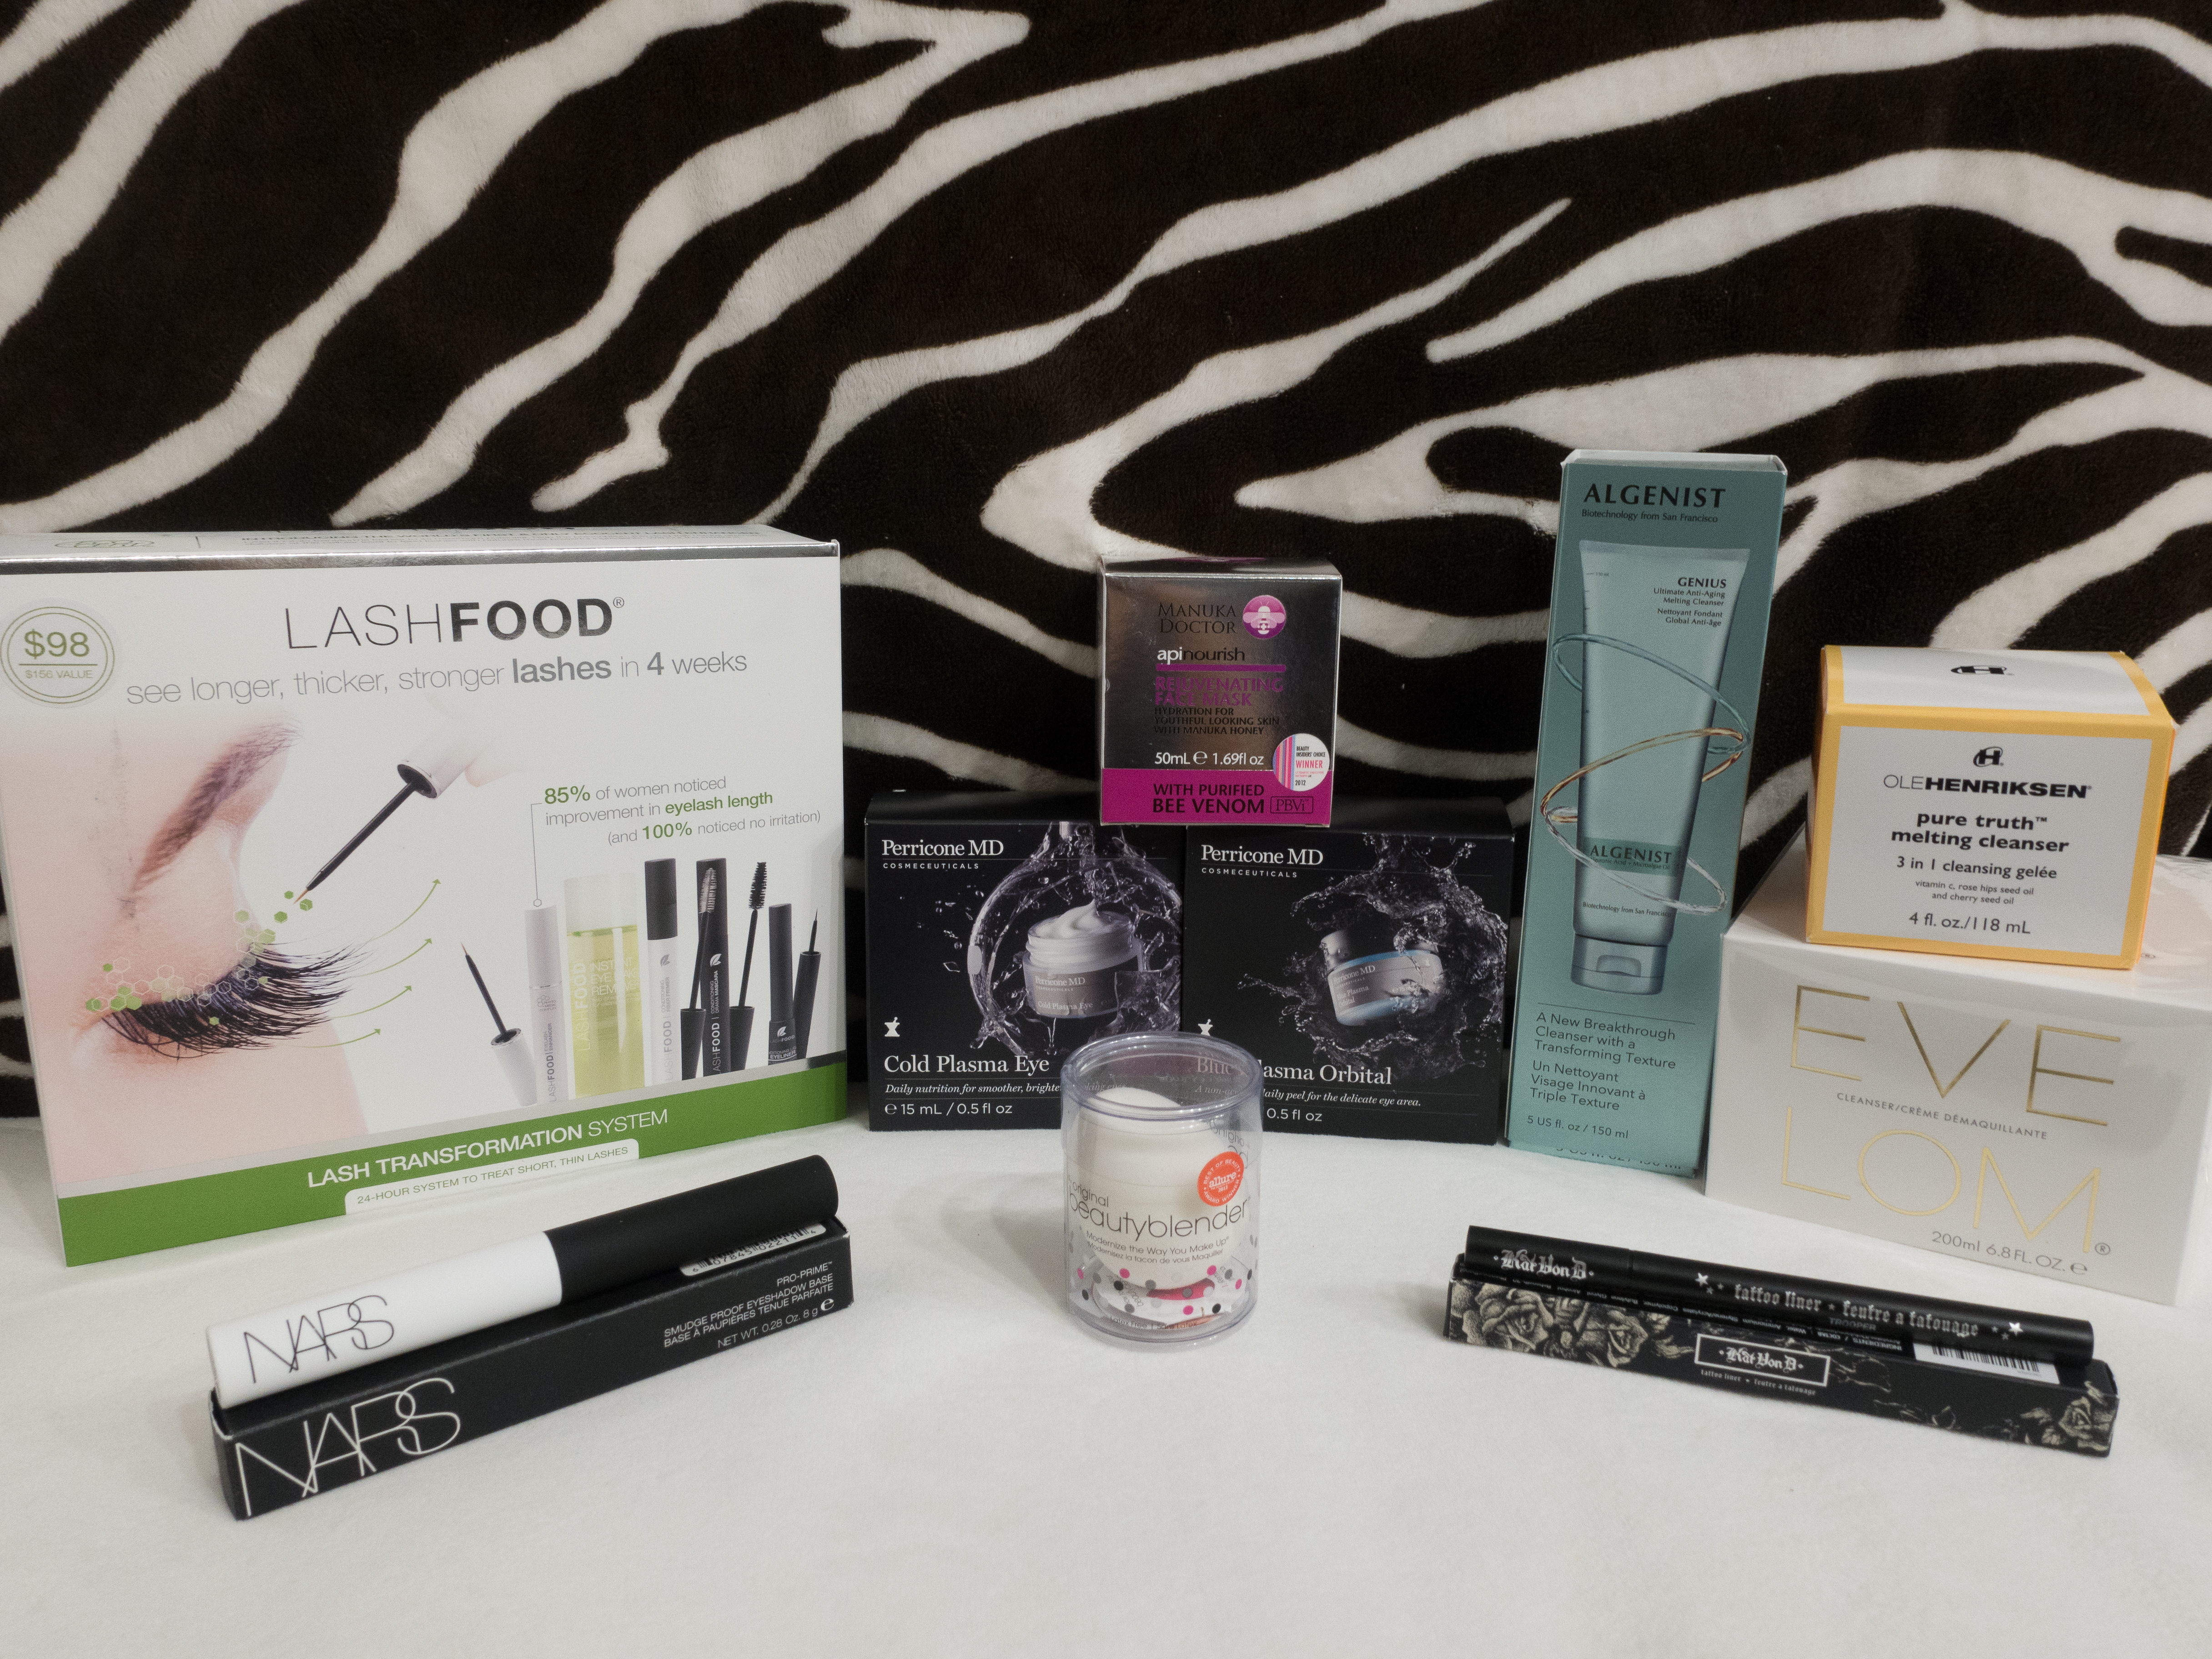 first up, there are staples and skincare products that have been on my radar to check out. the staples are Nars Smudge Proof Eyeshadow Base, Kat Von D Tattoo Liner, Beauty Blender Pure (other colors leak dye like crazy), and my HG face wash/makeup remover Eve Lom Cleanser. there’s quite a few skin care products that i’ve been eyeing for a while now. i picked up Algenist Genius Ultimate Anti-Aging Melting and Ole Henriksen Pure Truth Melting Cleanser in the hopes that i can find a cheaper alternative to my HG Eve Lom Cleanser. Manuka Doctor’s Apinourish Rejuvenating Face mask got tossed in because anything with the word manuka in it has my undivided attention. i got a sample of Lash Food Phyto-Medic Eyelash Enhancer in a beauty box a while back and was very impressed by the rapid results. the serum by itself is $78 so i figured i might as well try the rest of the line for just a little bit more. it was a great bargain since everything is full sized. Dr. Perricone has been on my radar for a while now, and when i ran out of eye cream, Cold Plasma Eye was one of the many samples i tried from Sephora. while i’m still trying to decide if i can stand the slightly fishy smell, i can honestly say this is the most effective eye cream/serum i have ever experienced. in one week, not only did i see my dark circles and fine lines improve, i also noticed that the discoloration from my veins peeking through the thin skin on my eyelids had also improved! seeing such efficacy from Cold Plasma Eye, i decided to toss in Blue Plasma Orbital. we all know the benefits of exfoliation for our face, but not too many products are made safe for the eye area. since a lot more products are going onto my eyes now that i wear makeup, i figure a little exfoliation might be good for the area too.
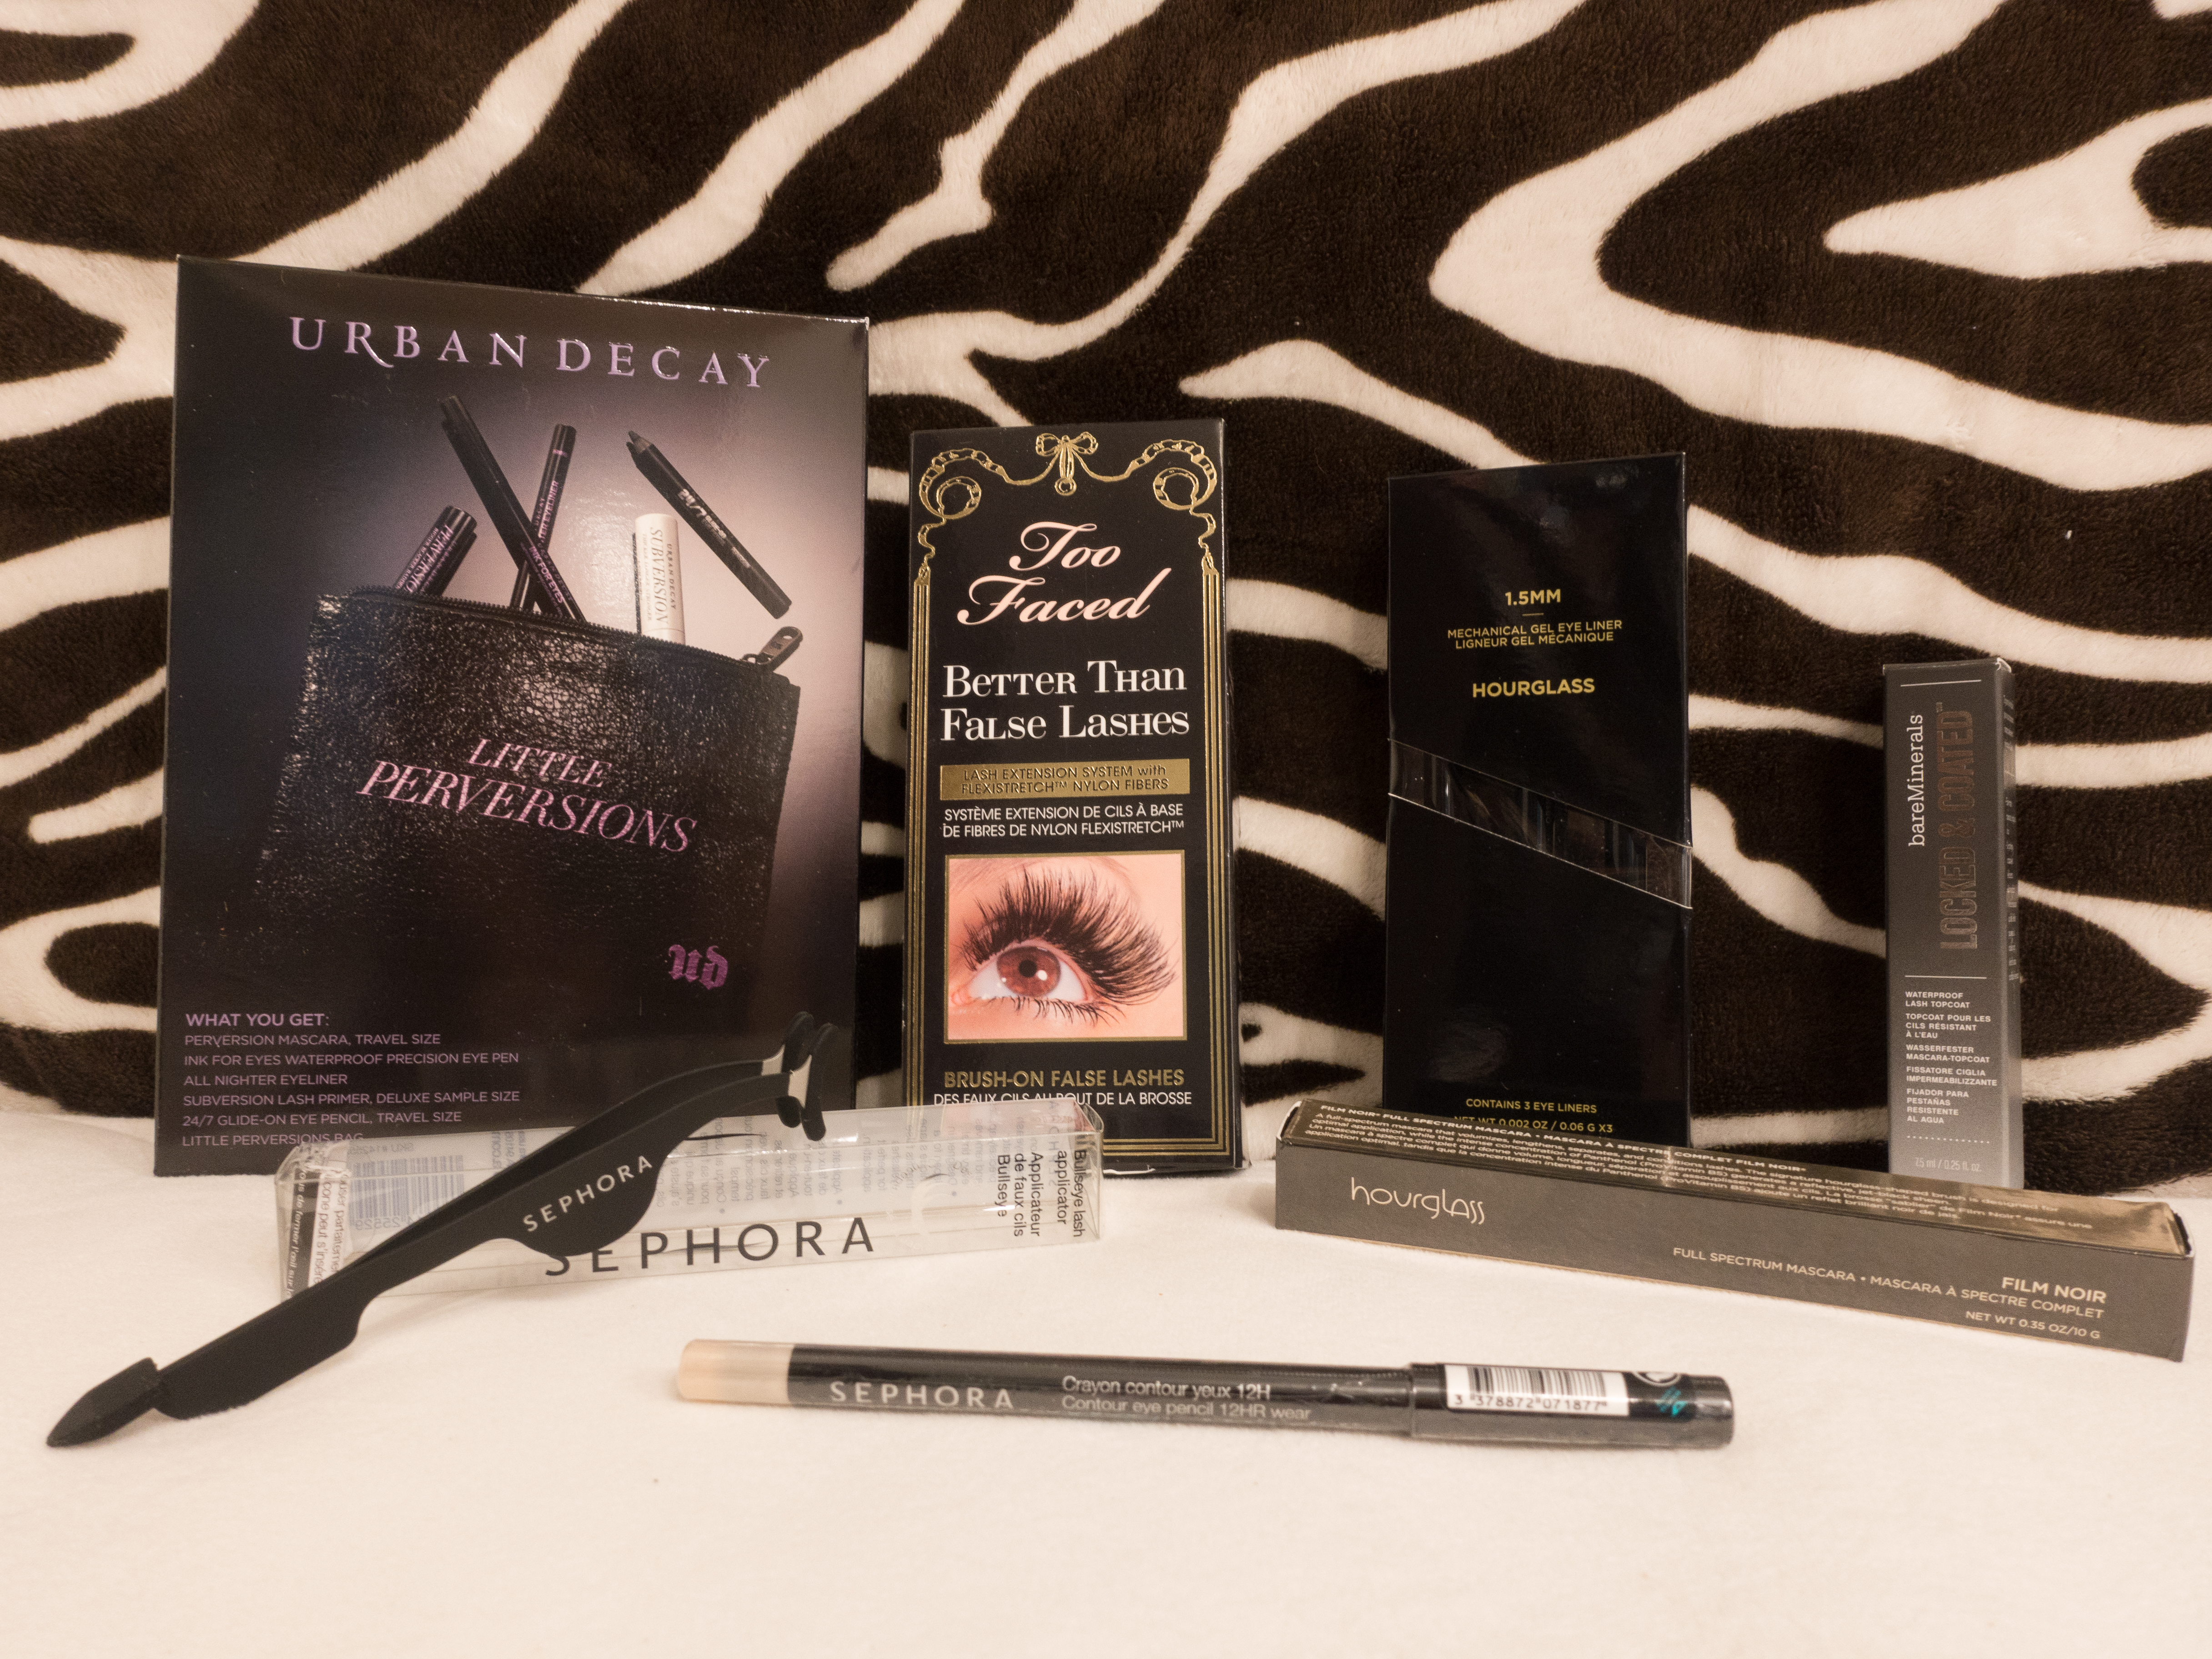
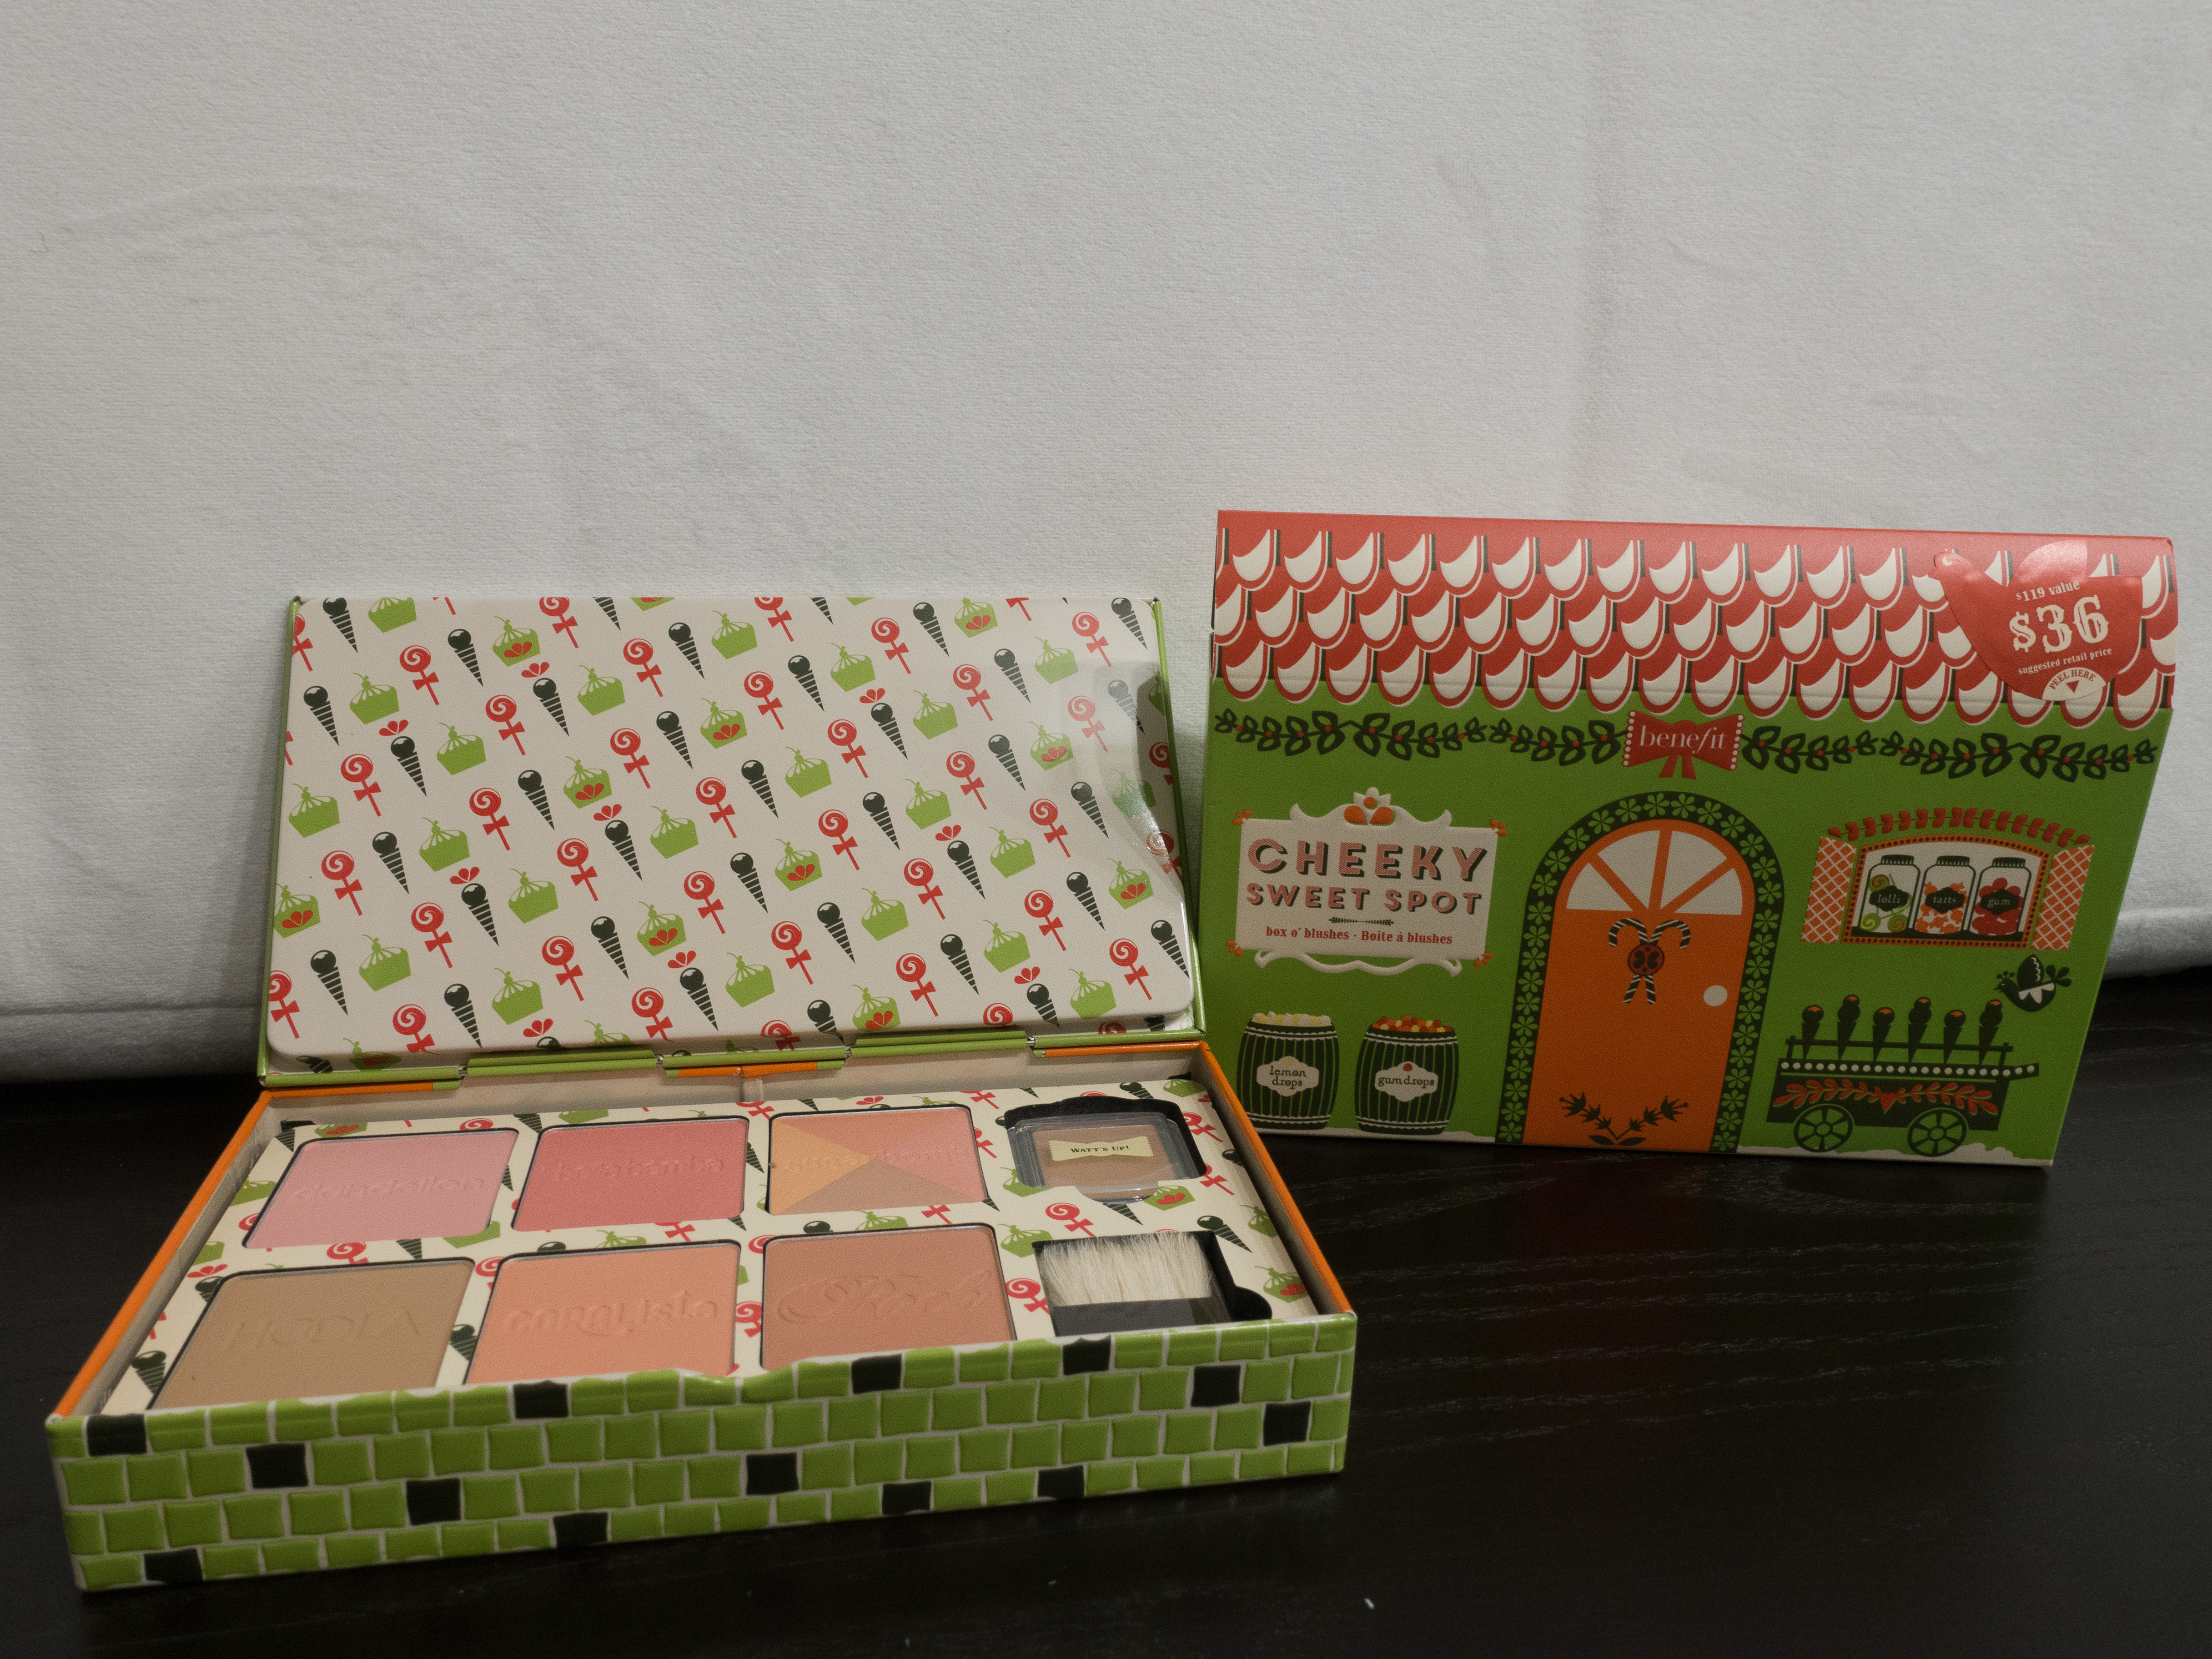 this is probably the purchase i feel most guilty about despite the relatively low cost compared to some of the other items in my haul. i’m really not sure how much use i will get out of these blushes, but i really fell in love with the packaging. i thought about it long and hard and knew i’d regret it if i didn’t snatch this up. i comforted myself with the fact it was a particularly good deal since Sephora was having 12% cashback on mr. rebates (affiliate link) at the time.